You probably searched and opened this because you are fresh in Linux world, or in IT in general. This will be short tutorial on how to install CentOS and we will be using graphical interface (GUI) for installation because I think it will be easier to follow.
CentOS stands for Community ENTerprise Operating System and it is clone of Redhat which is commercial OS.
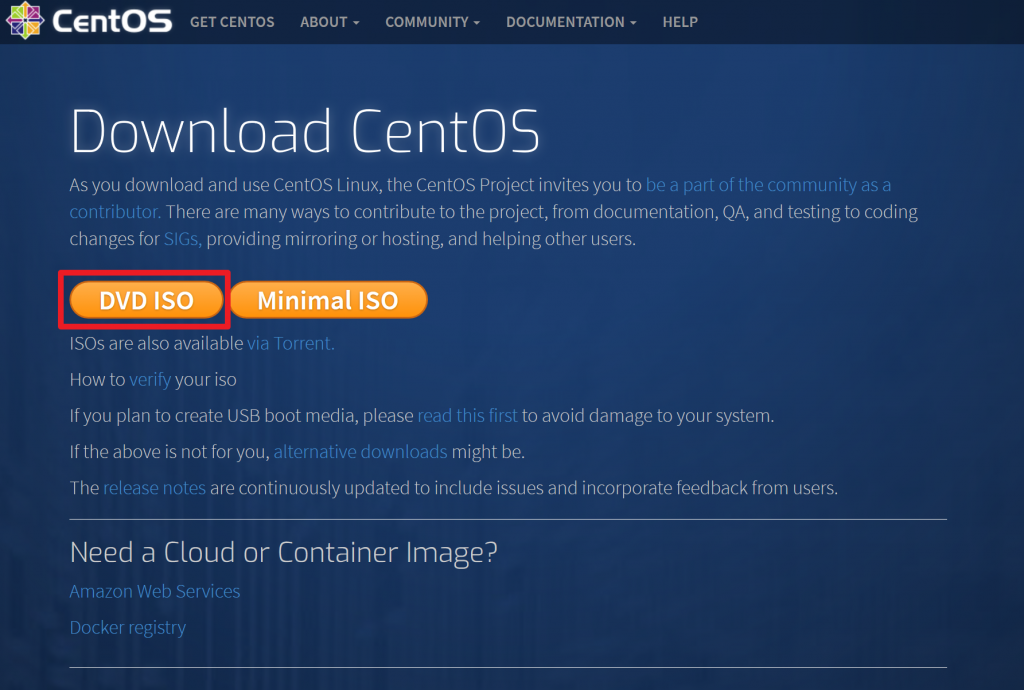
You can download CentOS from here by selecting DVD ISO
https://www.centos.org/download/
You will ger mirrors that are near you (usually means better download speed) and then if none of them works, you can choose mirrors that are a bit further
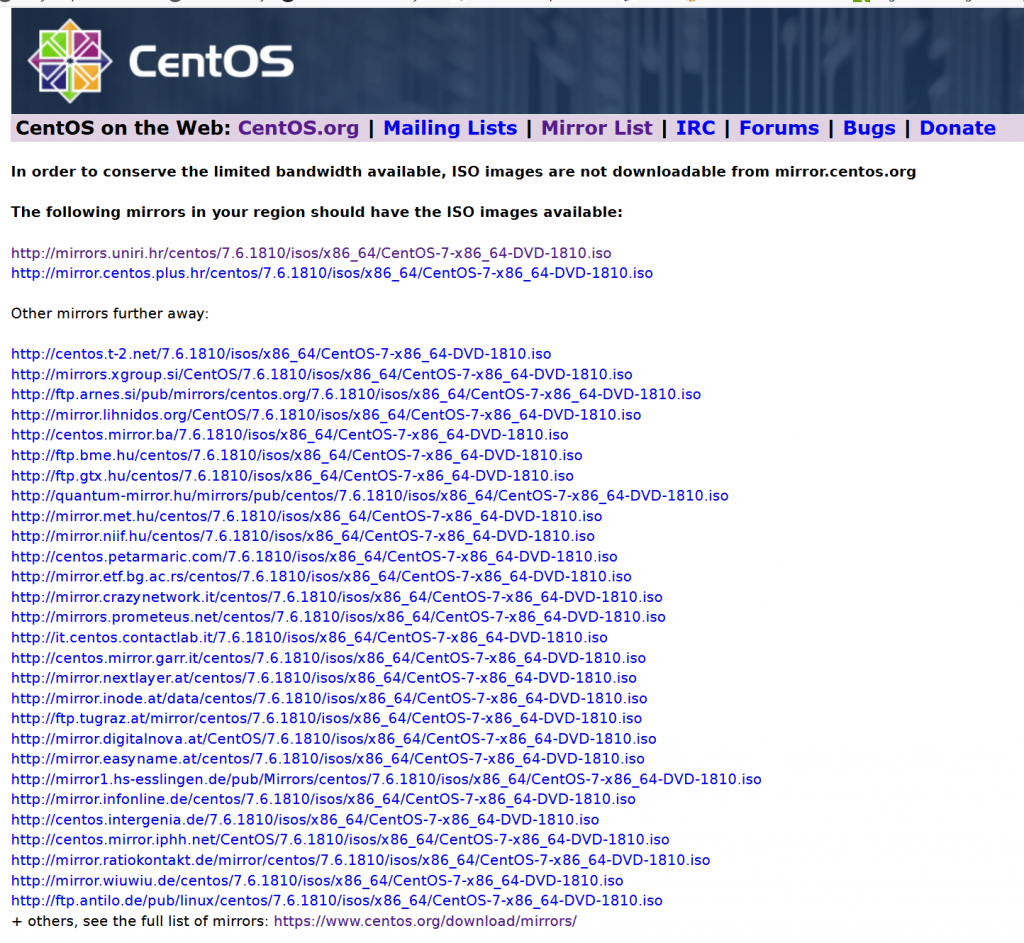
Select a mirror and download.
Burn ISO as bootable USB/DVD if you will be using it to install on physical hardware (check Rufus for Windows to help you create bootable USB) or just use ISO if you are doing it on VM.
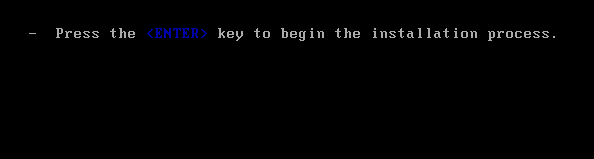
Now, after you successfully booted CentOS 7 you will be offered to install or test media and Install CentOS 7.
Choose Install CentOS 7
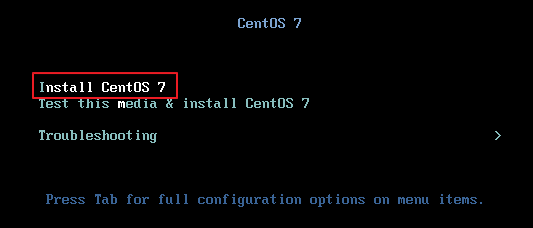
Press Enter (or just wait)
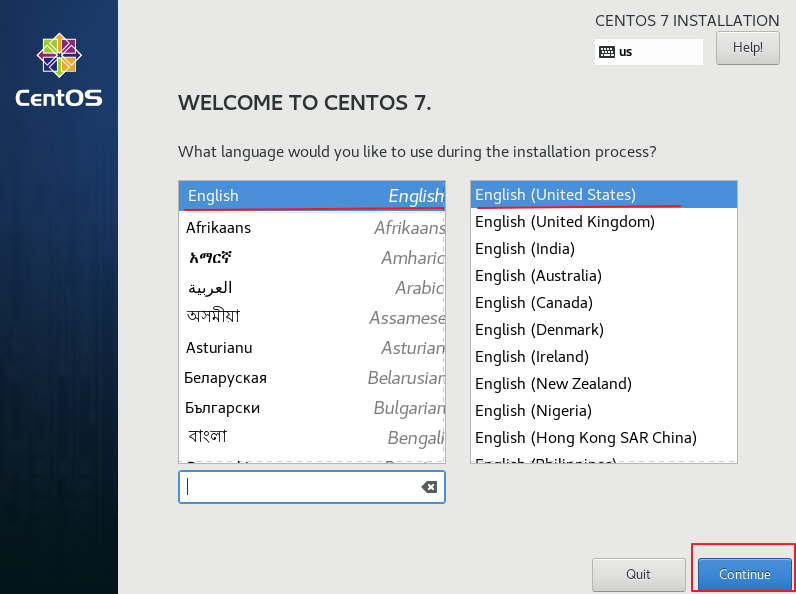
We are greeted with Welcome screen. Choose your language on it and press Continue
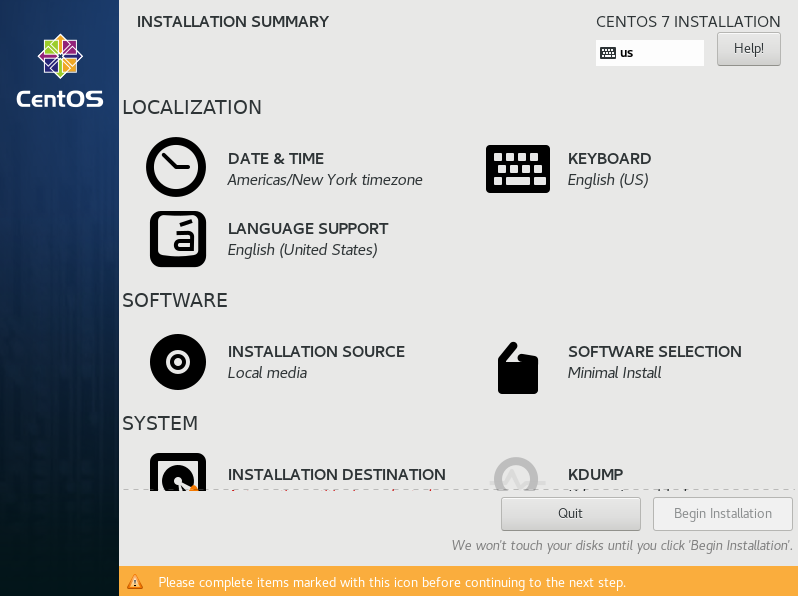
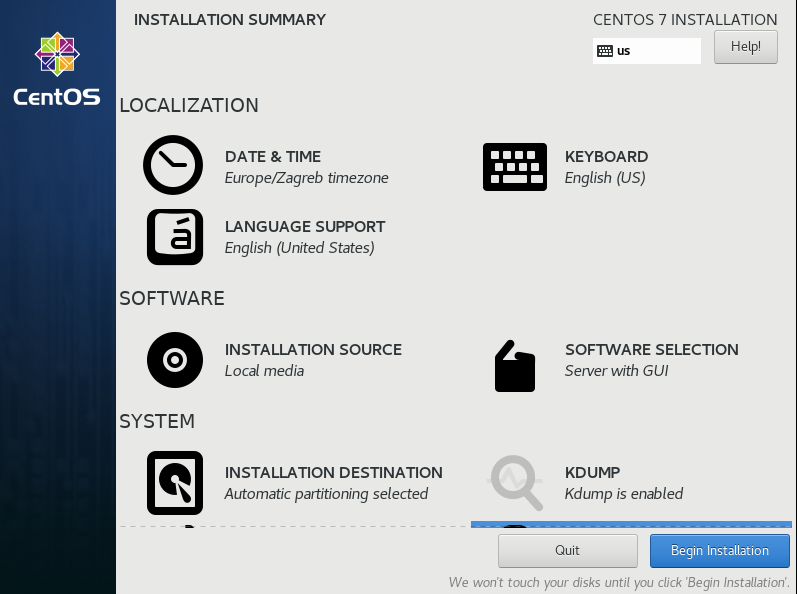
Next screen is a bit more demanding and we will get through each section of it, step by step.
When you first get to it, it will look like this (maybe there will be orange triangles on INSTALLATION SOURCE and SOFTWARE SELECTION, just wait for them to clear out)
LOCALIZATION – DATE & TIME

Select your location, time format, time and date. In the end click on Done in the upper left corner.

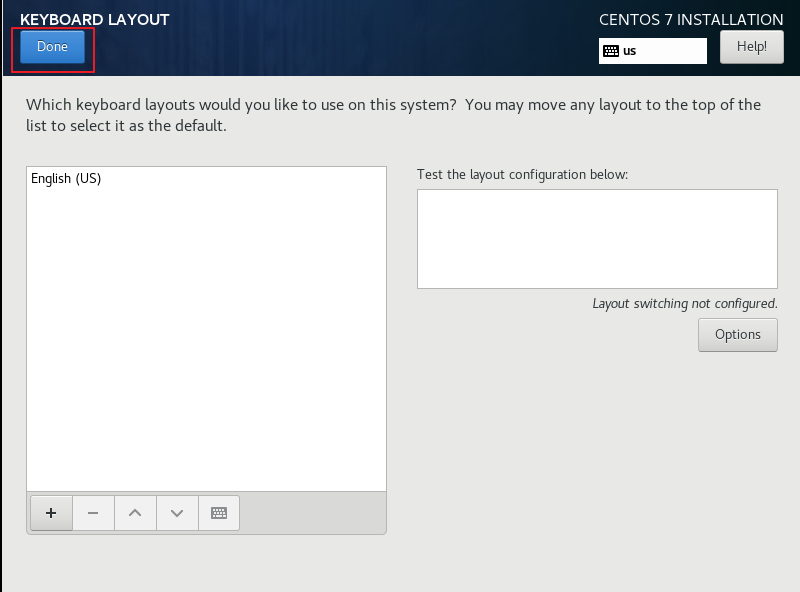
LOCALIZATION – KEYBOARD

I will select English (US) as is. If you want to change your keyboard language, click on + on the left bottom part of the screen and select your language. After you are done, click on Add, and also you can remove selected languages by pressing MINUS on the left bottom of the screen. You can also rearrange keyboards if you have more than one. Also, you can test layout by typing in the “Test the layout configuration below:” window.
When you are done click on Done.
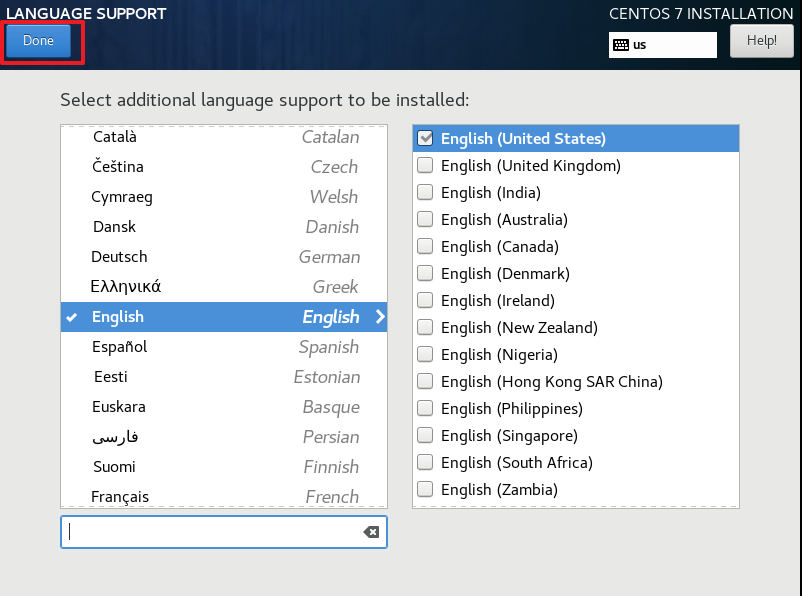
LOCALIZATION – LANGUAGE SUPPORT

Here you will select your additional (or primary) language for your installation, if you changed your mind since initial installation screen.
Click on Done when you are finished with it.
Next section is SOFTWARE.
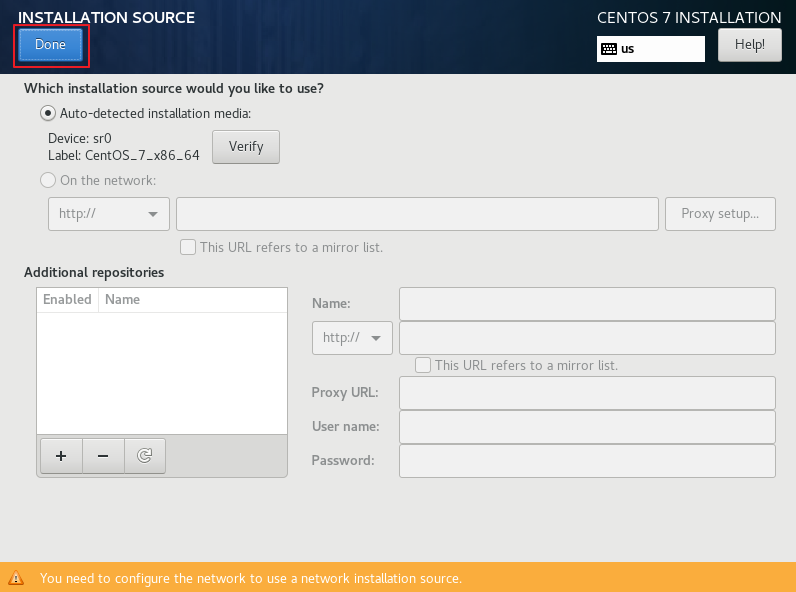
SOFTWARE – INSTALLATION SOURCE

Well, we already booted from ISO (or install USB/DVD) and we will leave it at that. So, Auto-detected installation media is right now good enough for us.
Click on Done
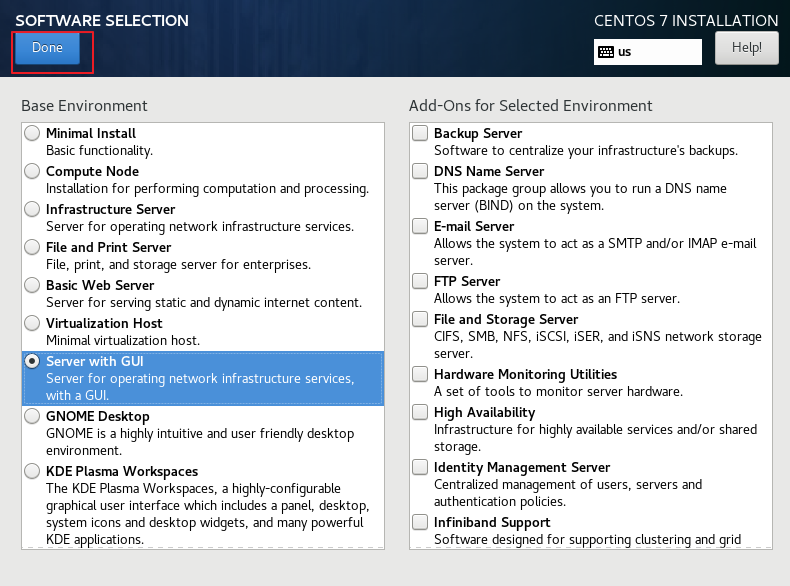
SOFTWARE – SOFTWARE SELECTION

We will select Server with GUI for our first install without addons, just to make our life easier and learning curve a bit less steep.
Notice that you can choose a lot from this screen, basically you can get server preconfigured with environment you want. Basic install (server without GUI and no roles), File and Print server, Web server, Virtualization host…
Also, there are addons for each environment you can choose.
Really useful screen.
Click Done
Next part of the screen is SYSTEM
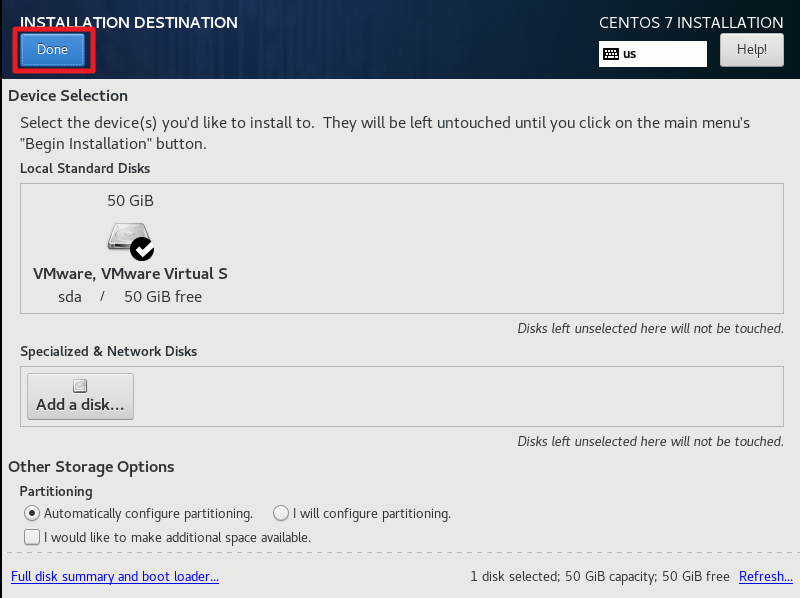
SYSTEM – INSTALLATION DESTINATION

Again, I assume you are new to Linux environment, so we will leave here everything as is. I wrote separate article with just partitioning topic, so you can learn to partition according to your needs.
Here is the article with partitioning details you can use as reference (This is only if you want to learn more – tutorial moves on with automatic partitioning below)
I’m installing in VM, so I have only one disk available under “Local Standard Disks” which I selected. At the bottom of the screen under “Partitioning” I selected Automatically configure partitioning.
As I said, since this is simple guide, we will choose automagical partitioning. ?
Done
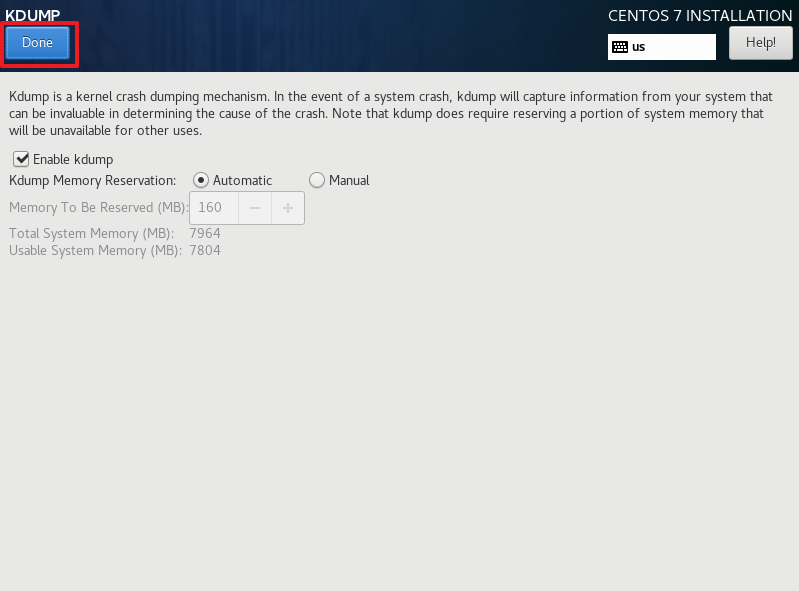
SYSTEM – KDUMP

As description says, it is kernel crash dumping mechanism. So, in case you have problems with your system, KDUMP will collect info about problems.
I will leave it enabled, but it is up to you to decide on this one.
Done
SYSTEM – NETWORK & HOST NAME

You will configure Network settings here, and also name of your installation.
Under Host name at the bottom of the screen you can input name of your system.
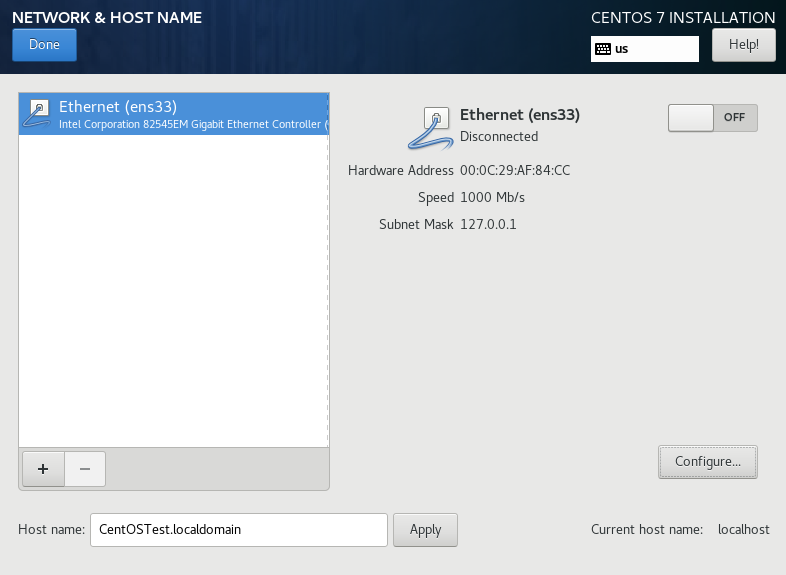
If you click on Configure at the bottom right screen you can setup your system for your local network.
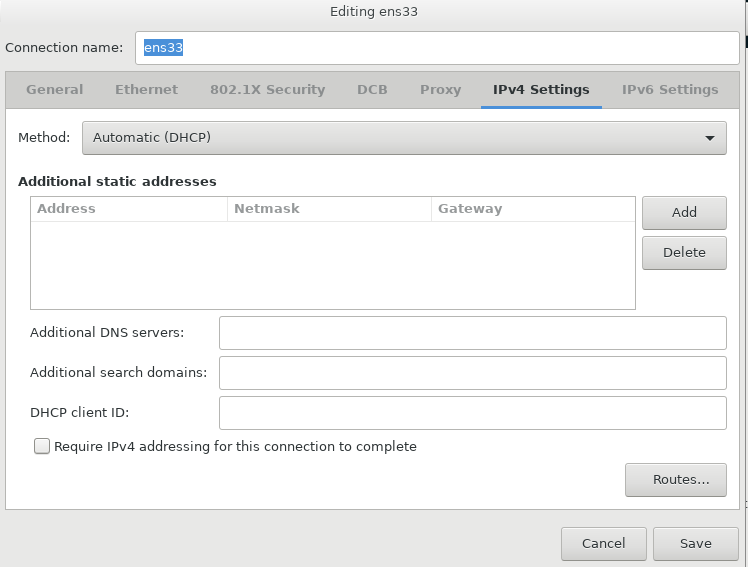
This is Configure | IPv4 Settings screen where you can define IP address manually or via DHCP
There are a lot of options on the network configuration screen, so if you need something else to setup, be free to do so, I checked only basic things which you need in every network for a start.
Save and then confirm with Done on Network & Host Name screen.
And the last setting we will check is
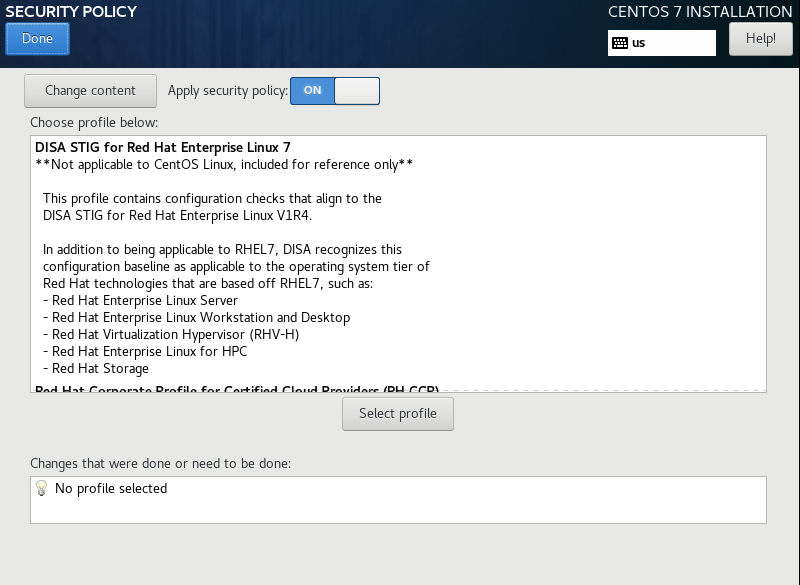
SYSTEM – SECURITY POLICY

Leave it as it is by default, unless you know what you are doing. ?
Done
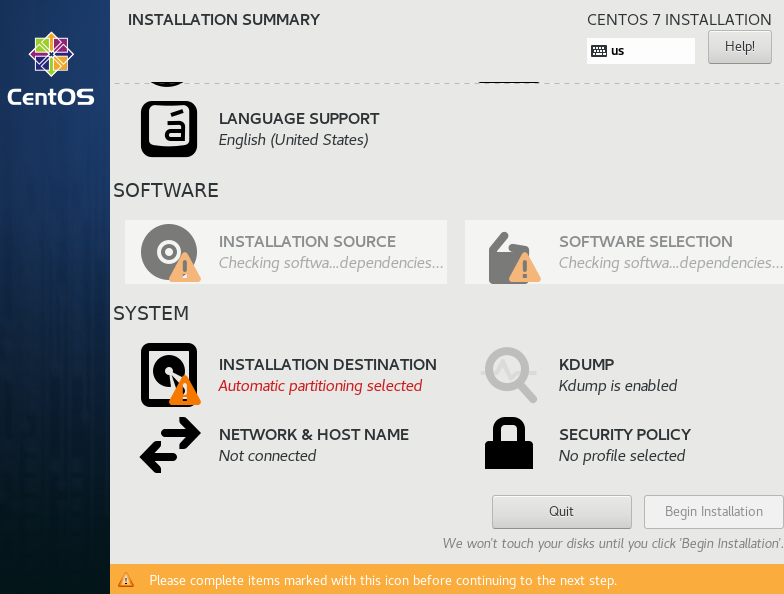
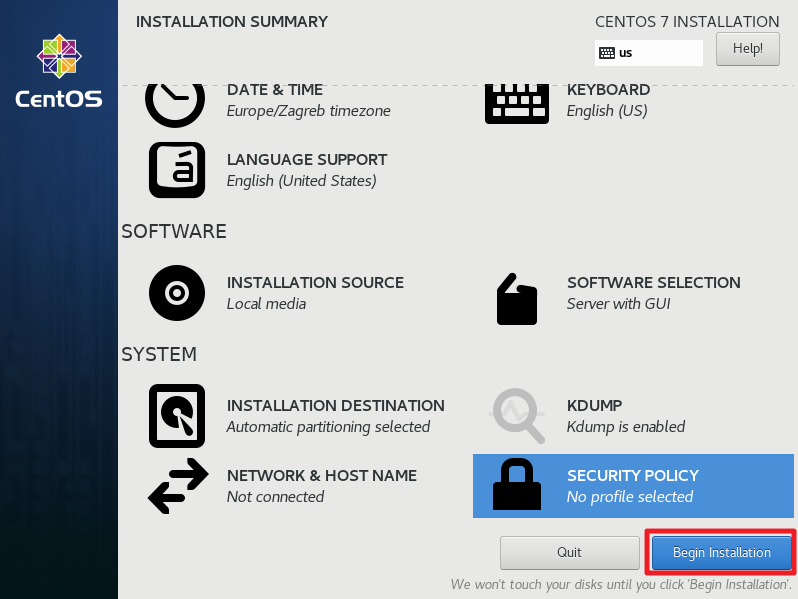
So here is our Installation Summary screen after we went through every setting:
We can now click on Begin installation
Installation is underway
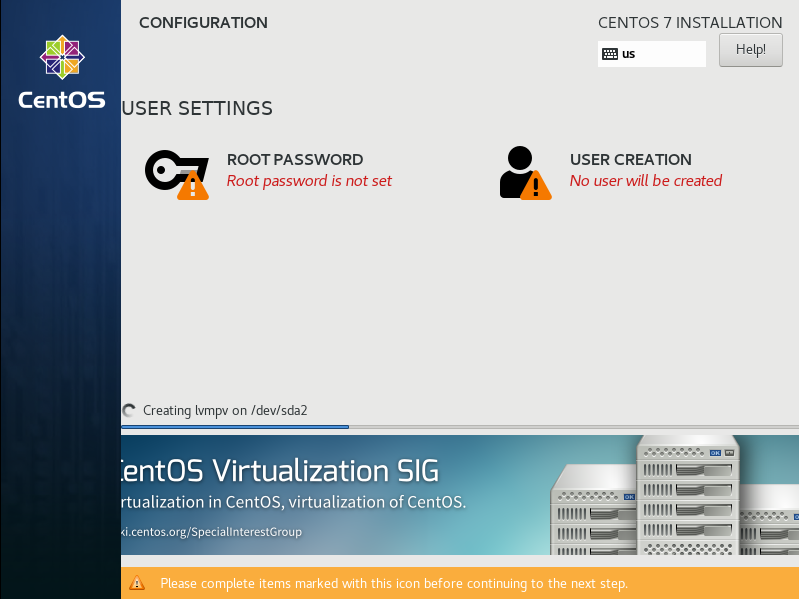
While it is going, we can set root password and create user.
We will do it.
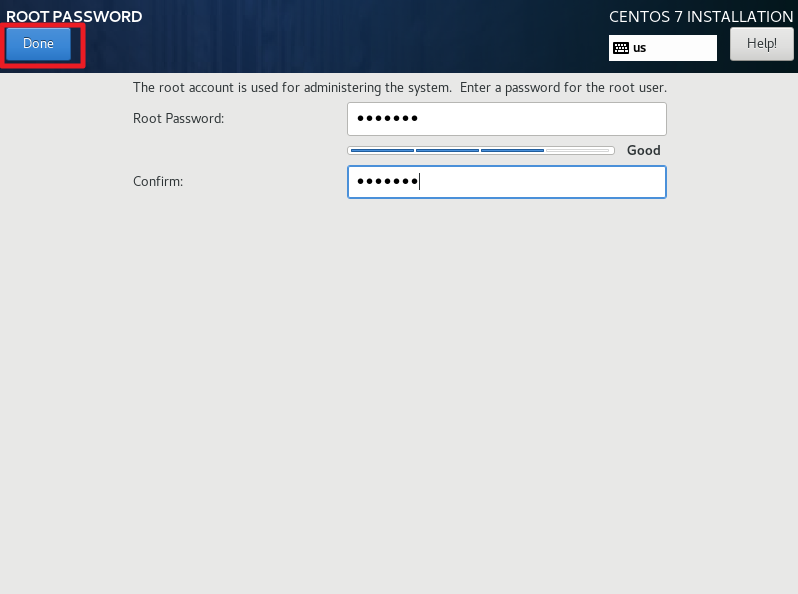
USER SETTINGS – ROOT PASSWORD

Set your password for root user, confirm it, and when you are finished click on Done
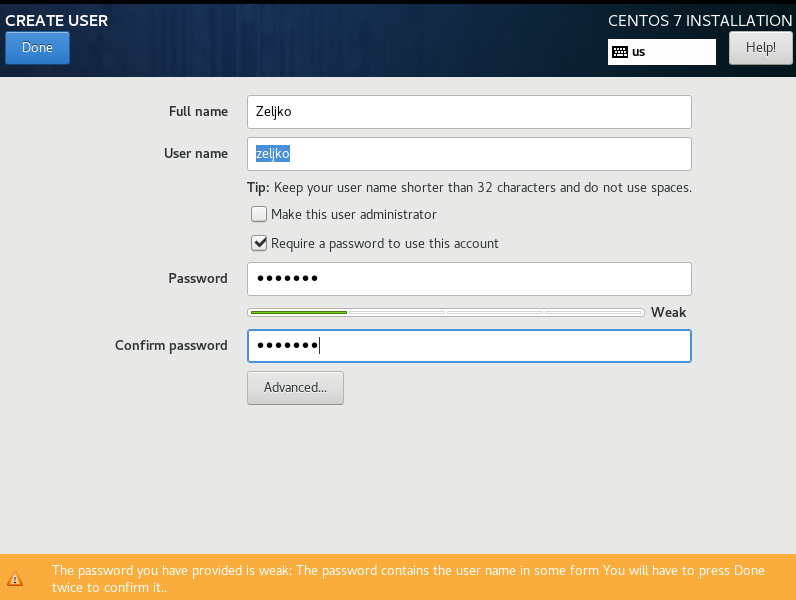
USER SETTINGS – USER CREATION

Create your user account for installation. Give it full name, username and password. You can also give this account Administrative rights, but it is up to you.
If you click on Advanced button you will be able define your Home directory and permissions.
Done
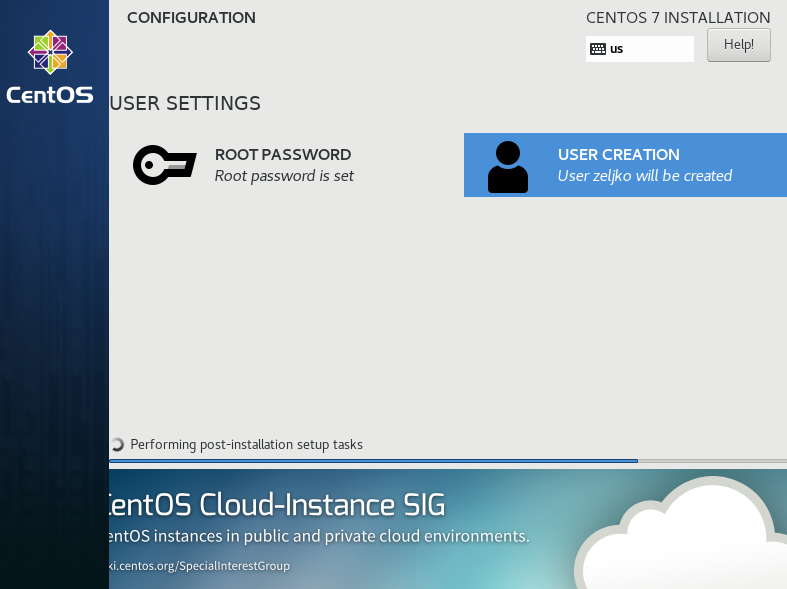
We are done defining root password and user and are now just waiting for setup to end.
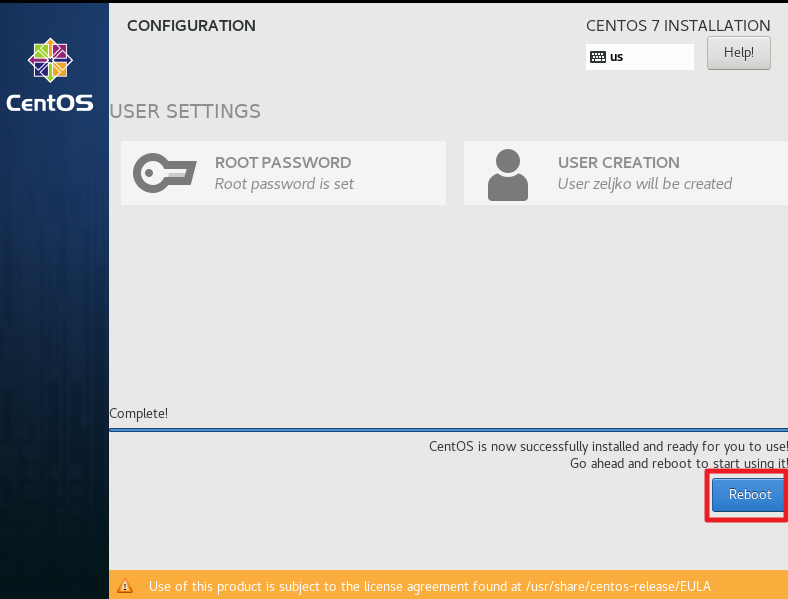
Finally, we are done, installation is complete. We can click on reboot
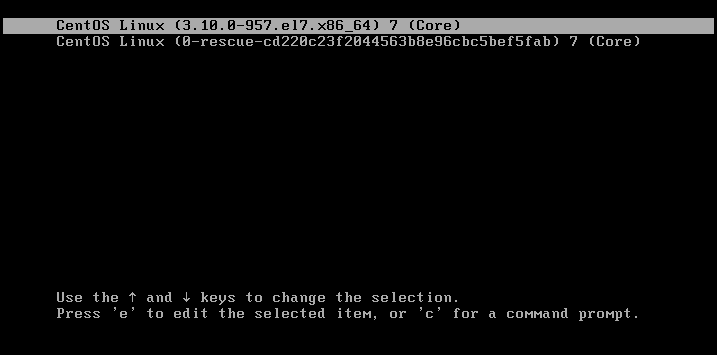
After reboot you will first be greeted with boot menu.
We will select – CentOS Linux (2.10 0-957.e17.x86_64) 7 (Core)
Initial Setup screen will show
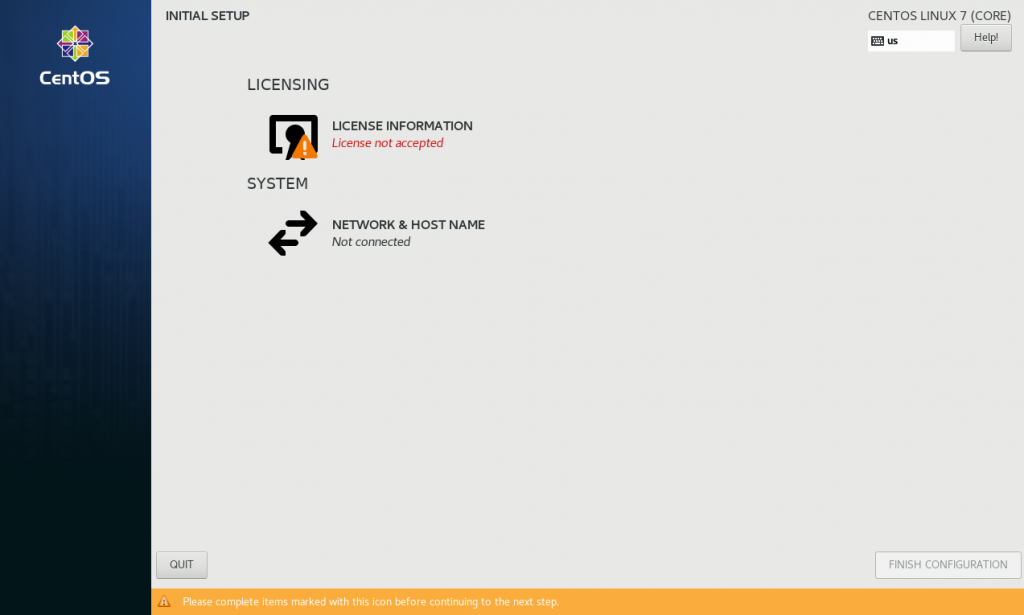
Click on LICENSING – LICENSE INFORMATION
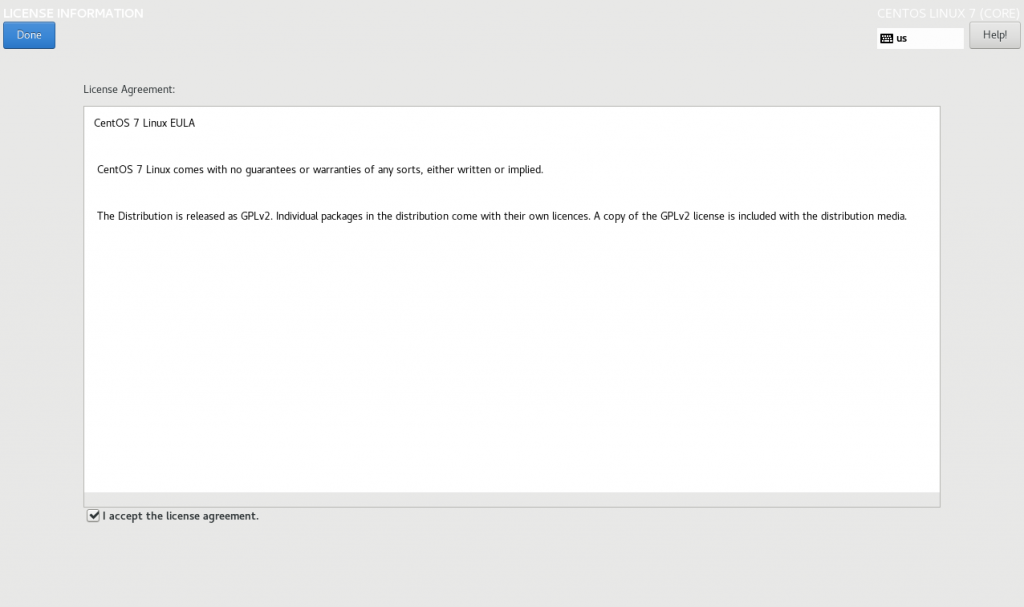
Click on I accept the license agreement and select Done
Now, click on FINISH CONFIGURATION
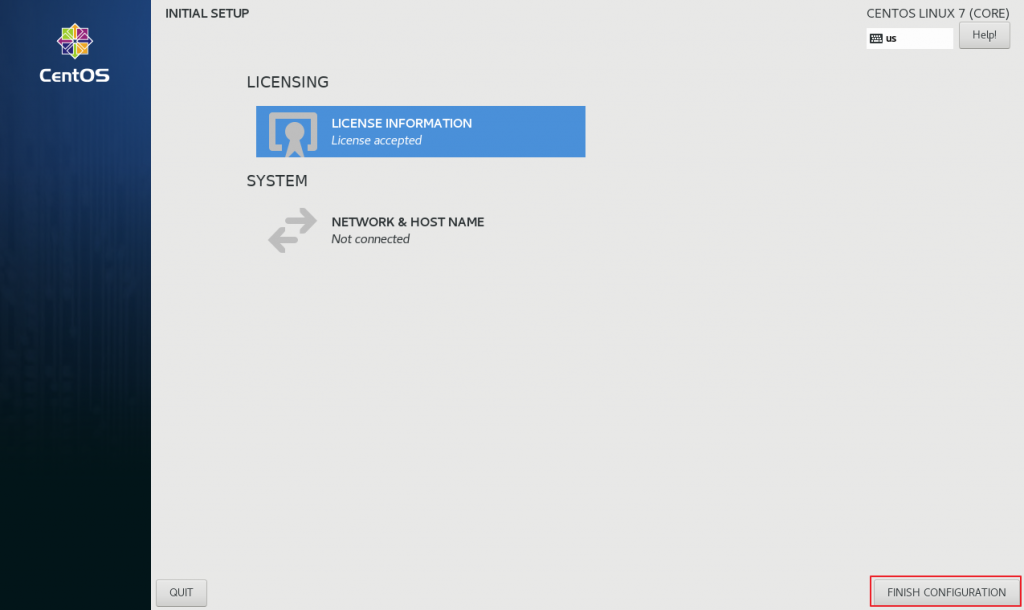
That is it, congrats, you installed CentOS 7