We already went through installation and disk configuration of TrueNAS, now I will quickly cover how to create Windows File share on TrueNAS.
Ok, so you will need to have disk Pool configured before this, and if you have Active Directory, it would be smart to connect your TrueNAS to domain before doing it.
I will (for now) cover scenario without AD.
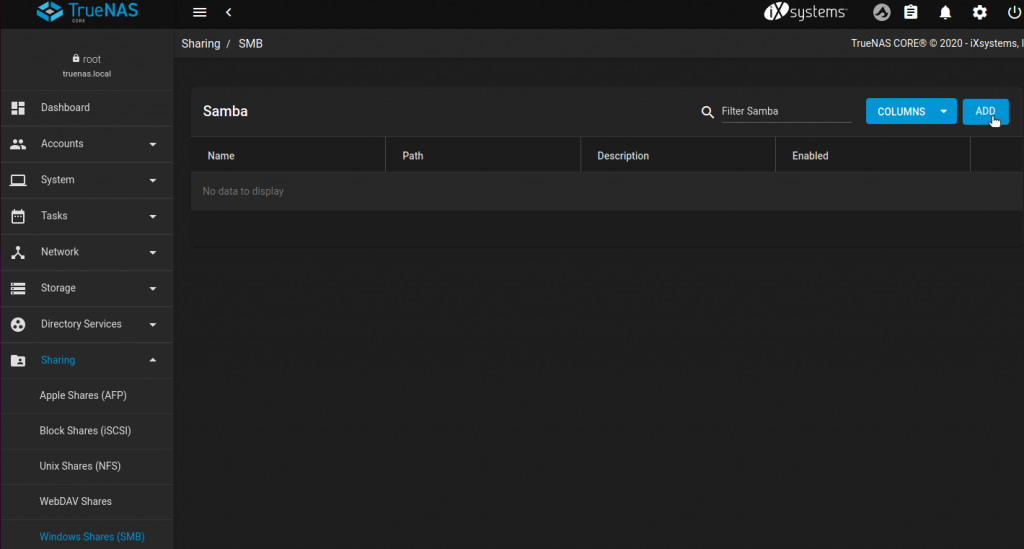
From the left side menu select Sharing | Windows Shares (SMB) and select Add from top right corner.
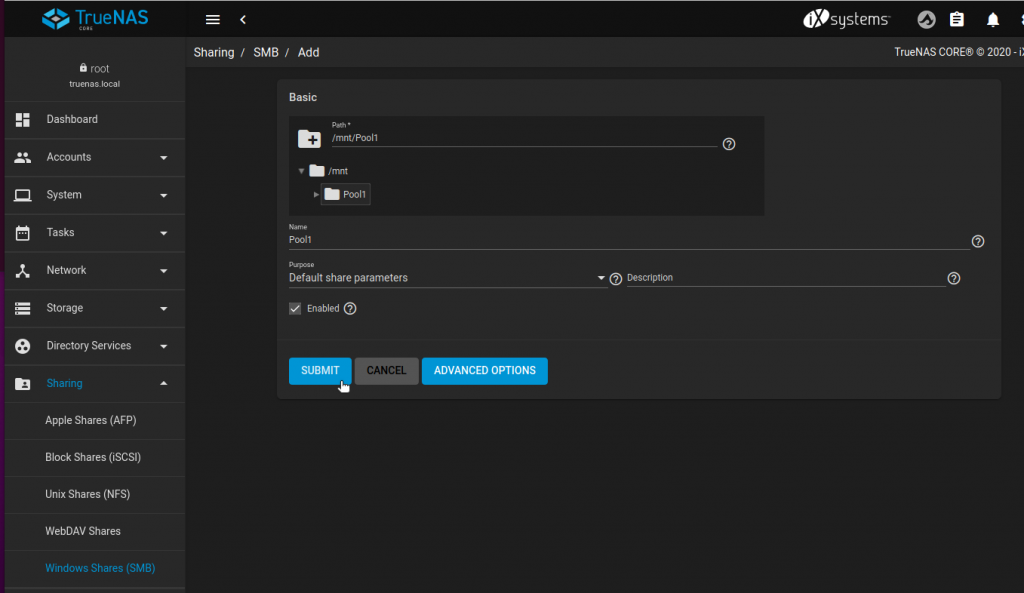
I will select created Pool1, leave everything default and select Submit.
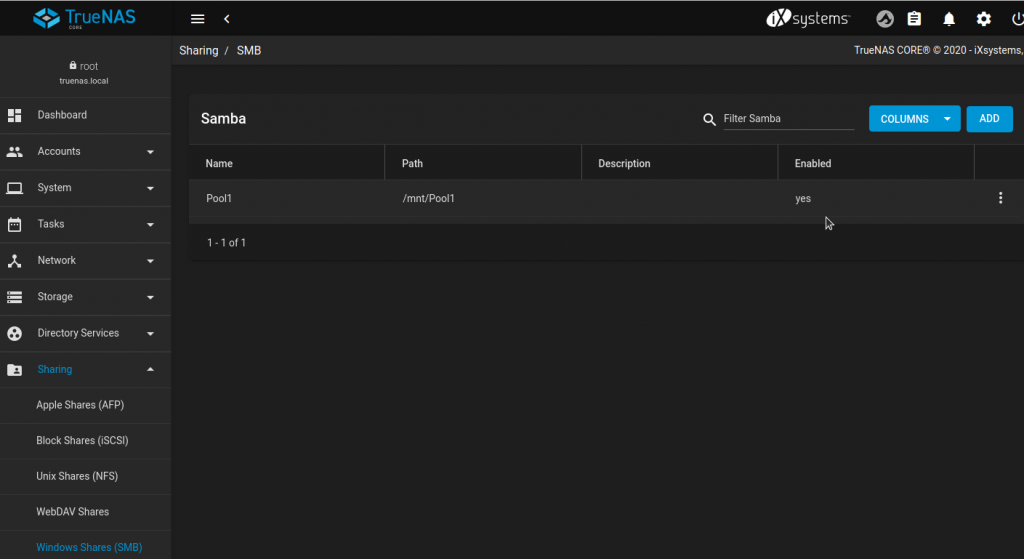
Share is created.
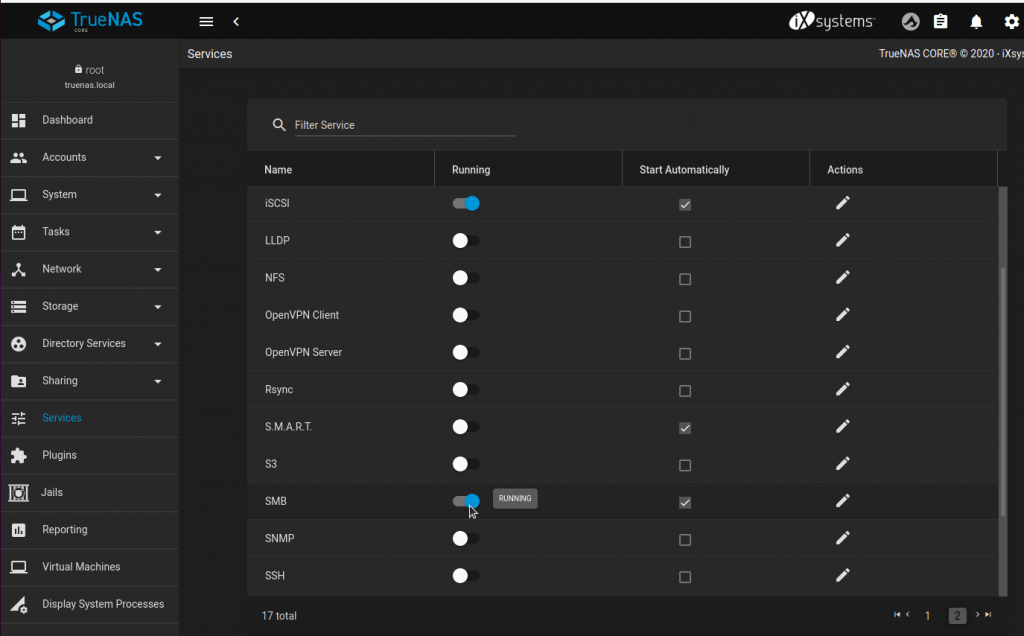
Next, select Services from the left side menu, scroll and find SMB and Enable it.
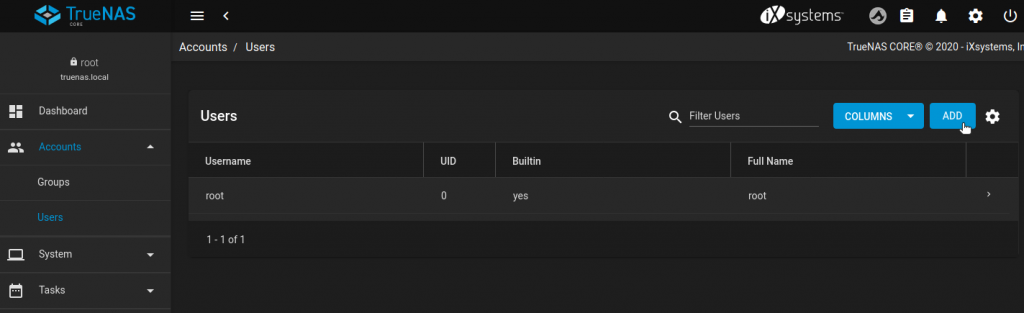
Last step, since this is new install, and there is no domain, I will go to Accounts on the left side menu, select Users and click on Add on the top right side of the screen.
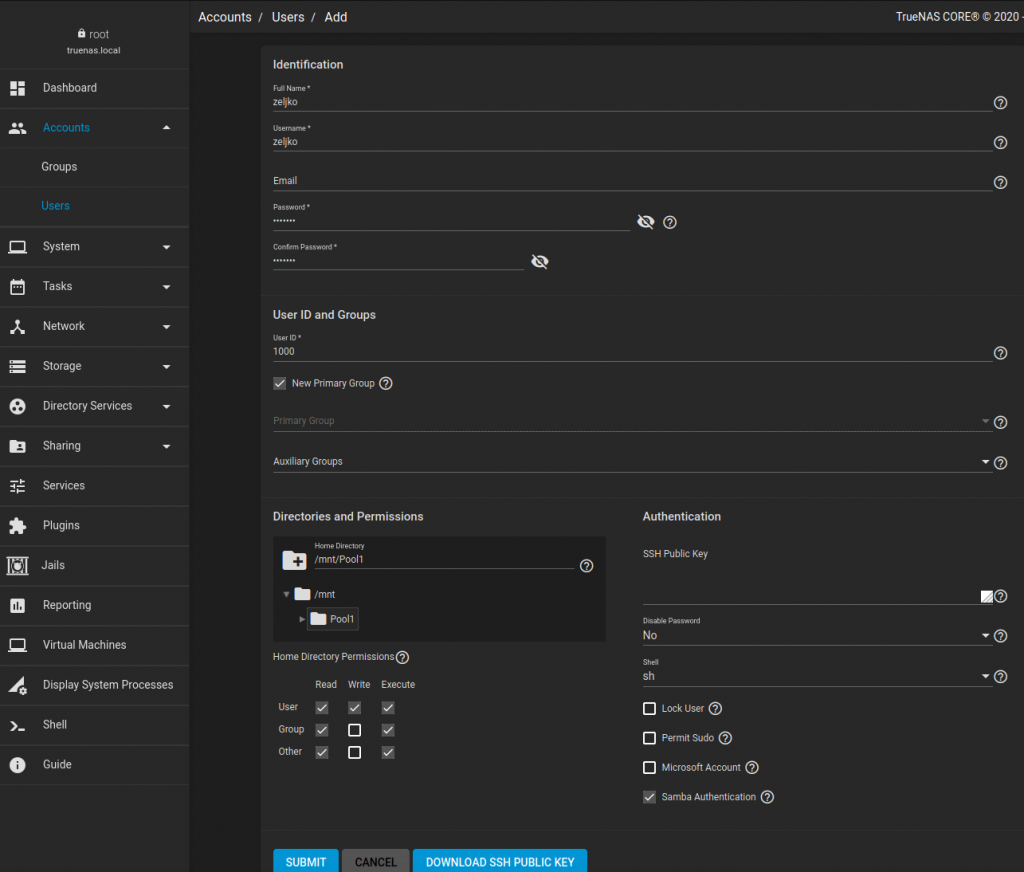
I will create user named zeljko, add password to the account, under Directories and Permissions I will select created Pool1, leave all the settings default and select Submit.
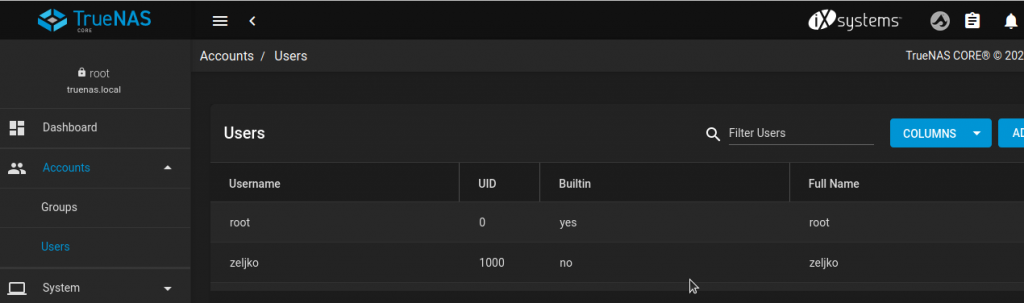
User is created.
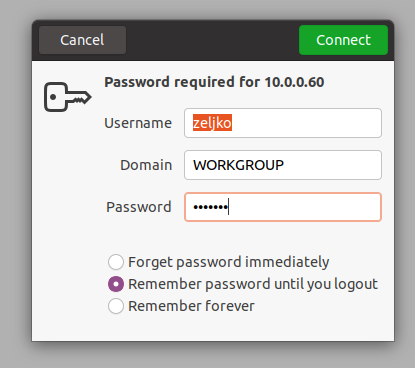
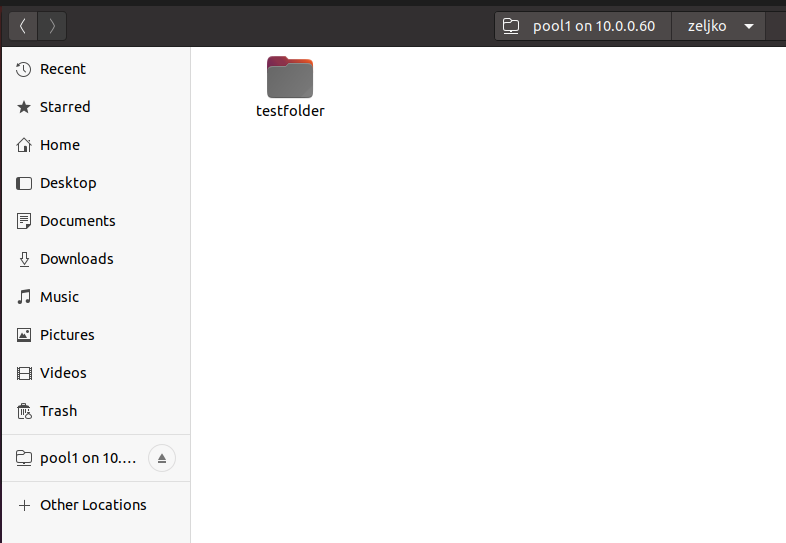
Ok, now I will access the windows share on my Ubuntu VM
smb:\\10.0.0.60 is IP address of my TrueNAS machine.
I was asked for username and password, I entered data from the account I just created above on TrueNAS
Folder zeljko is already created, for a test I created subfolder testfolder – it works.
That is it, simple tutorial for simple windows file shares on TrueNAS.
There is a lot more on this topic, I can write about more complex scenarios if there will be interest.