We went through a lot of options with Nakivo, we will conclude series with detailed Settings tour, to optimize and get maximum from our backup software.
Before we begin
We went through installation, initial configuration, backup, restore, replication and failover… We should conclude series with detailed walkthrough of Settings section.
I have 8 days left of my trial experience, so while I was quick in this section of testing, it is time to wrap this up.
If you wish more details – head on to https://helpcenter.nakivo.com/display/NH/Settings
Settings – General
We will go through every option in General Section
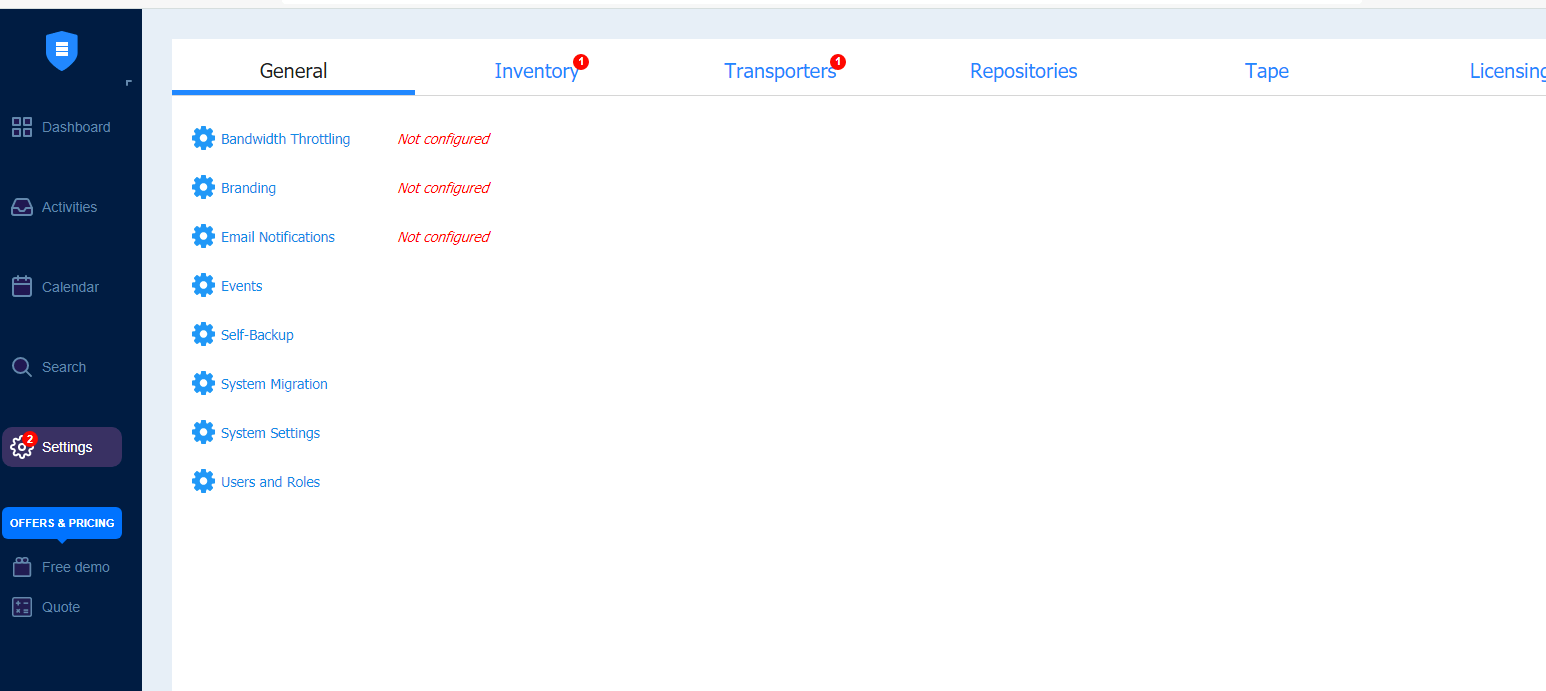
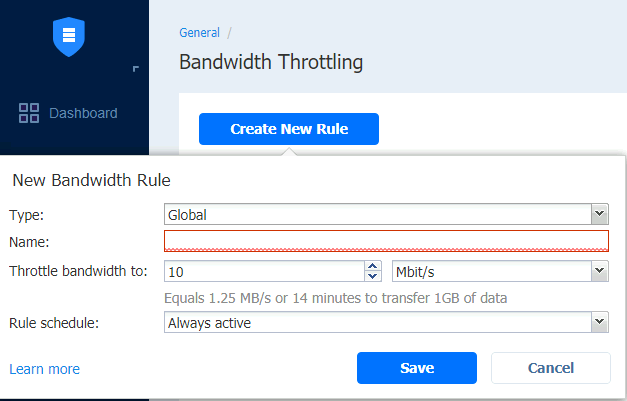
Bandwidth Throttling
If your backup jobs are hammering your network and making all the other work hard, it is time to setup Bandwidth Throttling.
It will basically put limit on how much Mbit of Gbit Nakivo can consume while backing up or doing replication.
Bandwidth throttling can be global or per job (per job has higher priority than global) Global is for whole application and per job is obviously for one job you decide it will manage. Throttle you set can be exceeded by 0.3Mbit to 2.4Mbit of traffic per Nakivo documentation.
In the end, you can schedule Bandwidth throttle or set it as always active.
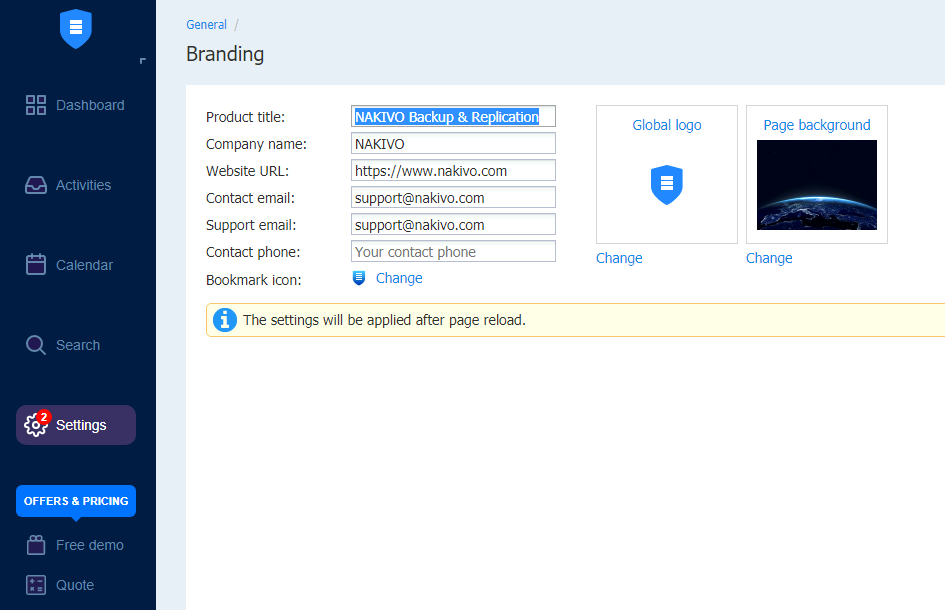
Branding
This part is available if you have Enterprise tier of Nakivo products.
Obviously, you can change name, logo, background, website, email and phone here…
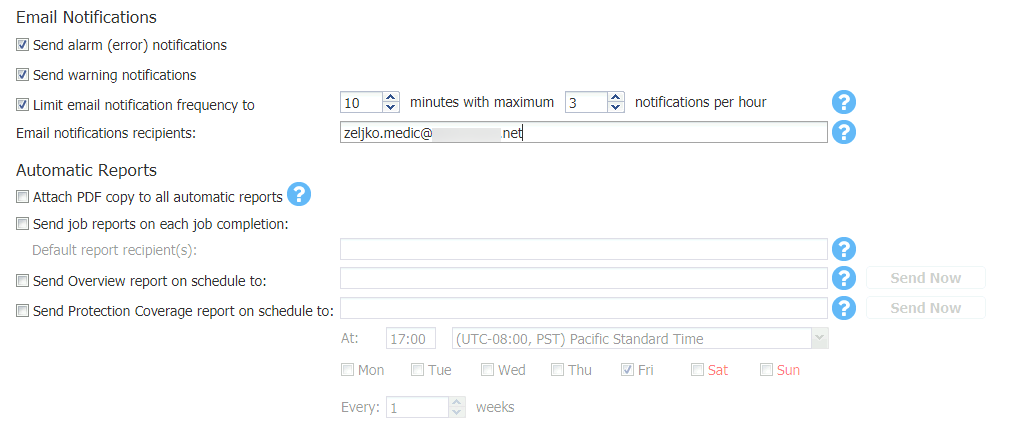
Email notifications
This one is essential, you need to know about issues with backup.
Eemail settings:
SMTP server (change to your server name): mail.informaticar.net
SMTP username (this is your email address or something else if you use username is some other form): backup@informaticar.net (or it mail be DOMAIN\username, or some other combination)
SMTP password: password for your account you entered above
SMTP port: it can be 25, it can also be SSL or TLS (the more secure, the better)
From: should be email address you entered username and password above – backup@informaticar.net
To (who will receive these emails): zeljko.medic@informaticar.net
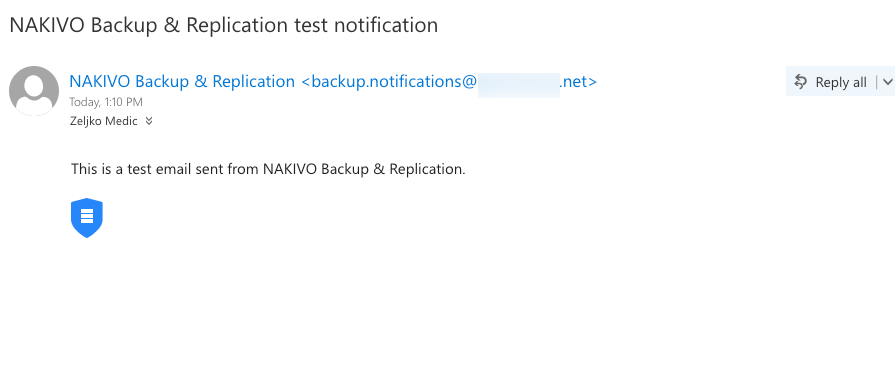
I tested it with Exchange account – it works.
I should also mention that if your email server is blacklisted, this will not work.
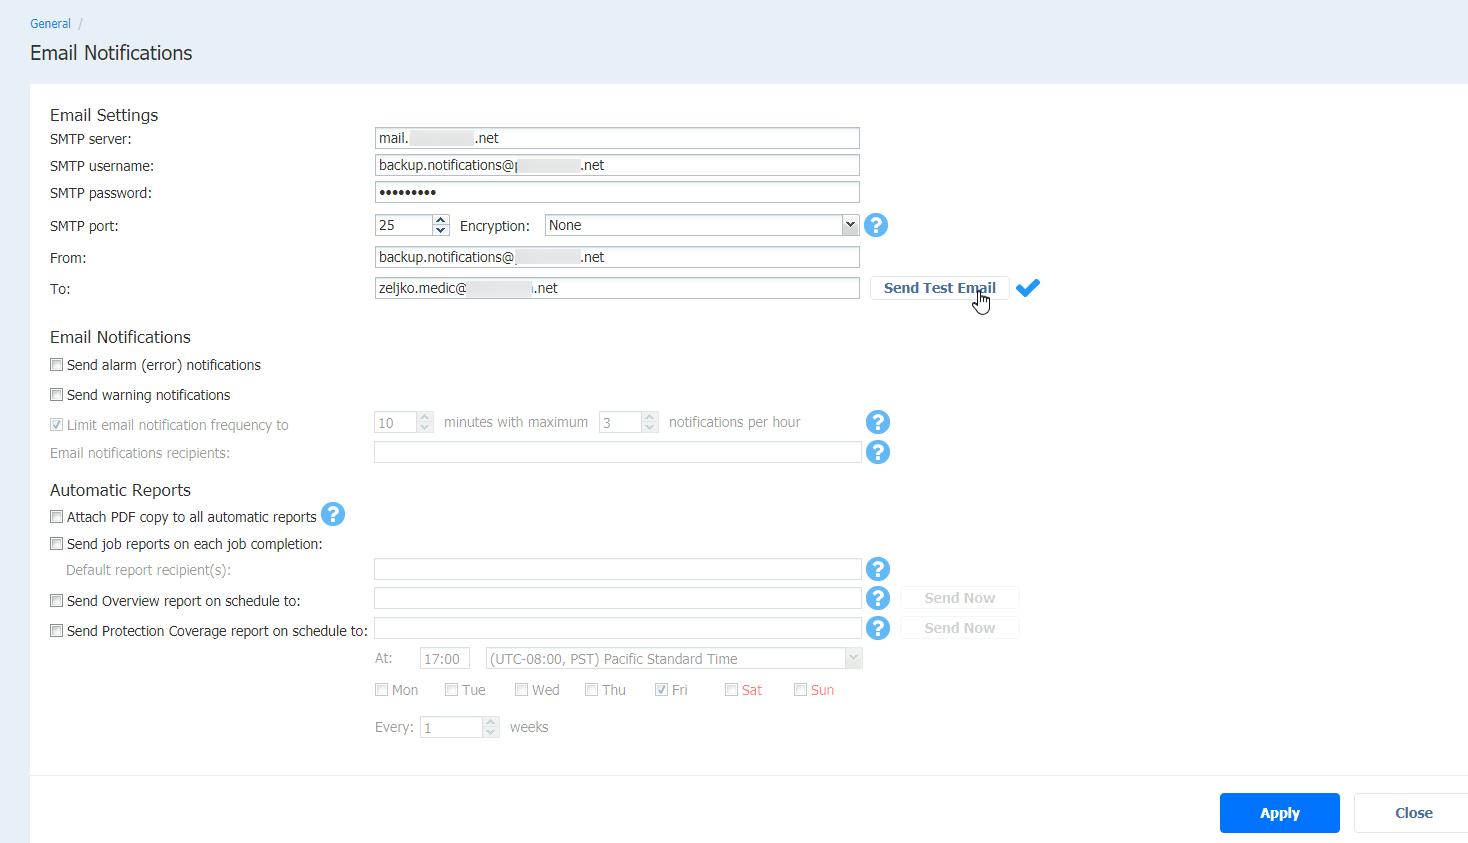
Email Notifications
I usually like to receive warnings and errors. I’m not huge fan of Automatic Reports, but of course it is up to you to configure what and how you like it.
For me, warnings and errors are all I need.
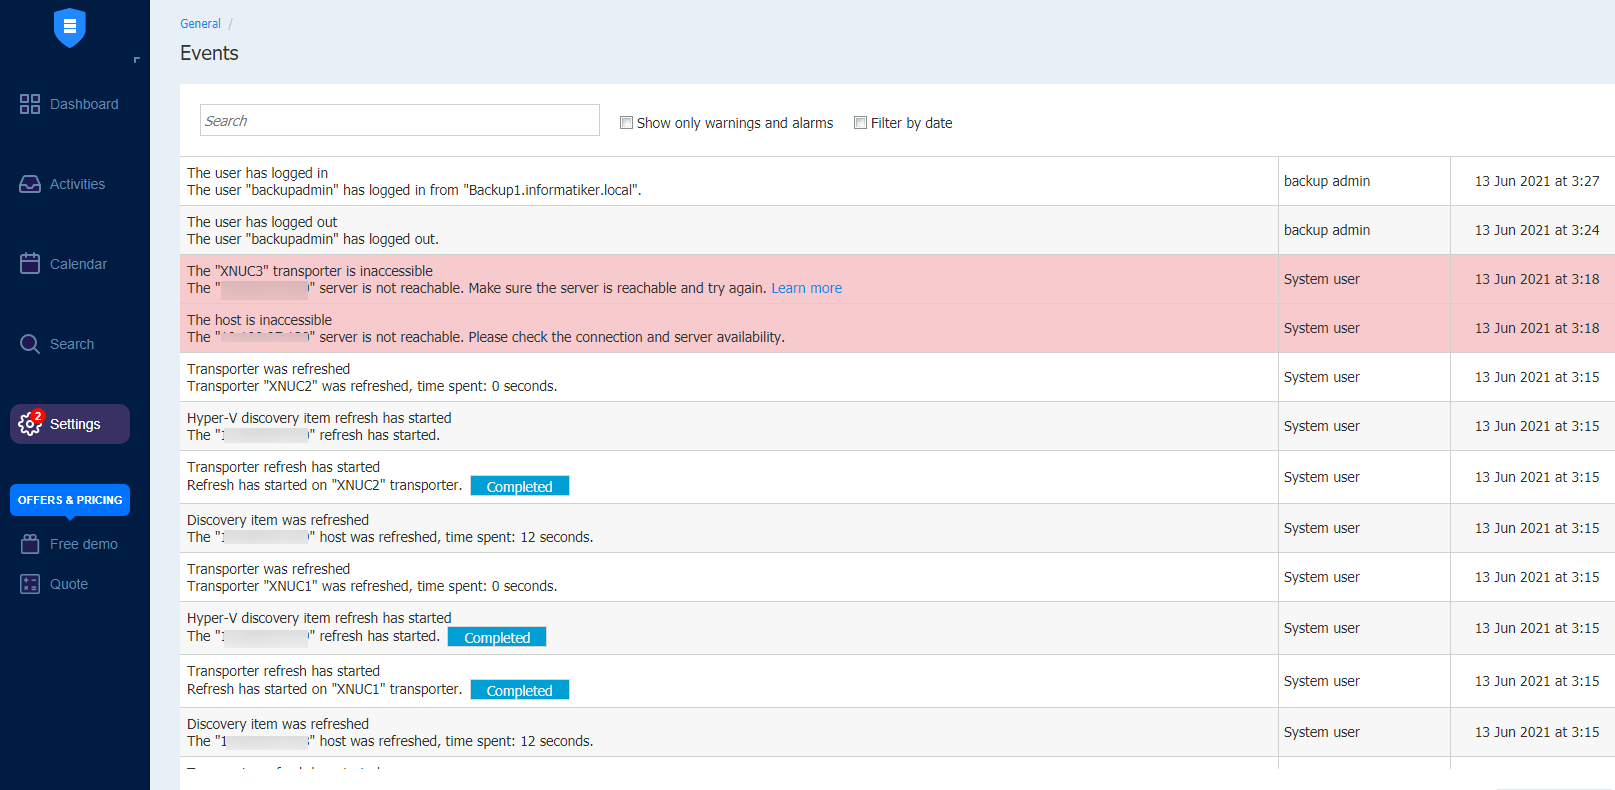
Events
By default all events are stored for 30 days in Nakivo – you can alter that value, we will be later checking how. Not really much to say about this one, if you ever looked at logs and troubleshoot something you know what is this. :)
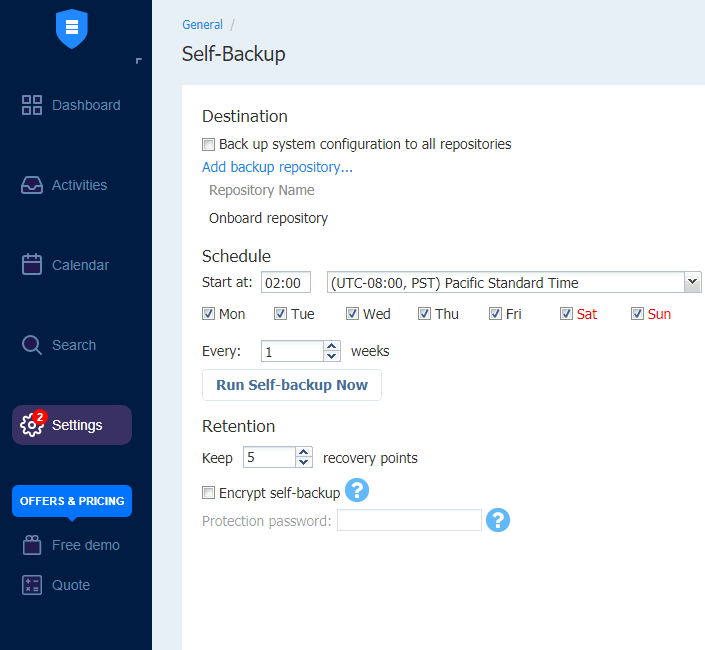
Self-Backup
Enables you to backup configuration of your Nakivo install.
You can schedule it, set retention policy, and encrypt it
There is a warning if you are doing this to EMC DD Boost, so be sure that you check Nakivo documentation if you have EMC in your environment.
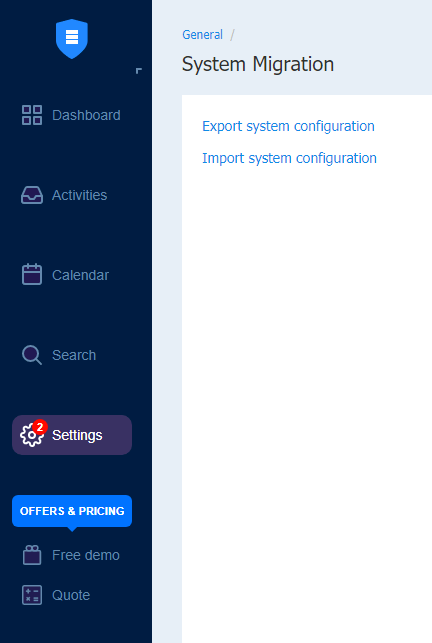
System Migration
If you wish to migrate to new Nakivo instance, System Migration will – migrate – all your settings (including inventory, jobs, credentials, transporter settings…) to the new instance.
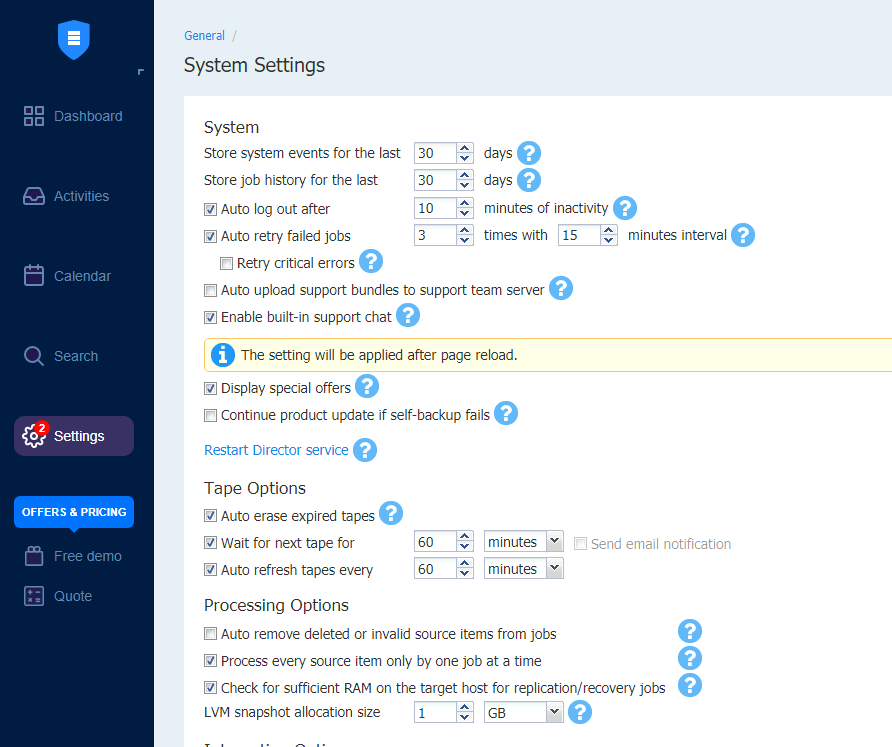
System Settings
There are few sections within System Settings, there really are no recommendations to set here, it is all up to your preferences.
System section
You can define how long you keep system events (30 days is default). You define also how long you need your job history.
You can set when to log out of your Nakivo session and how many times in what time interval to retry failed jobs. Support and special offers part is also define here.
Tape options
If you have tape backup you will define some details like if you wish to erase expired tapes and auto refresh of the tapes here.
Processing Options
c/p from Nakivo documentation
Auto remove deleted or invalid source items from jobs: Deleted or invalid source items are automatically removed from jobs. Backup or replicas of these items are not removed. Invalid items includ guest mailboxes and unlicensed items.
Process every source machine by one job at a time: When this option is selected, all machines in backup and replication jobs are processed by one job at a time only. Running jobs and respective source objects will not be affected after changing this setting. For physical servers, this option is always enabled.
Check for sufficient RAM and snapshot allocation size are easier to understand.
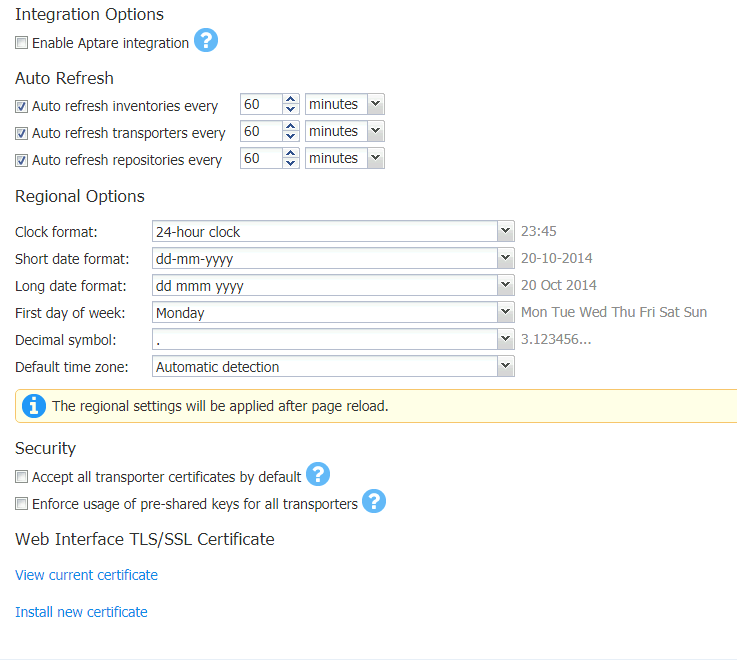
Integration Options
If you have Veritas Aptare, this is where you enable integration.
Auto Refresh
Set refresh interval for inventories, transporters and repos here.
Regional options
Set according to your needs.
Security
Accept all transporter certificates by default should be disabled.
If you wish to enforce pre-shared key usage this is where you enable it. You transporters will not function without pre-shared keys after you enable this.
Web Interface TLS/SSL
This is where you can view your current certificate for web session or import new one.
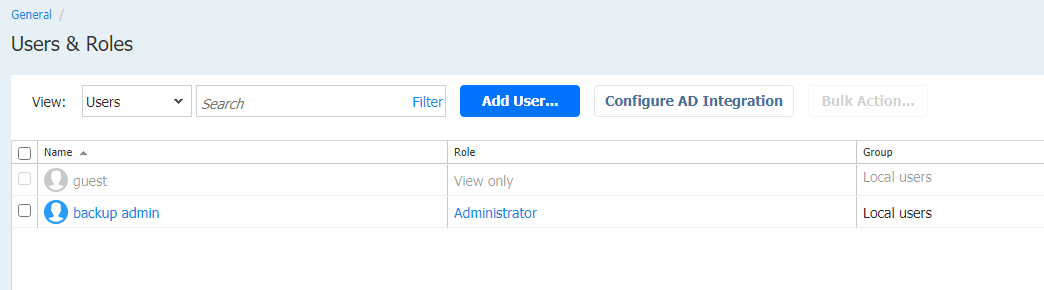
Users and roles
This is where you can configure additional users, integrate your Nakivo with AD, and define roles for the users
Here is overview of user roles and what each user role can do – https://helpcenter.nakivo.com/display/NH/Overview+of+User+Roles
If you need more info about integrating with AD – here is the info – https://helpcenter.nakivo.com/display/NH/Managing+Active+Directory+Users
With this section we are done with general part of the settings.
Settings – Inventory
This is place where you will see your hosts that have Transporters installed and that Nakivo is protecting (backing up, replicating…)
This is where you will add your Hyper-V hosts, VMware servers before you can protect them.
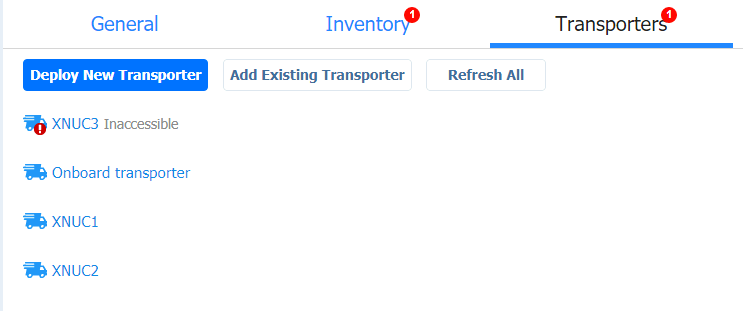
XNUC3 currently has exclamation mark, because it is down.

Settings – Transporters
Self explanatory, everything is written on the screen.
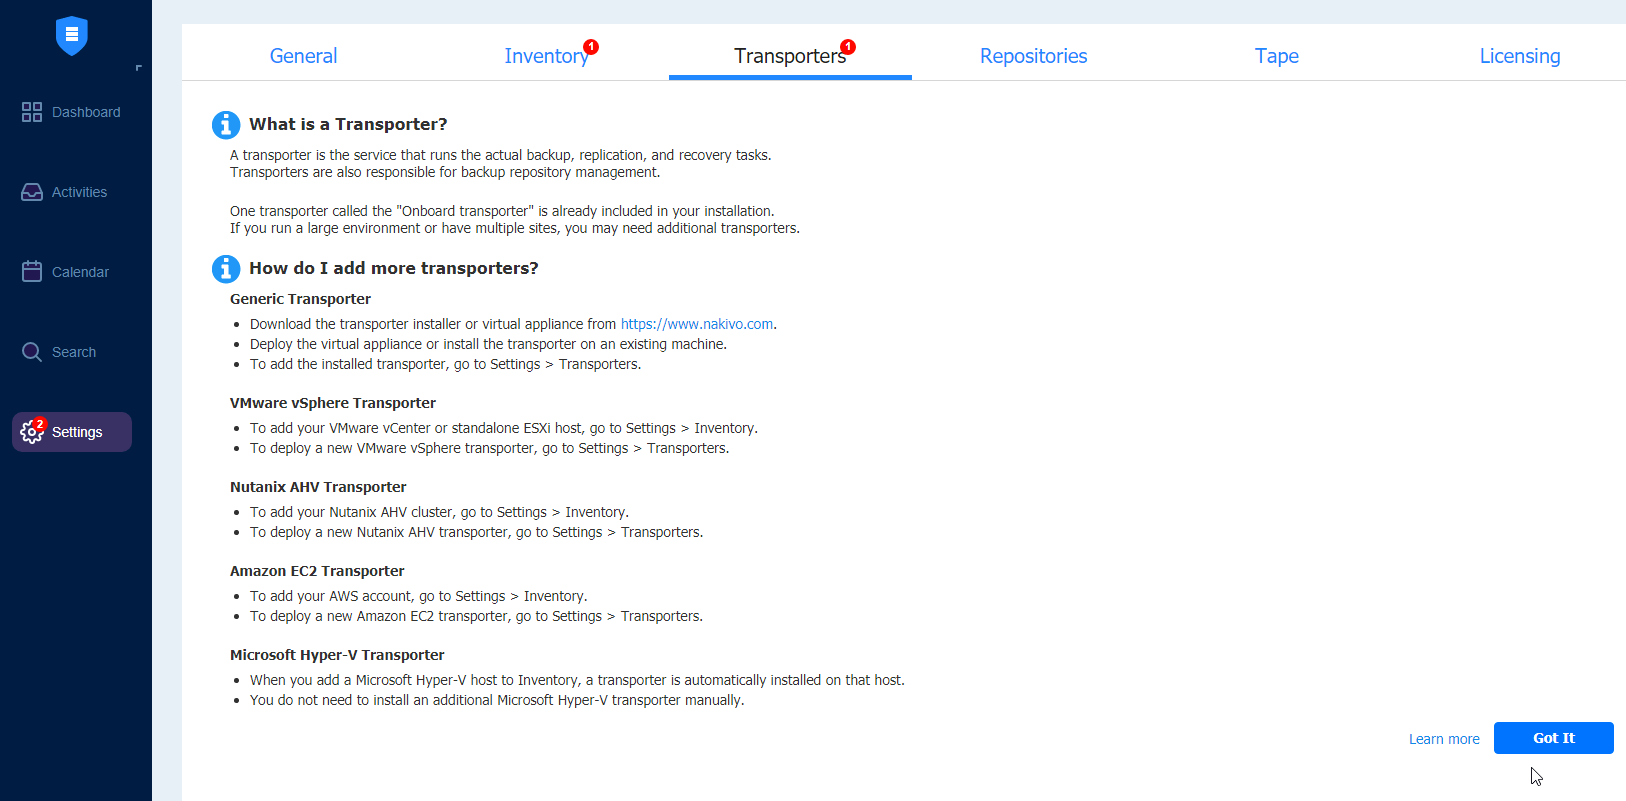
After you click on got it, you will be seeing list of your transporters
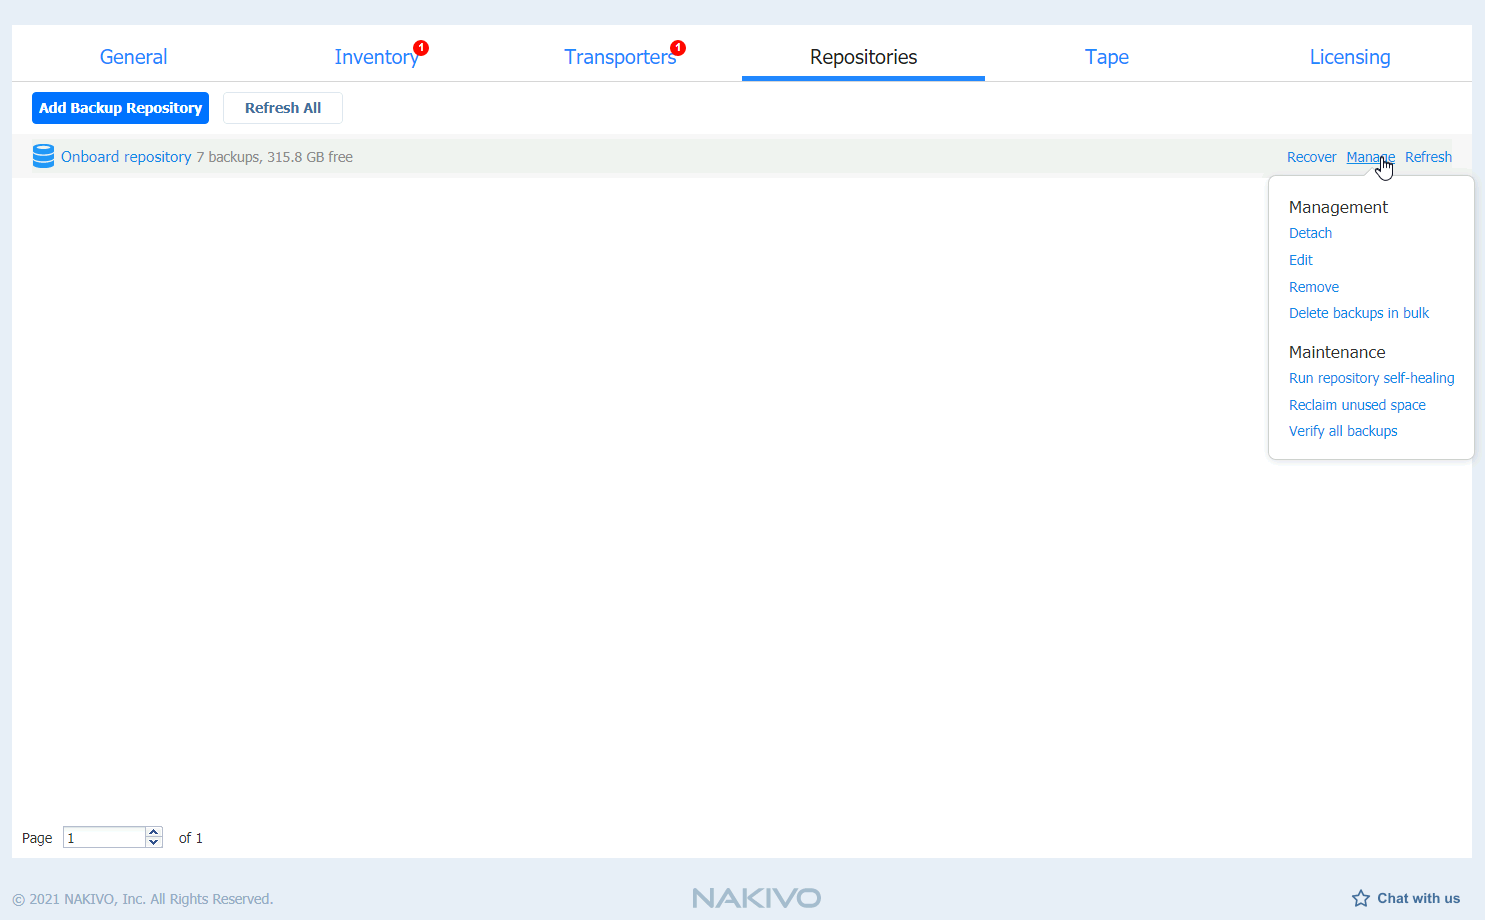
Settings -Repositories
Here you will see storage you added for your backups… You can add more repos, or see stats for current ones.
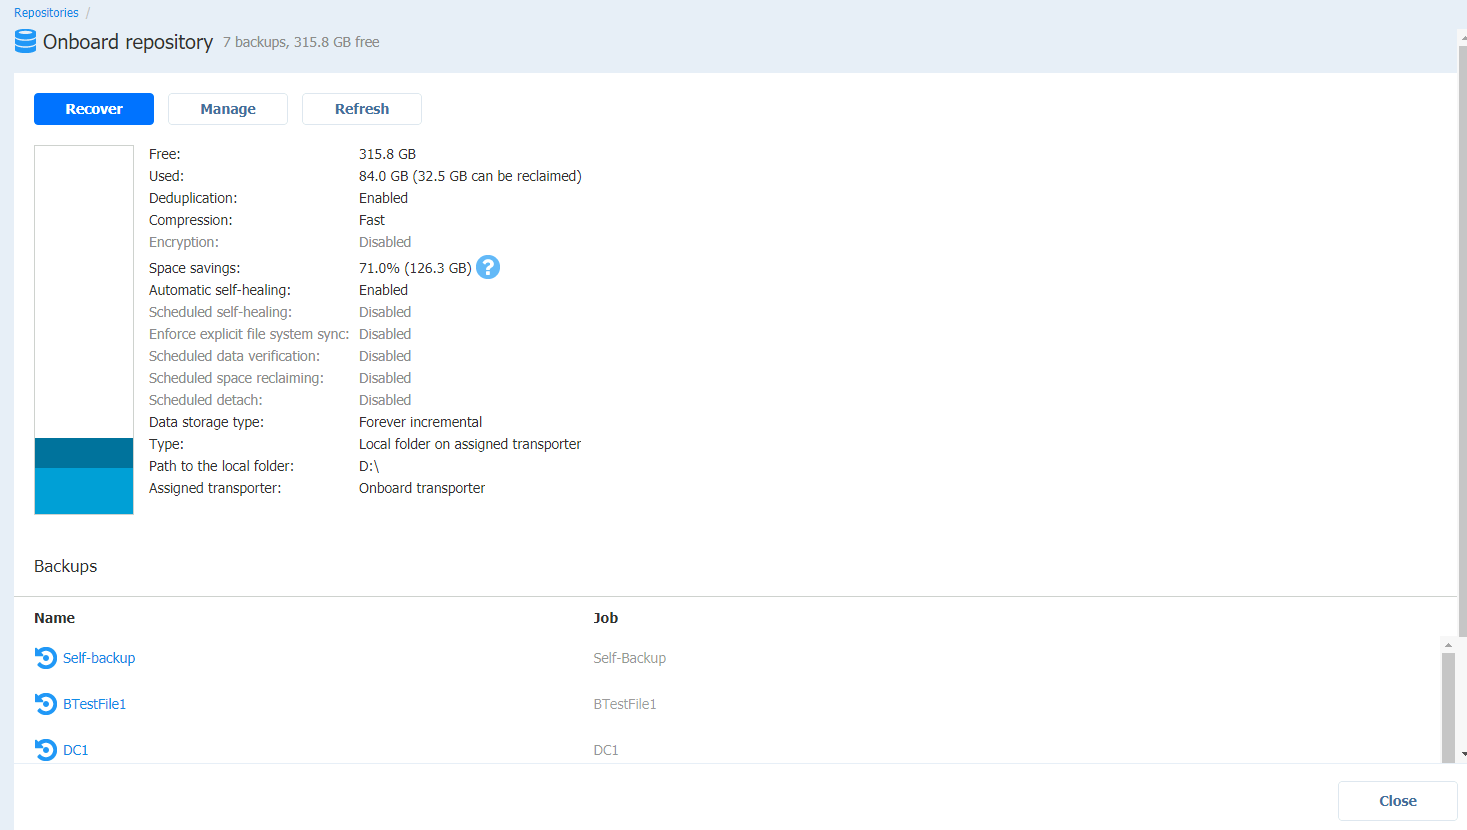
After I clicked on Onboard repository I can see more details
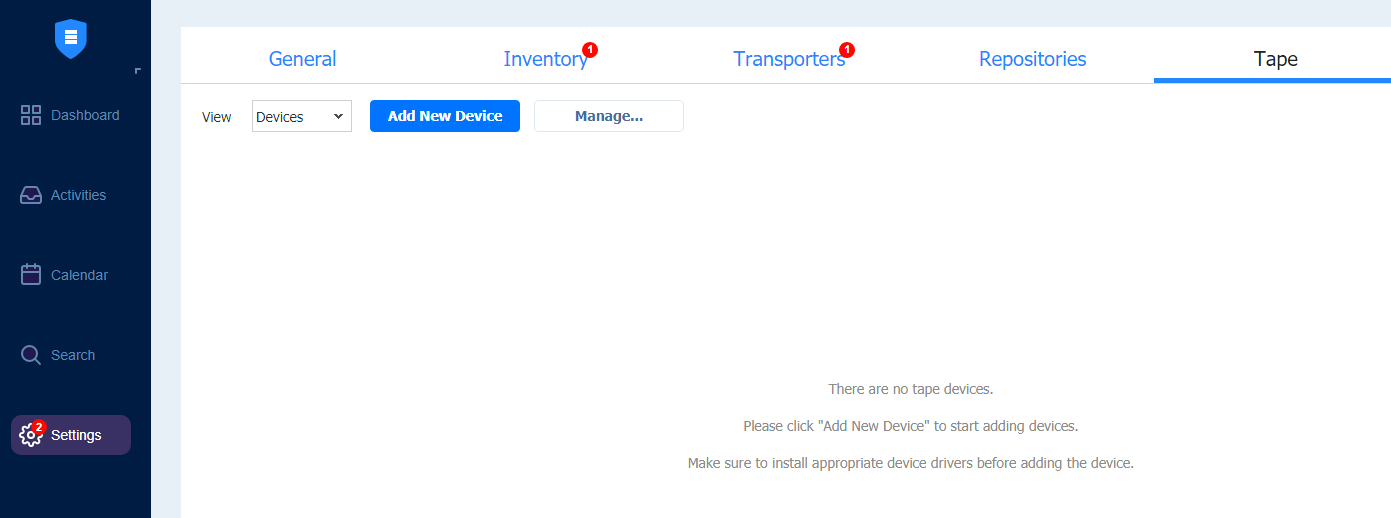
Settings – Tape
If you have tape device, you will add and manage it here. In this lab environment I don’t have tape device, so I can’t show you any details. I do have tape devices in production environment, so maybe some other time I can show that setup if it is something interesting.
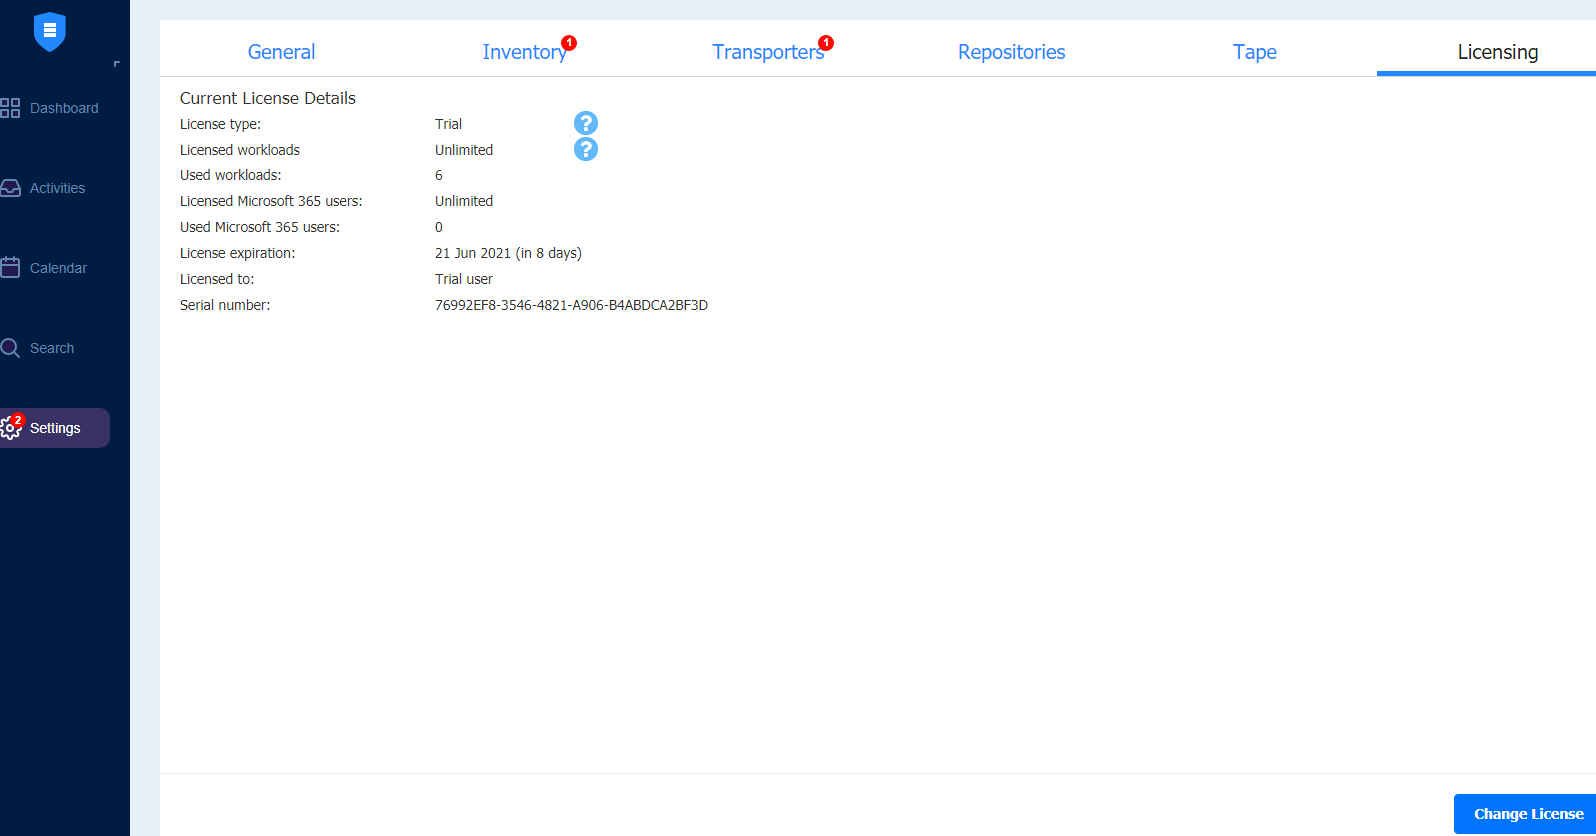
Settings – Licensing
Last portion of the Settings section. Here you will add your Nakivo license.
I can recommend Nakivo from feature and price point. Very good software, nto without a few glitches here and there, but overall solid solution.
Conclusion
With this article we wrapped up our Nakivo experience. There are more things to talk about (like Site Recovery) but I think we covered a fair share of this software.
Like every software, Nakivo has its own bugs and shortcomings (some of them I described in my testing) but overall it is solid platform for your backup needs and I would recommend it.
In the end, as with everything – Test it out or yourself and see if it fits your needs.