I frequently used FreeNAS for all my LABs and testing. Mostly because I need iSCSI functionality in lot of scenarios with DR and HA functionality. After lot of thinking I decided to try out iSCSI target service on Windows Server 2016.
In this scenario I will be using two machines, both Windows Server 2016 Standard in trial mode.
ISCSI Target:
First one is WS2016iSCSI and that one will be iSCSI target with storage locally attached. Machine is on IP address 10.30.30.5/24
This machine also has two virtual disks attached. One is for the OS and the second one will be used for iSCSI and network storage.
iSCSI Initiator:
Machine that will be using storage provided by iSCSI Target is named WS2016CL2. Machine is on IP address 10.30.30.20/24
There is no domain or any other services configured on these VMs.
First we need to configure iSCSI Target on VM called VM2016iSCSI.
Go to Server Manager | Manage | Add Roles and Features
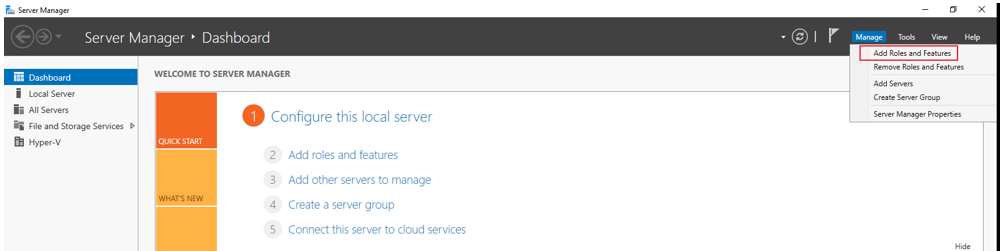
I will not be going through every screen, just the ones that matter for this LAB.
Advance to the Server Roles screen and select File and Storage Services | select File and iSCSI Services | choose iSCSI Target Server
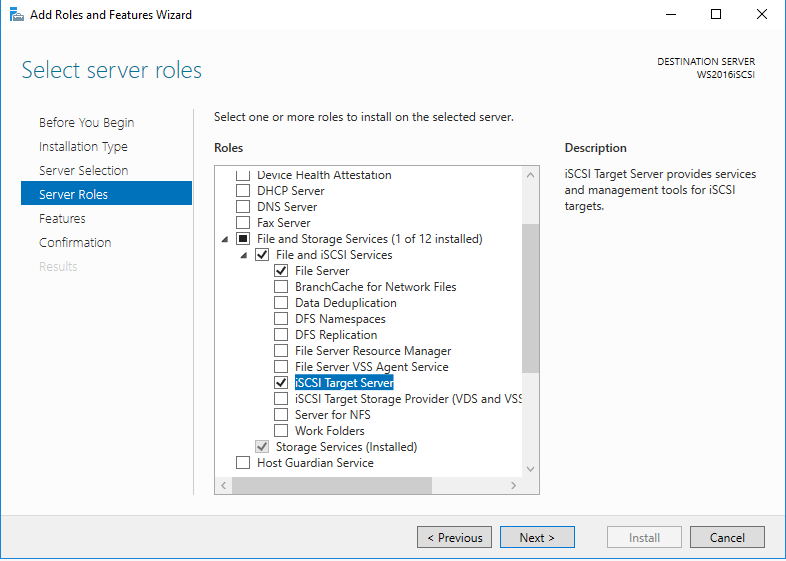
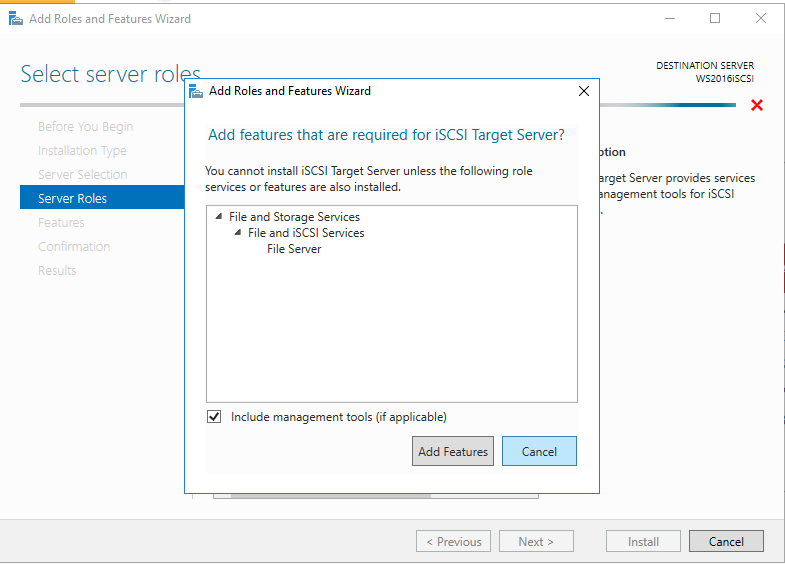
Additional Window will pop-up | select Add Features and then advance with Next when you get back to main screen.
Confirm selection and click on the Install
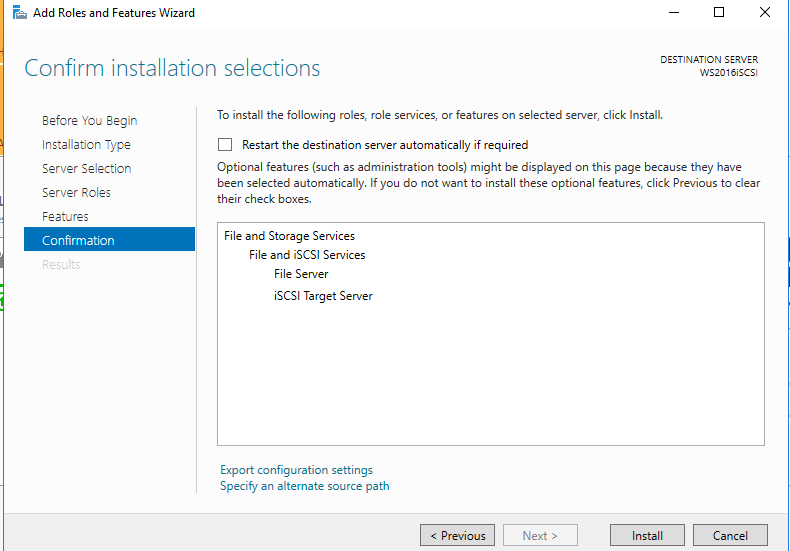
…
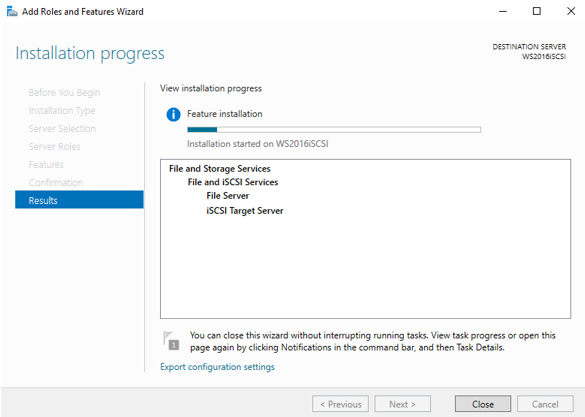
Close. Installation of the role is done.
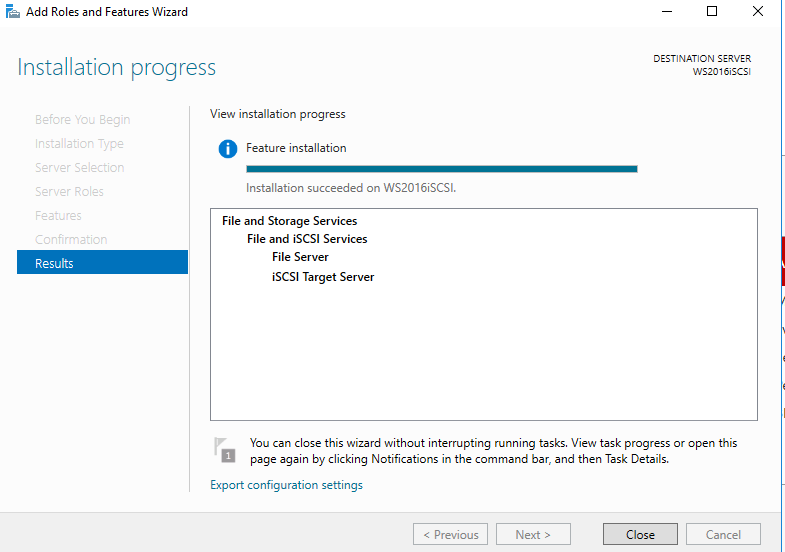
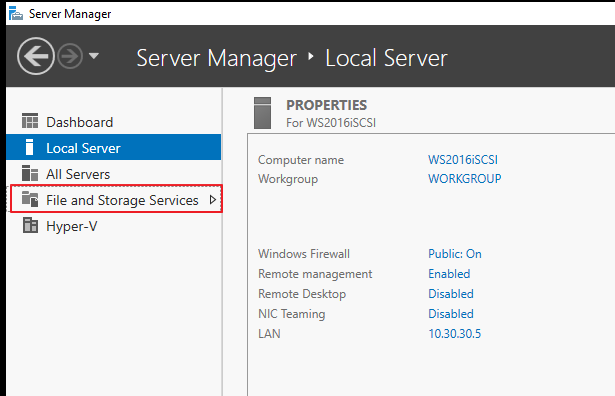
Now, back to the Server Manager, because we need to configure iSCSI Target we just installed.
Server Manager | Local Server | File and Storage Services
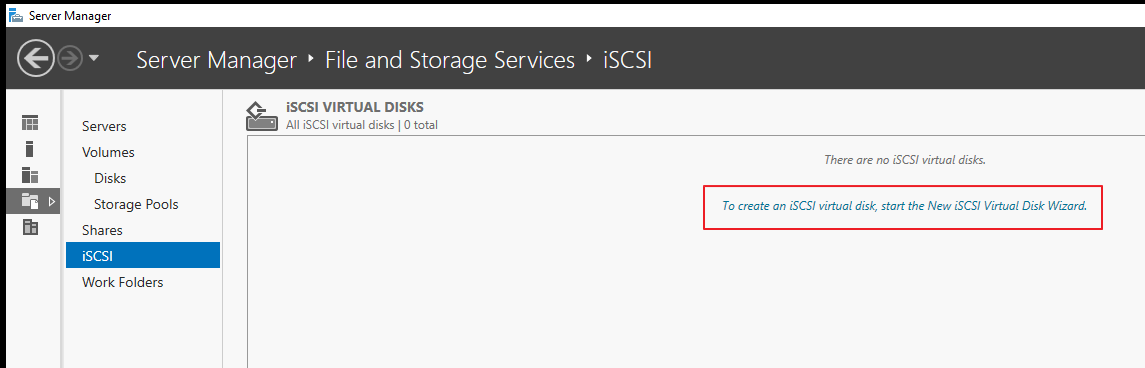
Select iSCSI and click on “To create an iSCSI virtual disk, start the New iSCSI Virtual Disk Wizard” dialog.
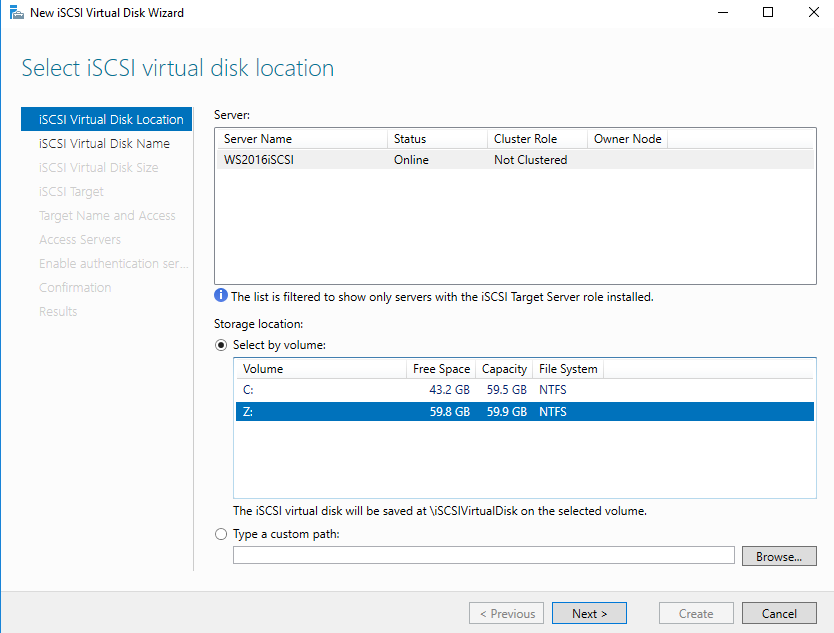
Wizard starts. On the iSCSI Virtual Disk Location screen I will choose local server (SW2016iSCSI) and the Storage labeled with Z:
Z: is a local disk that will be assigned to iSCSI and then used by computer in a network, connected by iSCSI. It is recommended that you use separate disk for iSCSI and that there is no local data on it. Next
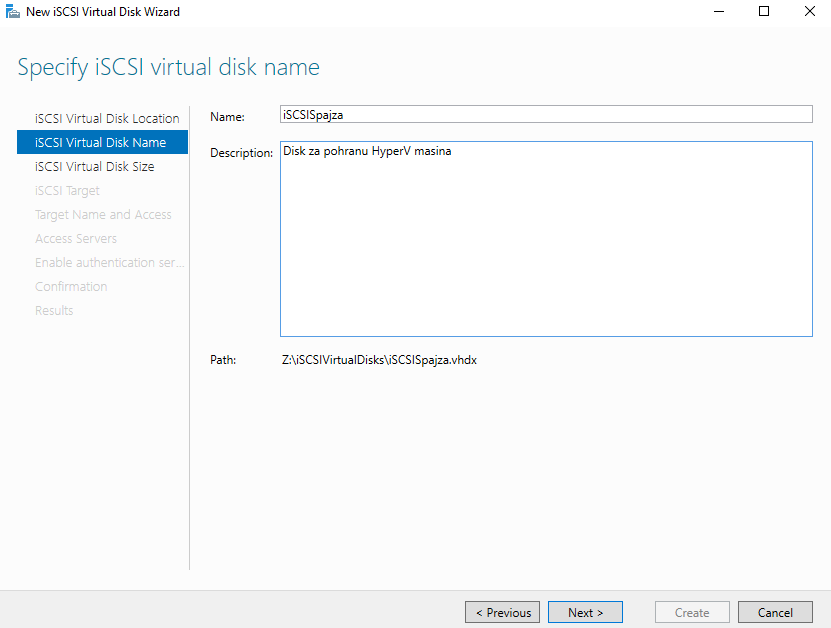
ISCSI Virtual Disk Name | Give a meaningful name to the storage so you can recognize it. Next
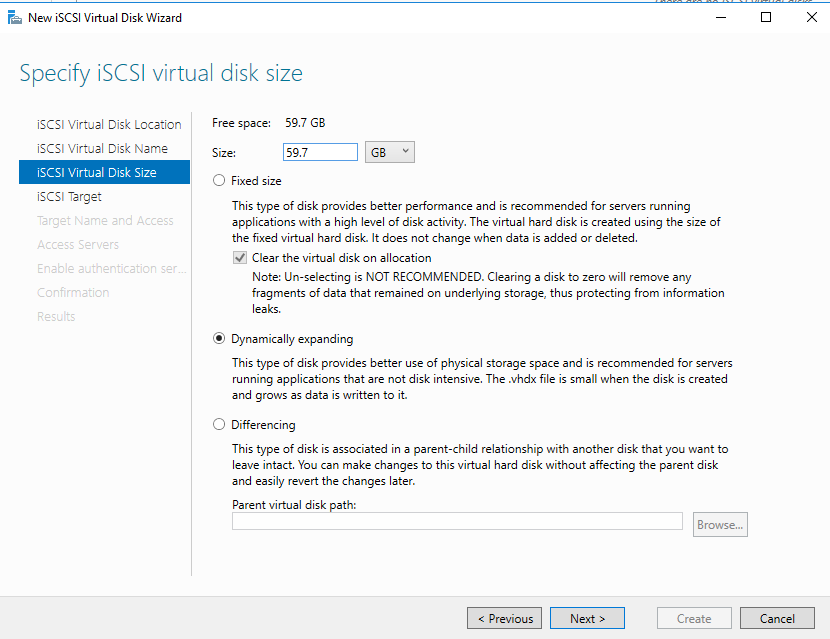
iSCSI Virtual Disk Size. I will give full free space to this iSCSI target. You don’t have to assign full disk to one iSCSI target. I will also choose Dynamically expanding since that suits me best in my testing environment. Next
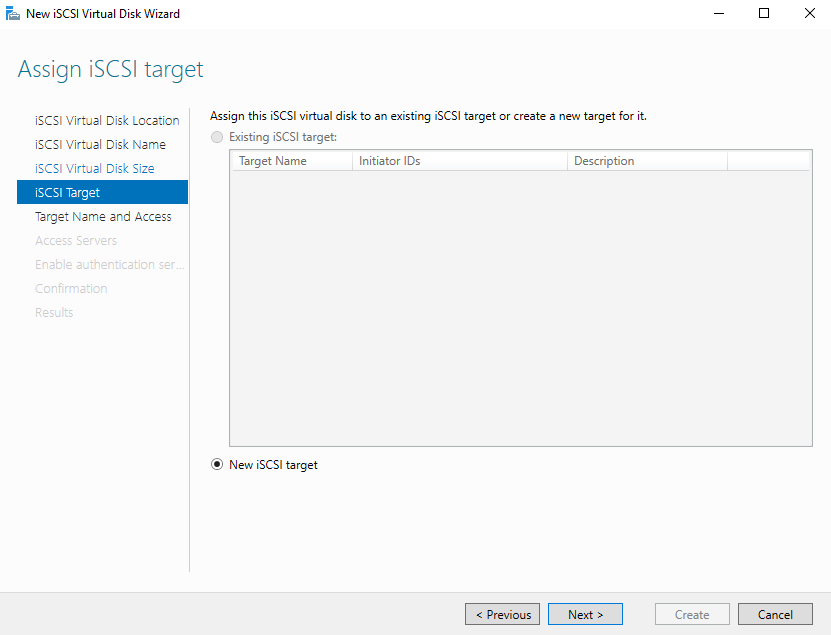
New iSCSI target. Next
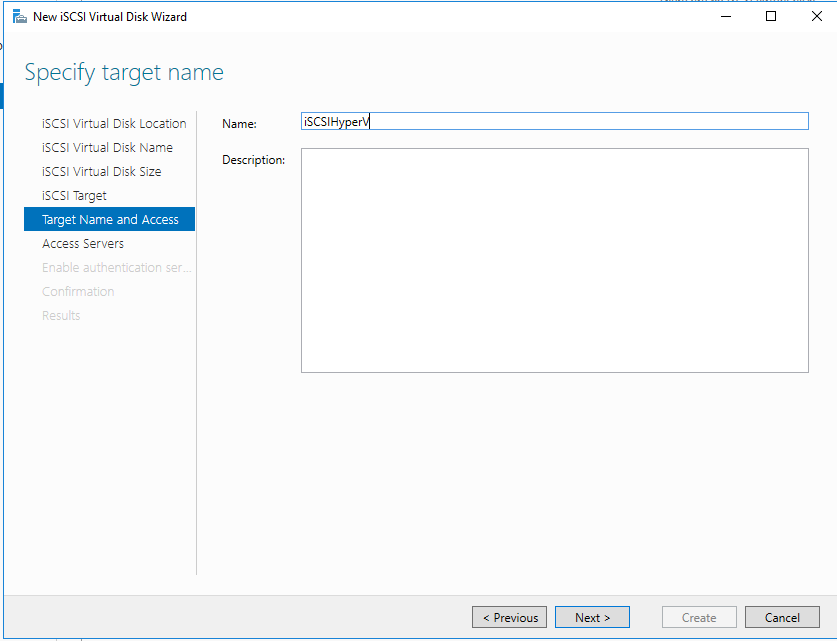
iSCSI Name and Access. Thsi is the name that iSCSI initators will see when connecting to iSCSI Target. Give a name that is meaningful to you. Next
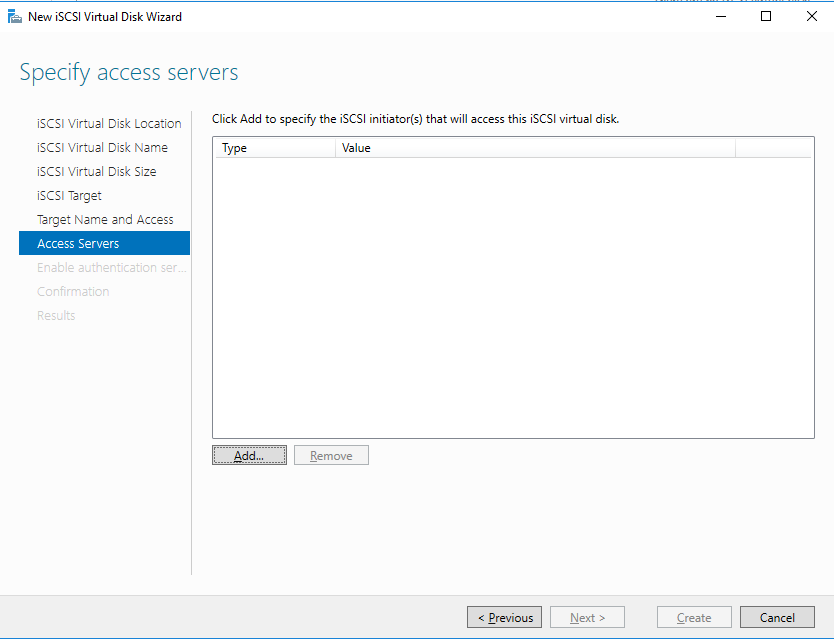
Access Servers | Add
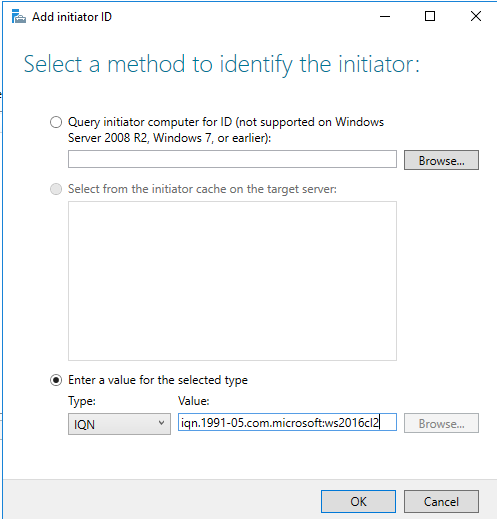
After we clicked on Add, new screen will open, we need to select “Enter a value for the selected type” Type should be IQN.
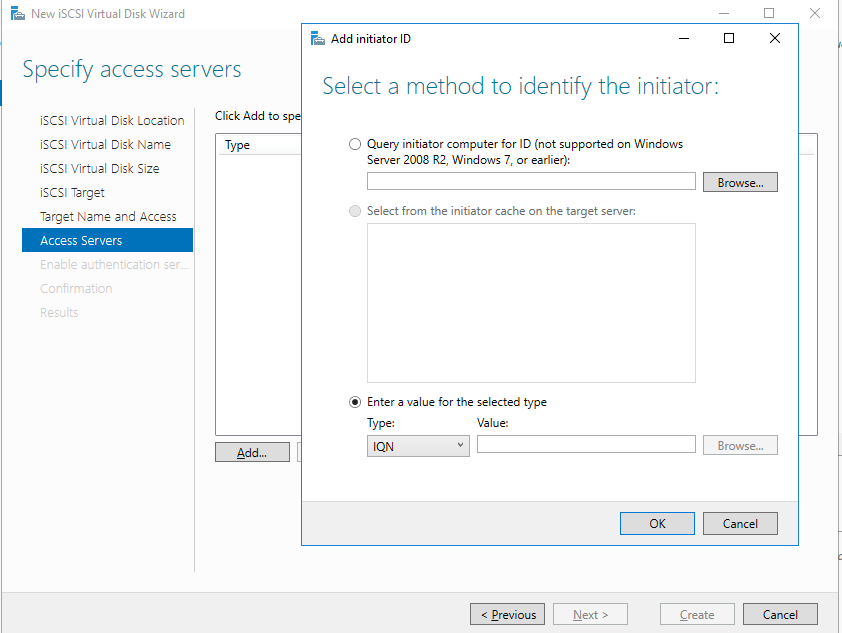
Now, we need to know IQN of the server that is going to connect to this iSCSI Target.
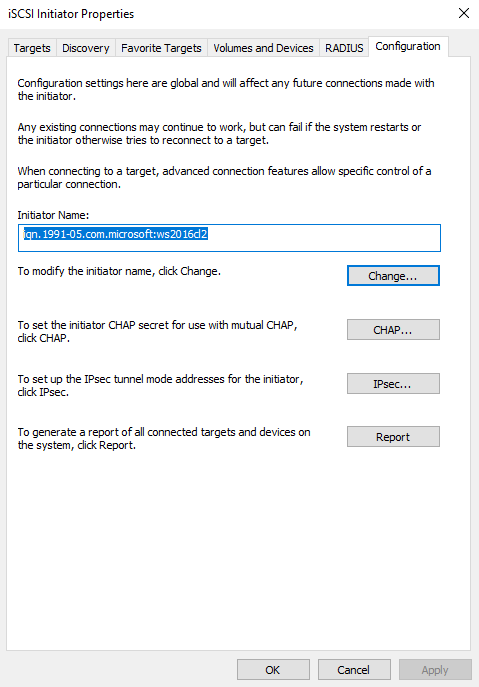
This short step will be performed on the iSCSI initiator (WS2016CL2). If you haven’t already activated ISCSI Initator, you will be asked when you click on ISCSI Initiator in Control Panel.
Control Panel | ISCSI initiator | Configuration tab | Initiator Name – copy everything in that field.
Paste that info into “Add Initiator ID” screen that we left opened on iSCSI Target. OK
Now, lets advance with wizard on iSCSI Target.
We added one iSCSI target, you can repeat Add procedure if you have more Initiators you want to connect. You can also connect new Initiators at later time. Next

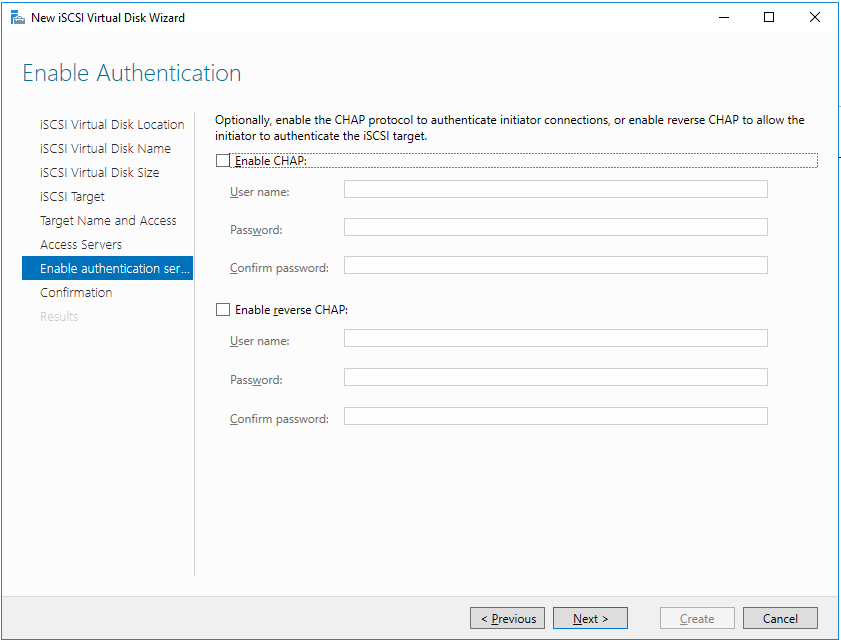
You can also enable authentication for iSCSI but I wont do it in this LAB. Next
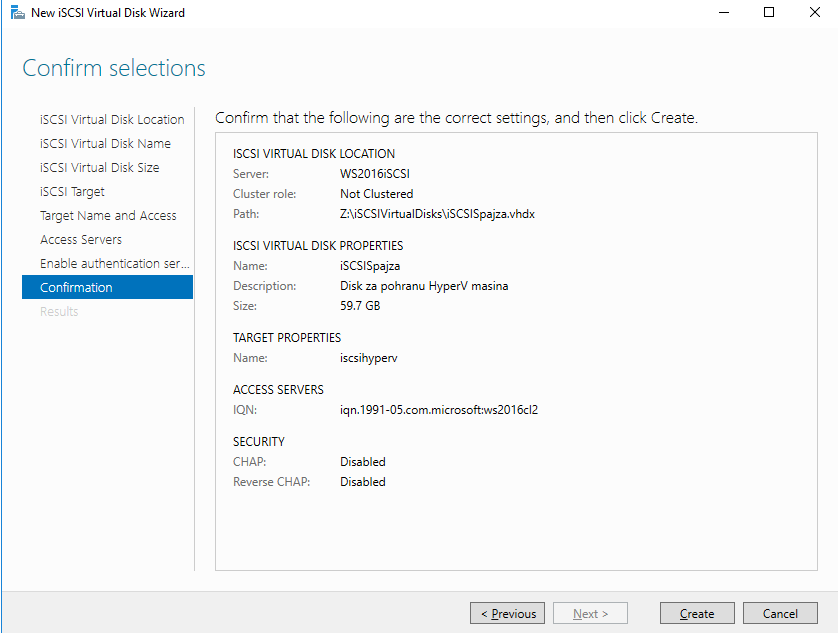
Confirmation screen, check your settings and confirm if you are ok with everything.
Create
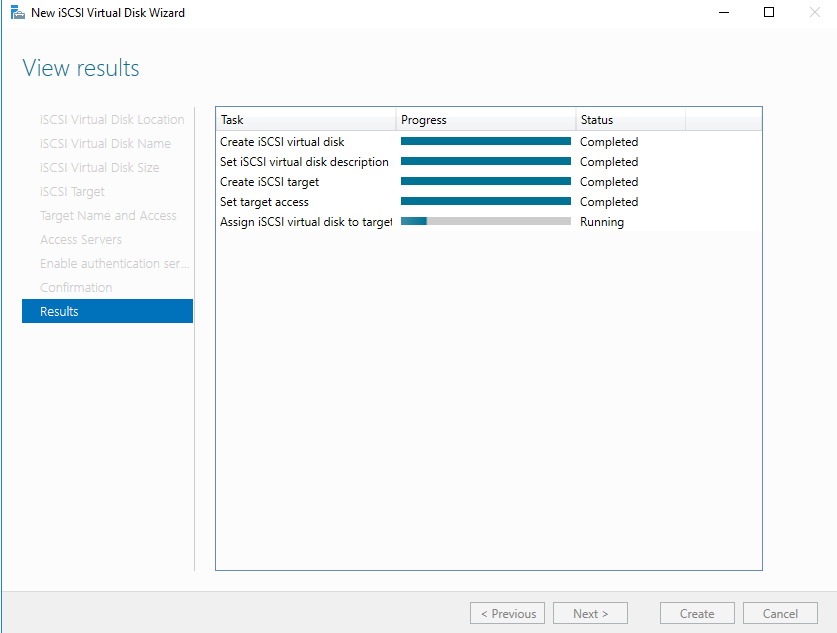
Success | Close
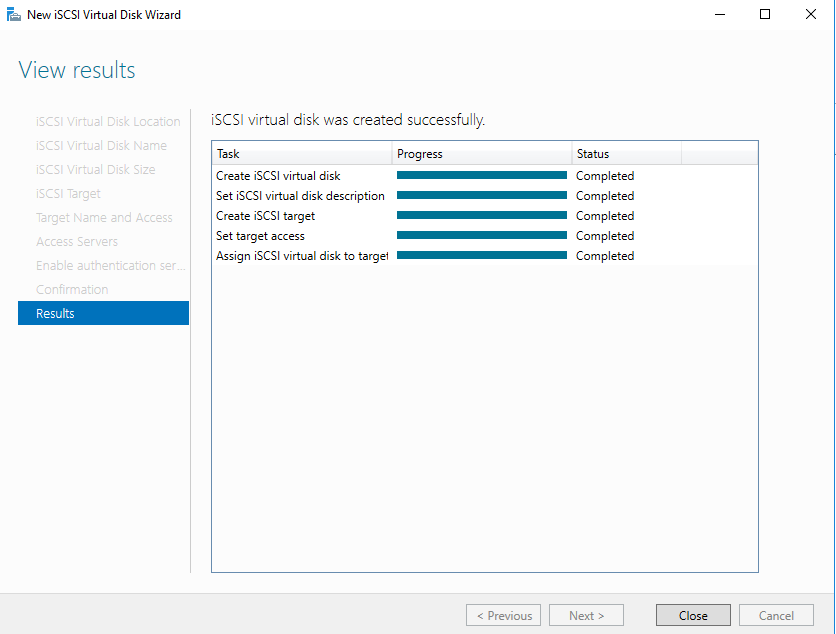
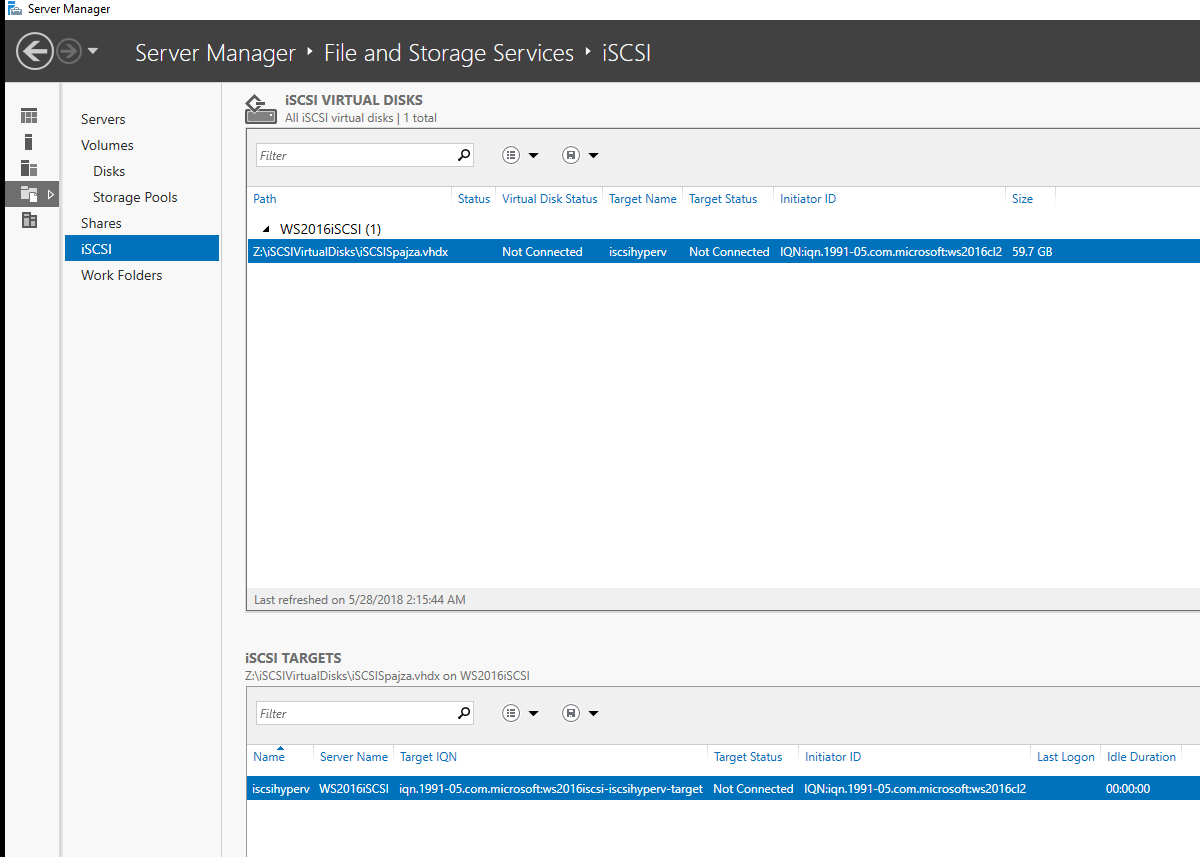
Server Manager is showing all data for iSCSI Target.
That is it for the iSCSI Target “Server” part, lets just check if it work on our “client” machine which is iSCSI Initiator
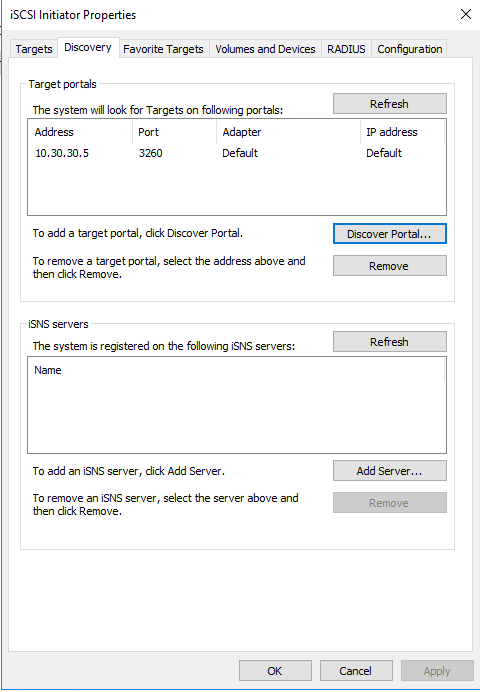
Initiator managed to discover iSCSI Target
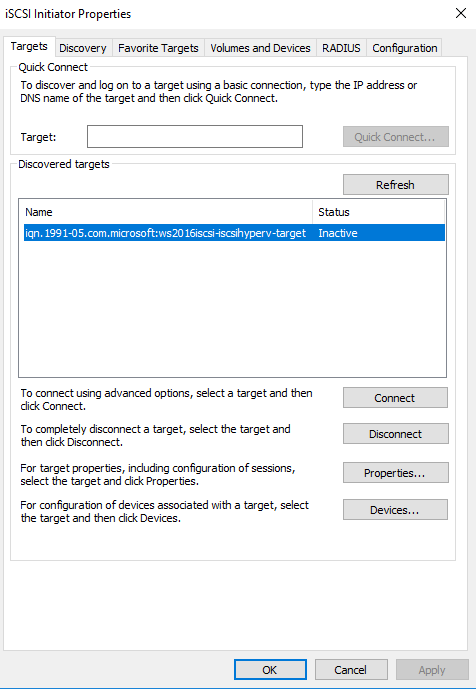
Now lets see Targets tab.
Iscsihyperv that we created earlier on iSCSI Target is visible and ready for mounting.
Overall, setting up iSCSI Target on Windows Server 2016 is quick and easy, and in my experience works with all kind of storage.