Short guide on how to install iSCSI initiator on Ubuntu 20.04
First, we need to install open-iscsi
sudo apt -y install open-iscsi 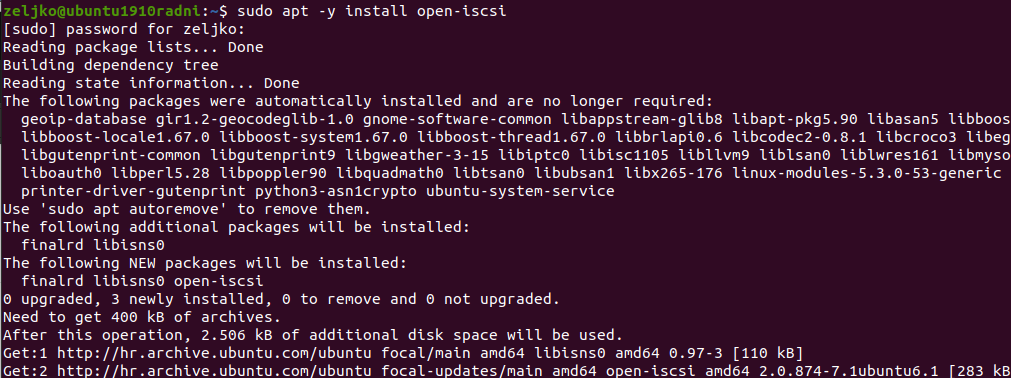
After installation we need to edit initiatorname.iscsi file
sudo vi /etc/iscsi/initiatorname.iscsi 
This is how file looks by default
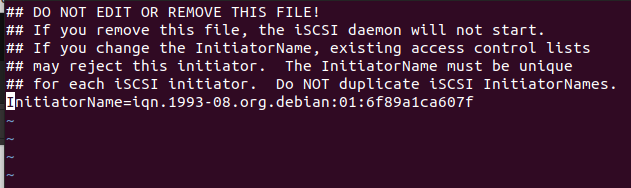
I will remove ign.1993-08… and add following into it:
You can change informaticar:ubuntu1 to whatever you like (domain:server)
InitiatorName=iqn.2020-10.informaticar:ubuntu1.initiator01This is how it looks like in the end.

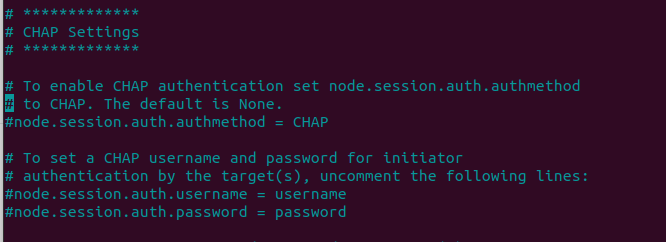
If you wish to specify authentication for your iSCSI connection (you will have to setup authentication also on your ISCSI Target), you can do that in iscsiid.conf file.
sudo vi /etc/iscsi/iscsid.conf 
Under CHAP Settings uncomment following lines:
node.session.auth.authmethod = CHAP
In following two lines replace username and password with your own
node.session.auth.username = username
node.session.auth.password = password
Ok, lets restart our iscsi service after these changes.
sudo systemctl restart iscsid open-iscsi 
My iSCSI Target is on 10.0.060, we will now try and discover our iSCSI Target
sudo iscsiadm -m discovery -t sendtargets -p 10.0.0.60 
Ok, my iSCSI Target is discovered.
Confirm status after discovery
sudo iscsiadm -m node -o show 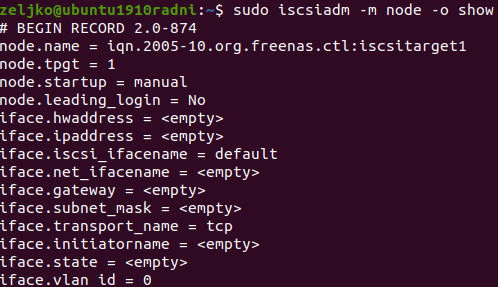
We will now login into target
sudo iscsiadm -m node --login 
Confirm established session
sudo iscsiadm -m session -o show 
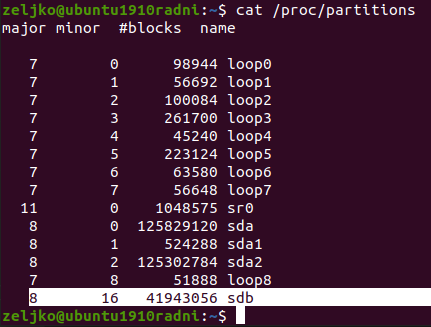
Next, we will check disk/partition layout.
On Ubuntu VM on which I’m preparing iSCSI Initiator I have only one disk (system disk sda) which is 125GB large
cat /proc/partitions Ok, sdb is added, and it is our iscsi target drive.
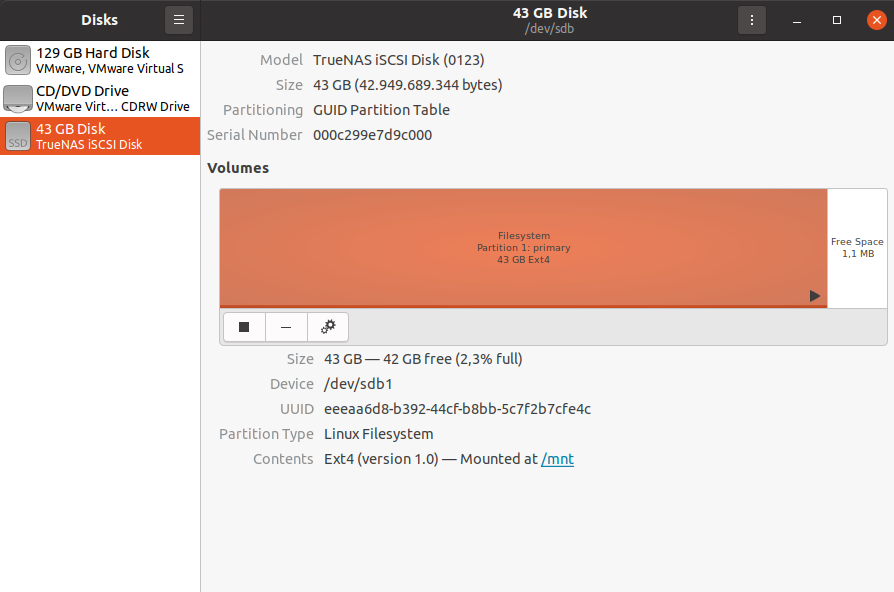
Since I’m also GUI guy I like to check status also in Disk Utility.
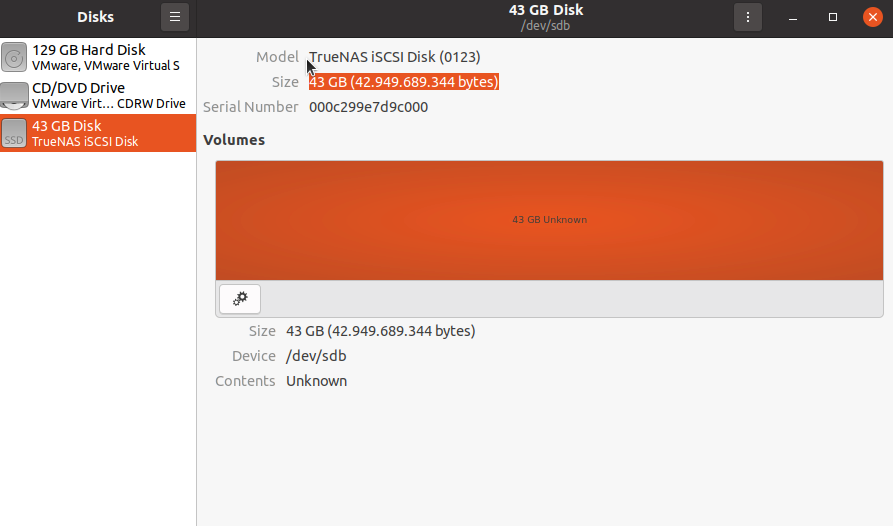
Confirmed, my TrueNAS iSCSI Target is attached.
Configure iSCSI attached disk
Create label
sudo parted --script /dev/sdb "mklabel gpt" 
Make partition
sudo parted --script /dev/sdb "mkpart primary 0% 100%"
I will also format it as ext4
sudo mkfs.ext4 /dev/sdb1 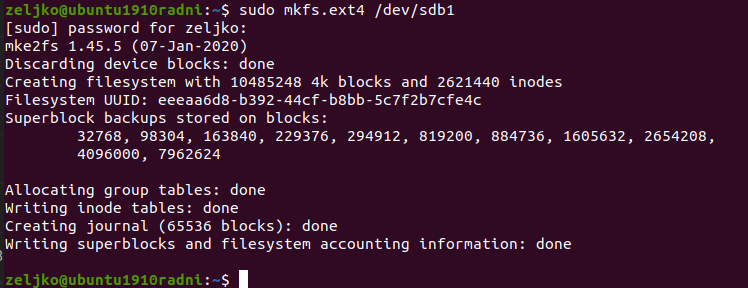
Mount disk…
sudo mount /dev/sdb1 /mnt 
df -hT 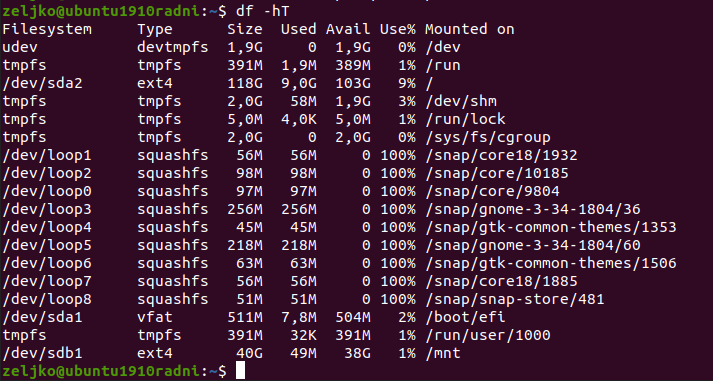
And done…
We can even see it nice in GUI view.