In first article about Starwind Free SAN I covered installation of app. This one will cover serious stuff. I`ll be configuring Starwind Free SAN to work in cluster with HA storage.
For this you`ll need to buy license, or if you plan to use only 2 nodes you can get them free, just send email to them, and you`ll receive one. https://www.starwindsoftware.com/starwind-virtual-san-free
Setup for this LAB is as follows
Two separate servers with Windows Server 2012 R2 STD and HyperV installed on each.
On every physical server inside HyperV is VM based on Windows Server 2012 R2 STD that will host Starwind Virtual SAN, one VM for every physical server. One additional virtual machine will be used for trying and testing storage what we created with Starwind Virtual SAN Free.
Machines that are hosting Starwind Virtual SAN:
Server 1:
HyperV machine with Windows Server 2012 R2 STD
Server name: Role1
2NICs: LAN: 10.10.10.6 Private: 192.168.1.10
Disk config: Windows system disk C:\ and disk that will store Starwind virtual disk E:
Server 2:
HyperV machine with Windows Server 2012 R2 STD
Server name: Role2
2NICs: LAN: 10.10.10.7 Private: 192.168.1.11
Disk config: Windows system disk C:\ and disk that will store Starwind virtual disk E:
Additional machine on which we`ll attach created virtual disks via iSCSI initiator
HyperV machine with Windows Server 2012 R2 STD
Server name: DC2012
NIC: LAN: 10.10.10.3
So, you will need at least two machines which will host Starwind Virtual SAN in order for it to make sense. You can install single installation of Starwind Virtual SAN and it will work as iSCSI Target but you`ll still have storage as single point of failure.
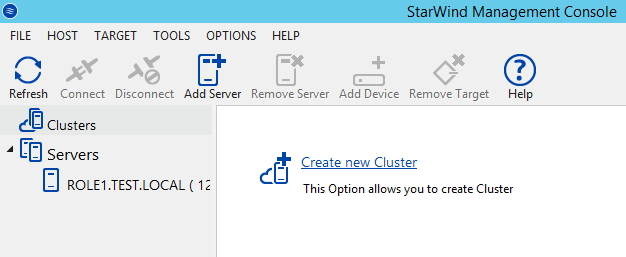
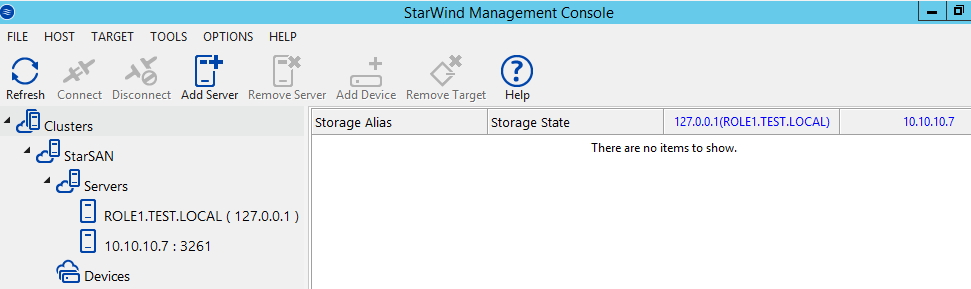
Let us start. Start StarWind Management Console (it is in your system tray, Start Menu or Desktop)
Choose Clusters from left menu and click on Create new Cluster in right window
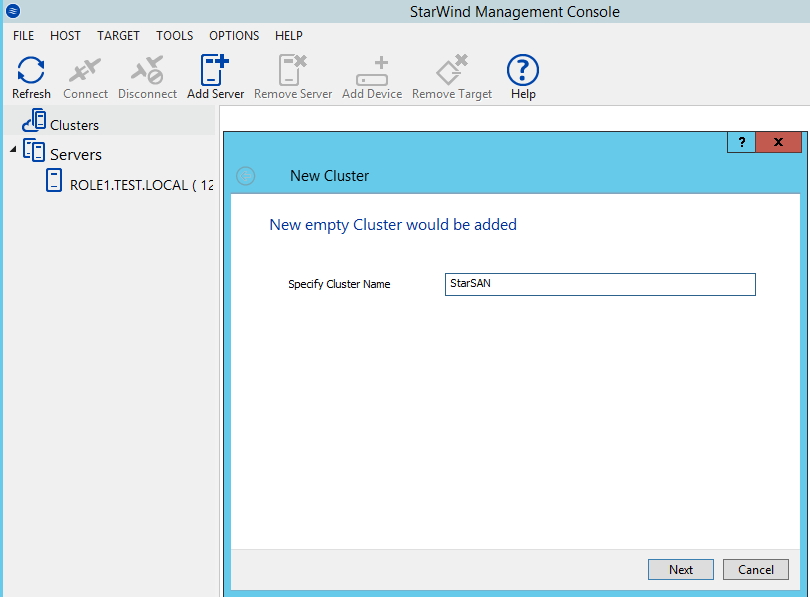
Specify Cluster name (choose something that suits you) |Next
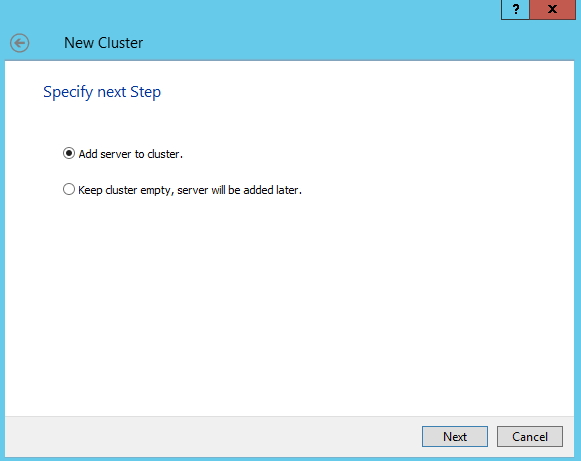
Add server to cluster |Next
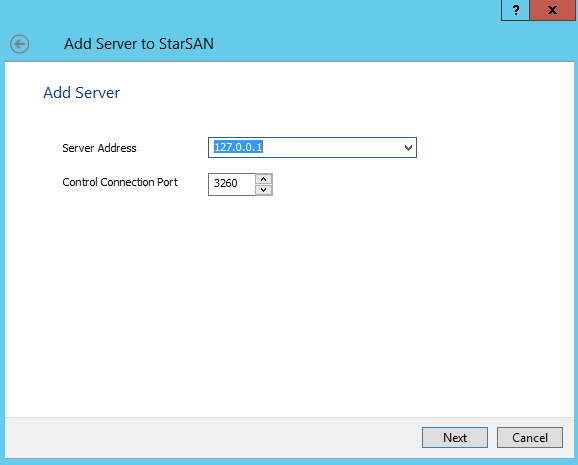
First I`ll add localhost from which I started installation ( 10.10.10.6 ) and port 3260 |Next
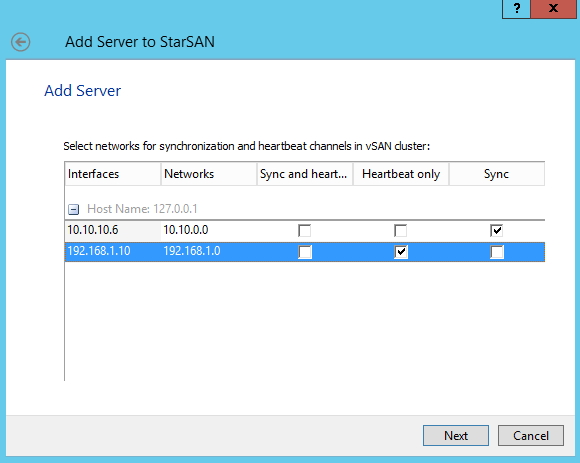
Choose Sync and heartbeat interfaces | Next (if you have errors here, you can choose Sync and heartbeat setting for your public network and heartbeat only for private network)
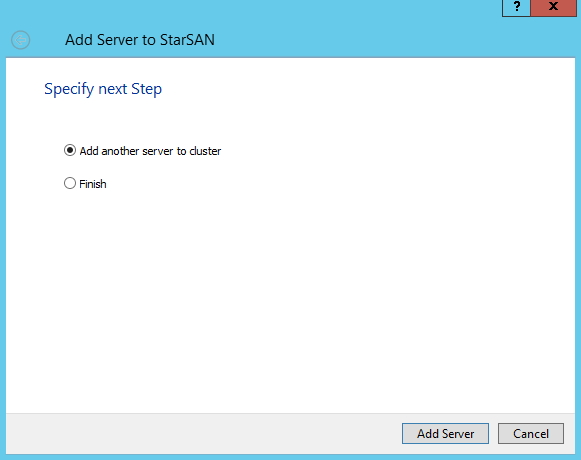
I`ll add another server (10.10.10.7) to cluster while I`m at it | Add Server
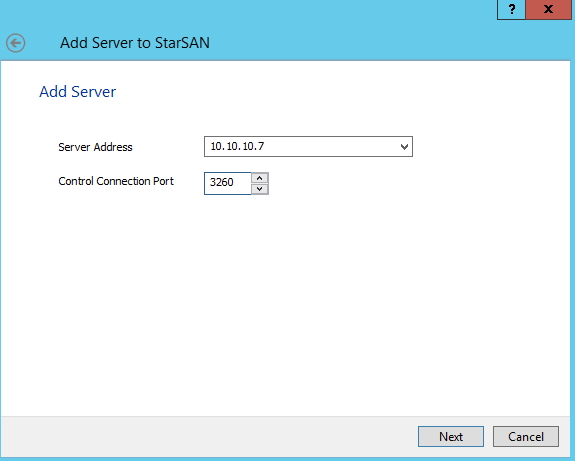
Enter IP, Port for second server (remember ports, because you won’t be able to connect)| Next
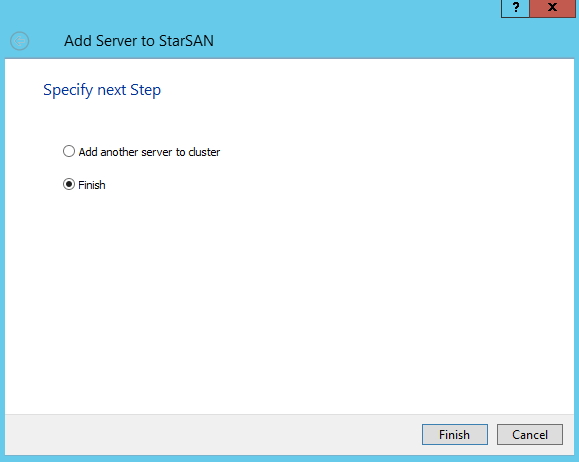
Finish if you are done. If not, repeat procedure for all your servers. I have 2 server license so it is Finish for me
I can see created cluster now.
Next step is to create clustered storage:
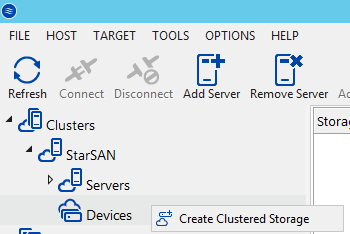
Under Clusters menu, click and expand created cluster (in my case StarSAN) and then right click on devices and choose Create Clustered Storage
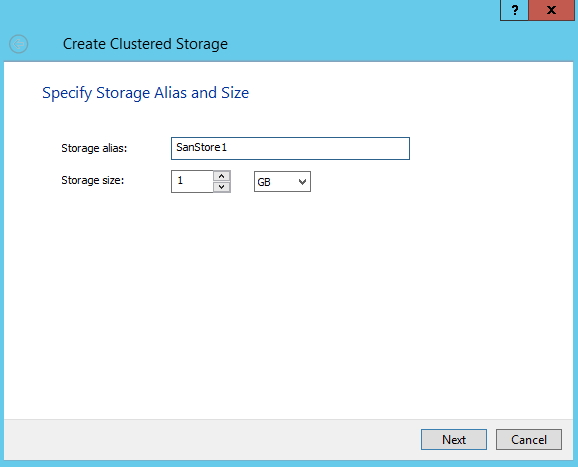
Storage alias: Define name | Storage size: define size for your disk |Next
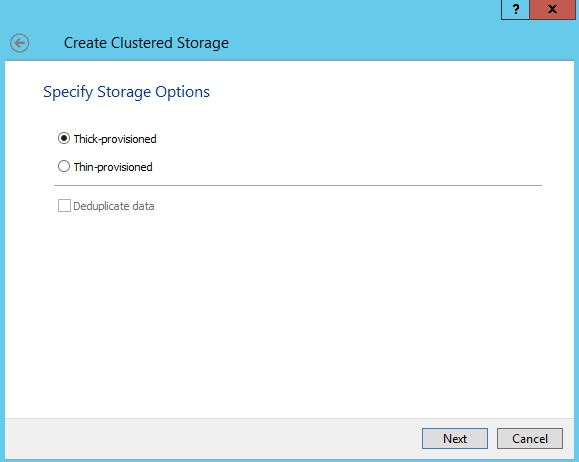
Choose thick or thin provisioned, for the lab I’m choosing Thick provisioned |Next
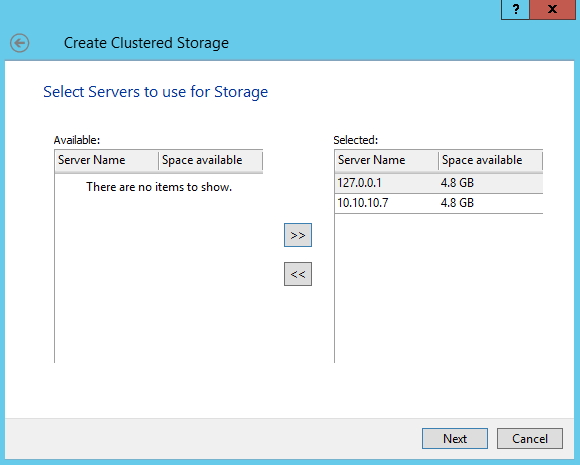
Select available storage from both servers in Cluster |Next
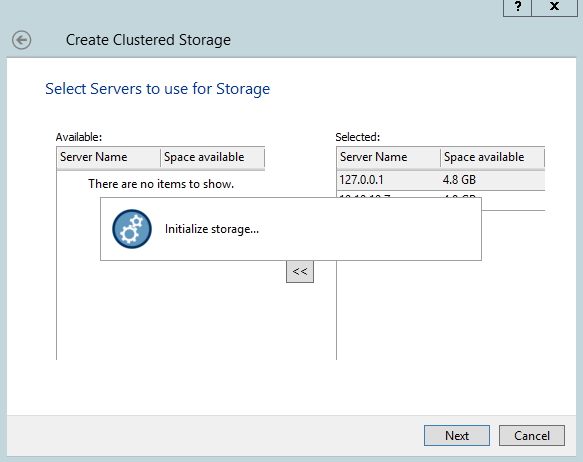
…
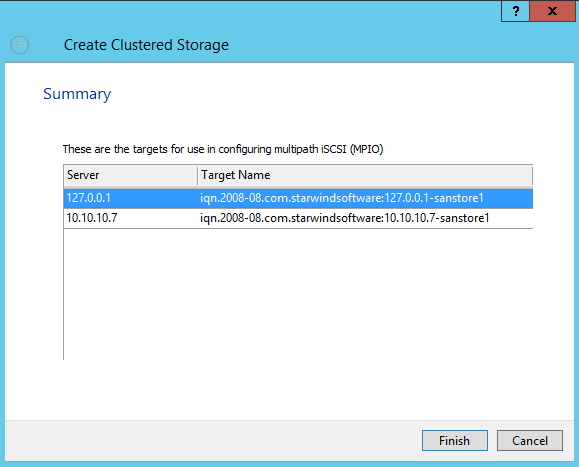
These are created targets | Finish
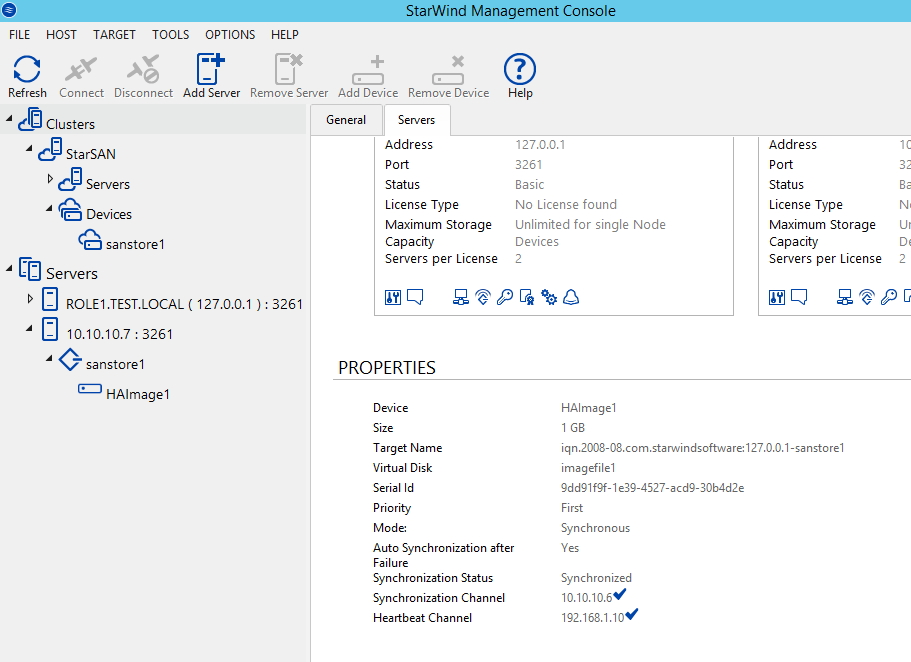
Click on Clusters | created cluster (StarSAN) | Devices |choose created store (sanstore1) and click on tab Servers
Here you can see status of created storage. It should be in Synchronous mode, Synchronized.
So, to verify everything is working, I`ll be attaching created storage to computer named DC2012 on 10.10.10.3
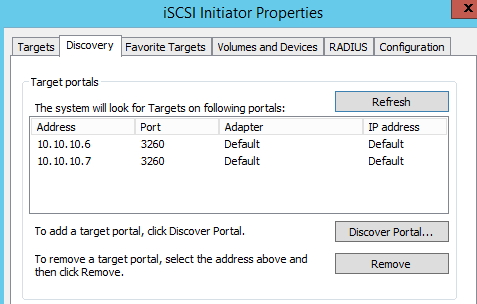
You need to configure both Starwind servers IP addresses as iSCSI targets on server that will be using storage.
I won’t be going through setup on iSCSI initiator. I`ll just put few screenshots in here. Besides iSCSI initator, MPIO should be installed on machine which you are attaching disks from VirtualSAN, so that iSCSI disk do not go offline if one node fails.
Both target portals attached fine
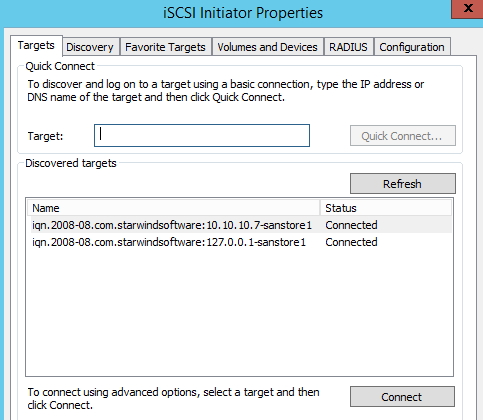
Both targets are connected
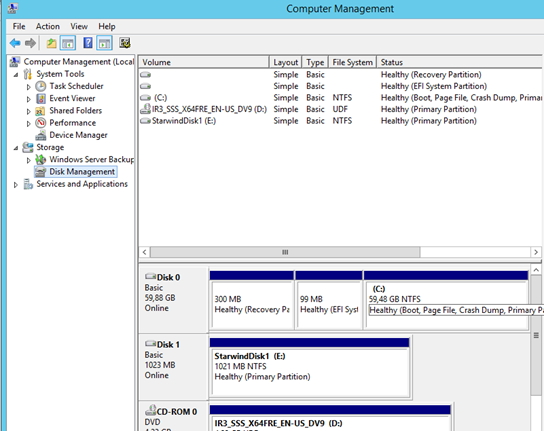
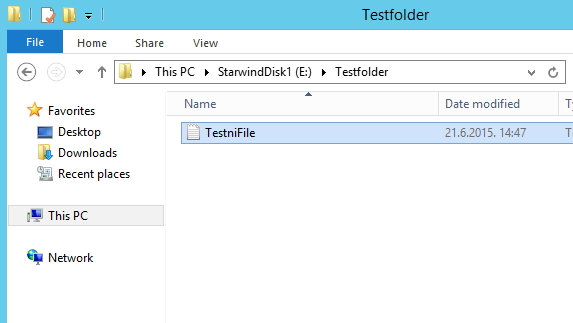
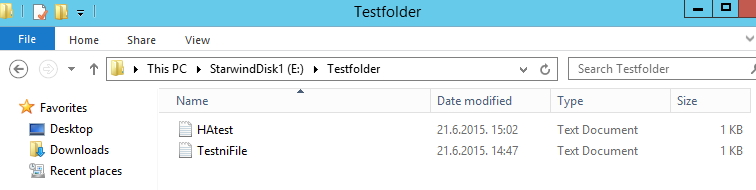
If you go to Control Panel | Administrative Tools | Computer Management | Expand Storage | Disk Management | you`ll see disk from VirtualSAN attached (StarwindDisk1 E: in my case).
In case you forgot to install and configure MPIO, you`ll see two disks, and one of them will be offline.
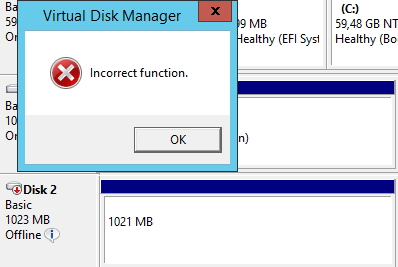
That is normal if you haven`t configured MPIO.
For test I created simple directory with one file that has some text in it.
I`ll bring down server 10.10.10.7 and see what happens. Nothing changes, everything works.
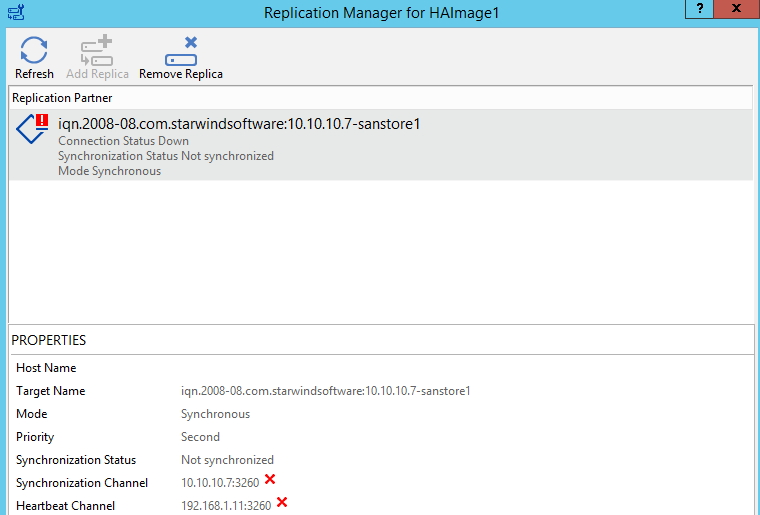
If we check under Starwind Management Console on live node under Servers | click on server that is up (in my case Role1.test.local) | choose storage (sanstore1 in my case) | choose disk (in my case HAimage1) |in right window click on Replication manager
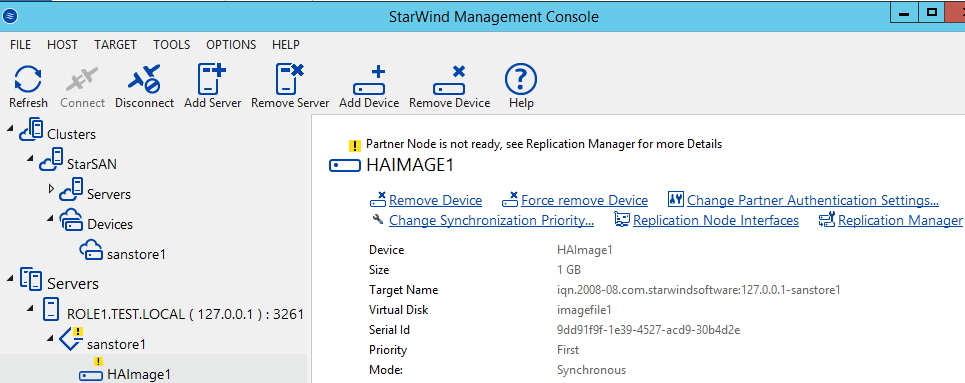
You`ll see that node that we shut down is not available
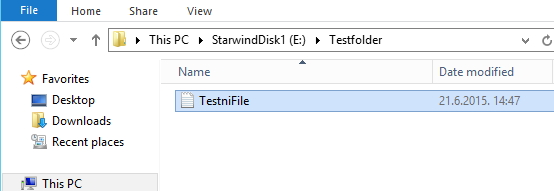
I`ll close everything and before bringing node 10.10.10.7 up will be adding another file into created directory

After 10.10.10.7 is up and running I brought down 10.10.10.6. Everything is ok, no disruption in service.
If you get following error while booting Starwind Virtual SAN instance don`t panic
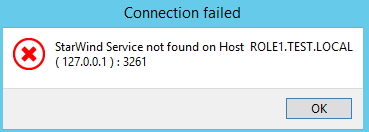
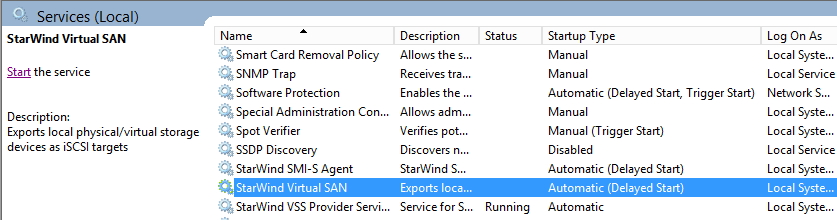
Starwind services have delayed start. Reconfigure service start as you like, wait for service to start or just Start it immediately.
To sum up, Starwind Virtual SAN works great. From my testing and production experience software is very reliable.
Don`t forget to enable MPIO along with iSCSI initiator on the machine that will use disk space from Virtual SAN, or you`ll be facing problems while bringing one of nodes offline.
Service takes some time to start after node is up, but that can be easily fixed.
This software is highly recommended.