In the Part 1 of “How to install Windows 8 Developer Preview?” I covered creating virtual machine for Windows 8 Developer Preview installation. Now it is time for next step, installation of Windows 8 Developer Preview onto newly created virtual machine.
We successfully created virtual machine which will host our installation of Windows 8 Developer Preview. Before starting it up, we need to mount Windows 8 Developer Preview .iso installation file that we downloaded.
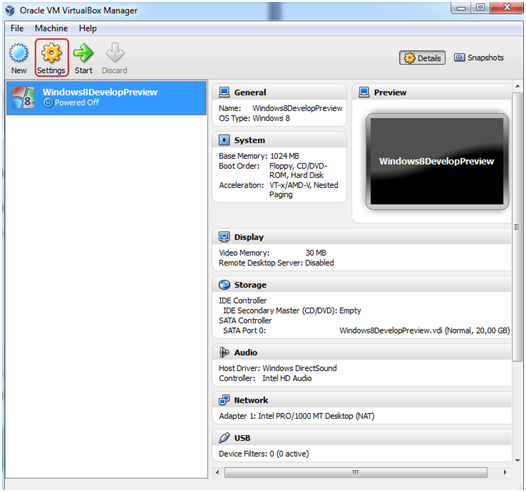
Choose virtual machine that you created for Windows 8 Developer Preview | click Settings
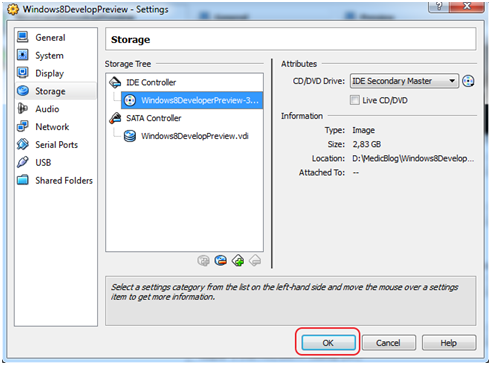
In the left menu choose Storage | Then choose CD icon under Storage Tree | Under Attributes click on CD icon
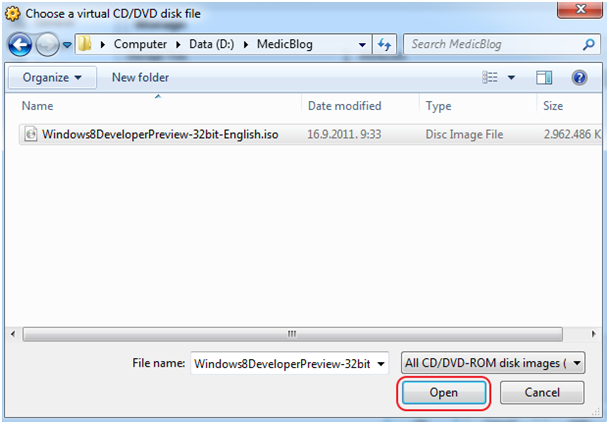
Now navigate to the folder where you downloaded your Windows 8 Developer Preview ISO file. Choose you ISO file | click Open
Now we`re back on Storage menu. You can see CD icon under Storage Tree changed from empty to Windows8DeveloperPreview… that means we successfully chose our Windows 8 Developer Preview install media |OK
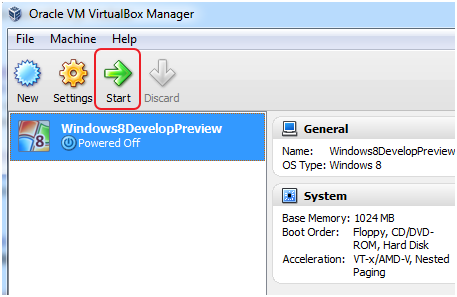
Main screen | Now that we chosen our installation we can start our newly created virtual machine and install Windows 8 Developer Preview on it.
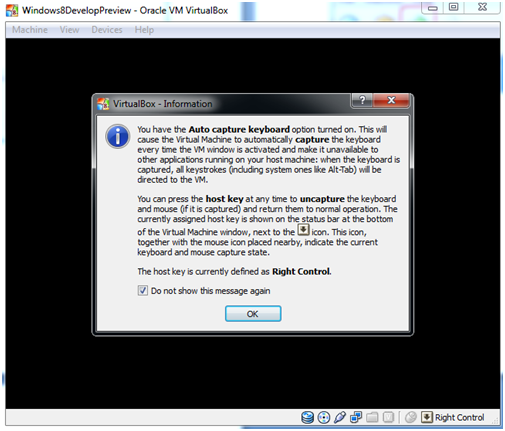
New screen pops up. It`s virtual machine console. | Read Information boxes that pop up inside console carefully, remember what are they saying cause they`ll make your life easier and then Choose OK.
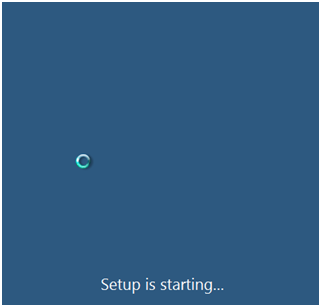
Installation of Windows 8 Developer Preview finally starts
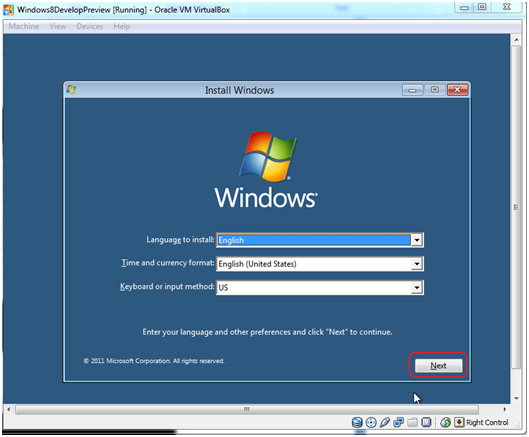
Choose local language for your OS | Choose your local time and currency format | Choose Keyboard format you wish to use | Click Next
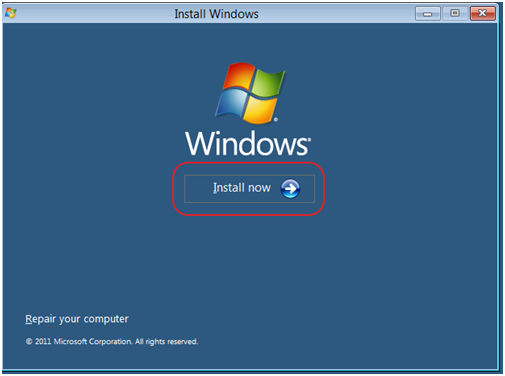
Choose Install Now
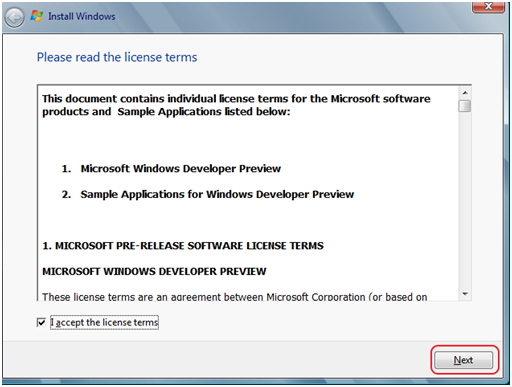
Read the license terms | Click I accept the license terms box | Next
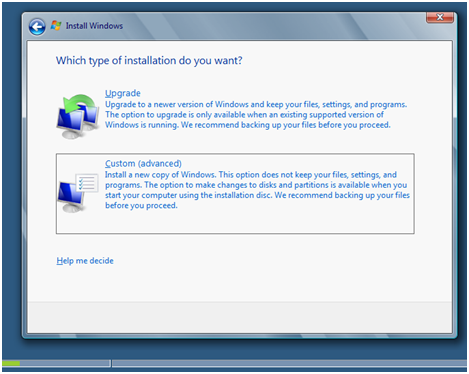
Click Custom ( Advanced ) installation
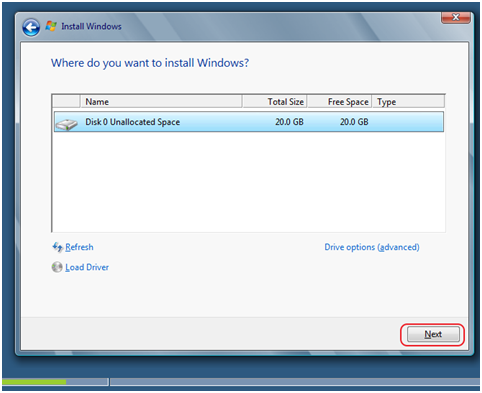
You`ll now see the virtual disk you create for your virtual machine, choose it | Next
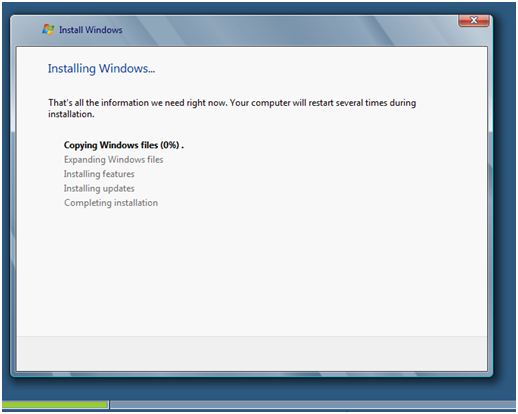
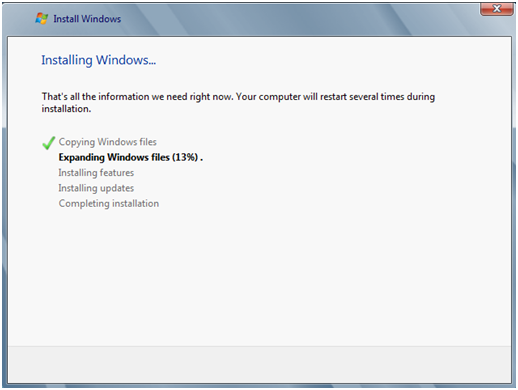
Now cross your fingers. Installation starts and it`s pretty automated, virtual machine will restart few times during this process, and next time you`ll be prompted for action, installation should be finished.
…
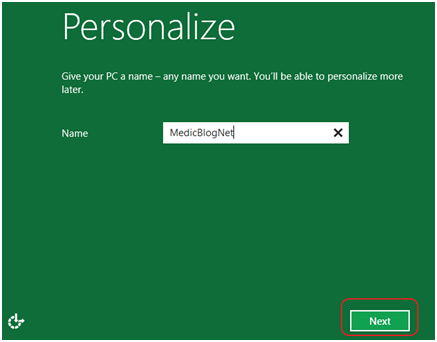
After 10\20\30 minutes of installation, (all depends on your computer), you`ll get this
Choose a name for your Windows 8 Developer Preview virtual machine | Next
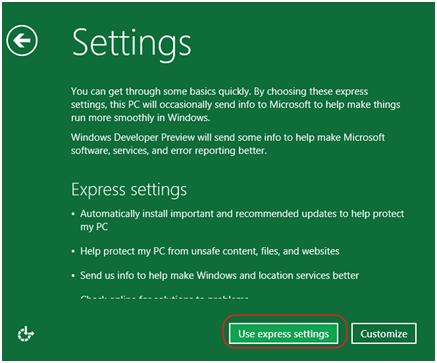
Next screen shows some basic settings such as updates/security settings before OS starts. You can customize them manually or use express settings. We`ll use express settings this time.
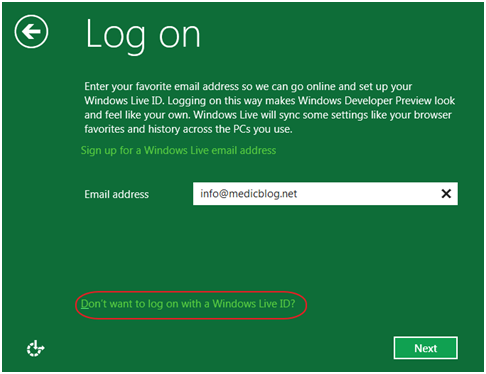
On next screen we will create our user account. We have an option to associate Windows8 Developer Preview with our Hotmail account or choose “Don`t want to log on with a Windows Live ID”. Choose as you like. For this tutorial I`ll choose “Don`t want to log on with a Windows Live ID”.
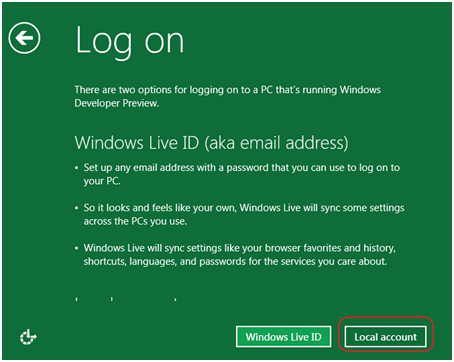
Choose Local Account if you`re following my path. :)
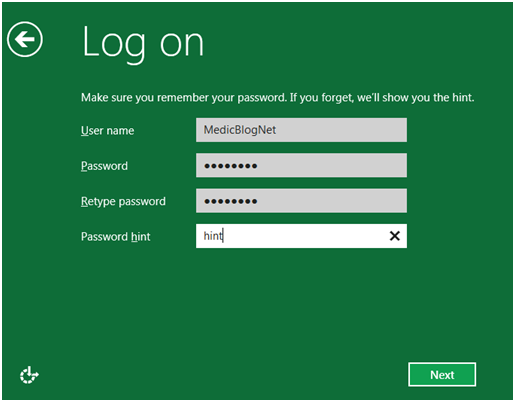
Choose your username ( It has to be different from computer name you chose earlier ). Create password for your account, and finally create a hint | Next
You`ll have to wait a few more minutes until your profile is ready…
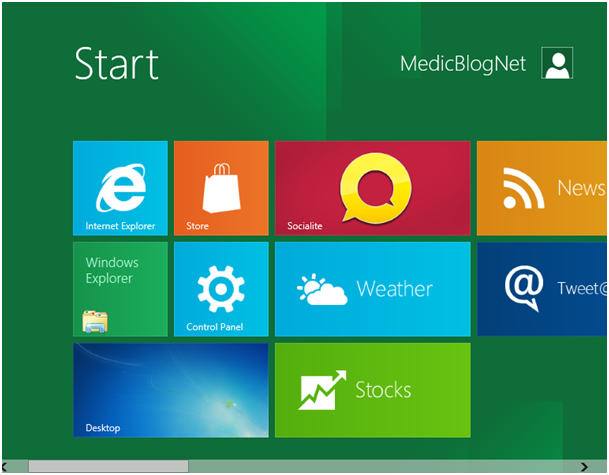
Congrats, setup is completed.You can finally start exploring Windows8 Developer Preview :)
