I already gone through granular recovery options for Nakivo, in this article we are going to recover whole VM on Hyper-V.
Before we begin
I’ve gone through installation, configuration, backup and granular recovery for Nakivo already in previous articles, so if you need more details about the setup, please visit those.
You can find more info about the process here – https://helpcenter.nakivo.com/display/NH/Hyper-V+VM+Recovery
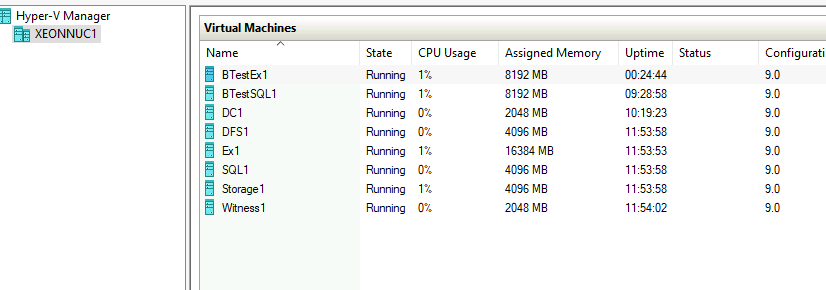
For this guide, I’m simply going to delete my File Server VM. VM is inside domain, has additional disk (D drive) which has some files on it.
I already deleted machine, it was named BTestFile1
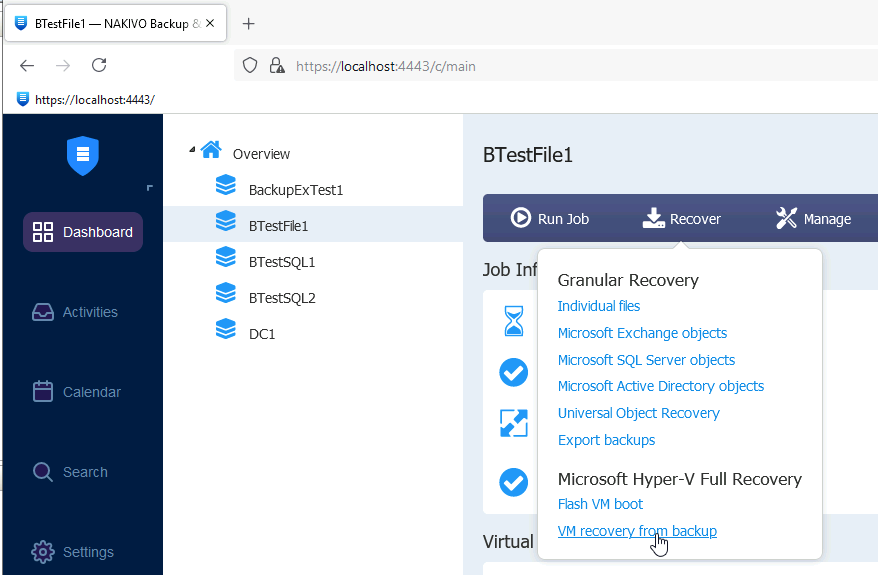
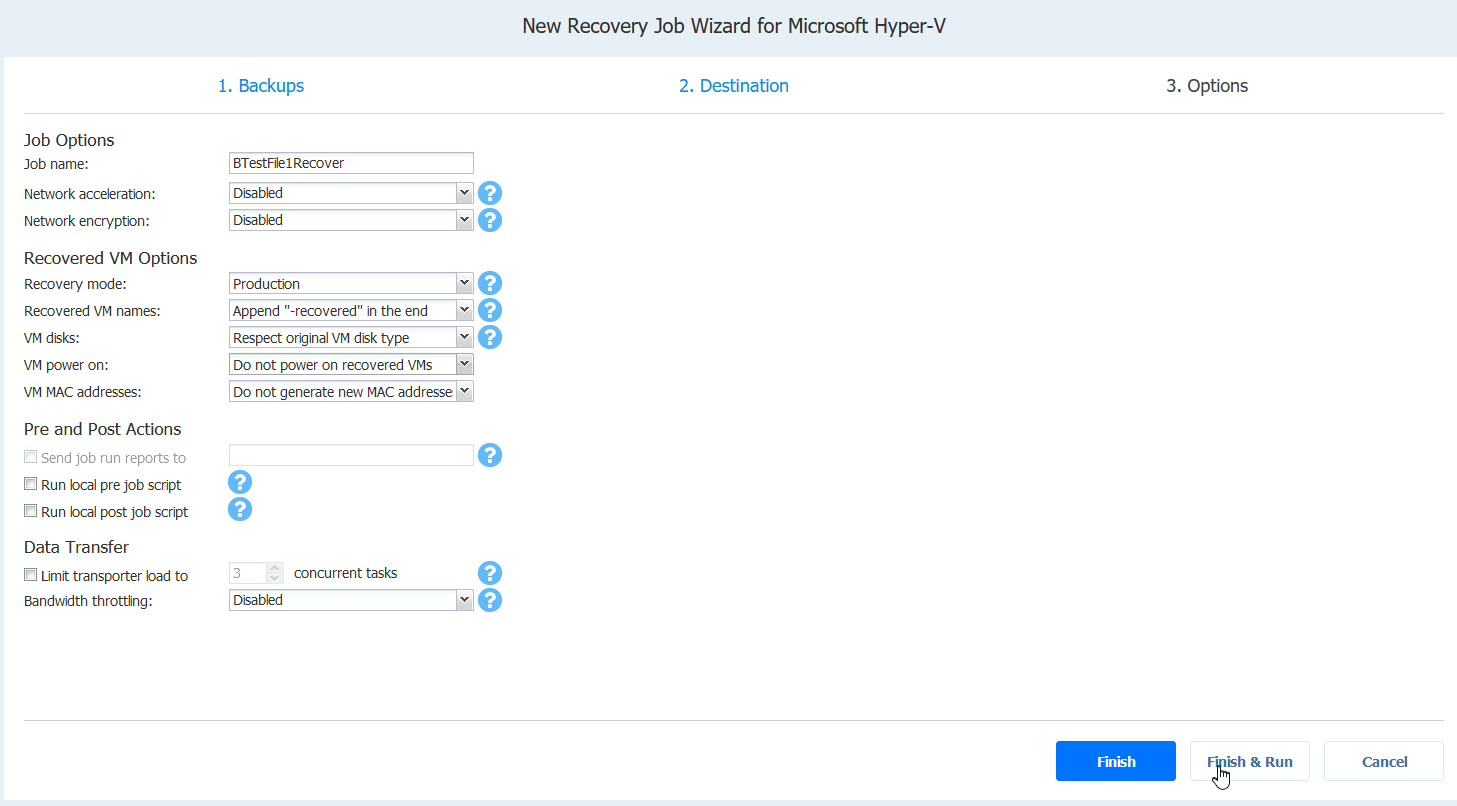
Recover the VM
On the Nakivo Director machine, I will select BTestFile1 backup, select Recover and from the bottom of the menu select “VM recovery from backup”
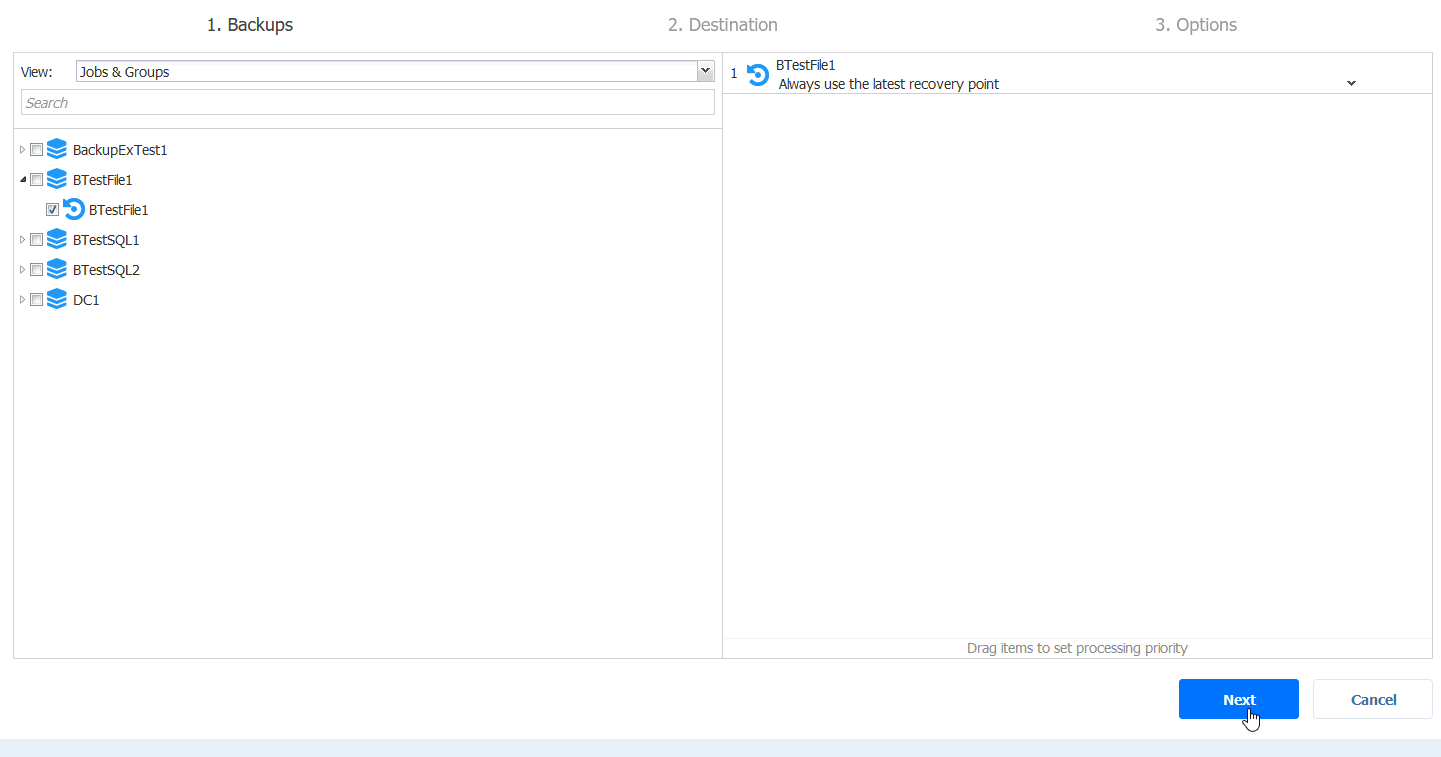
I will select only recovery point I have and hope for the best
Next
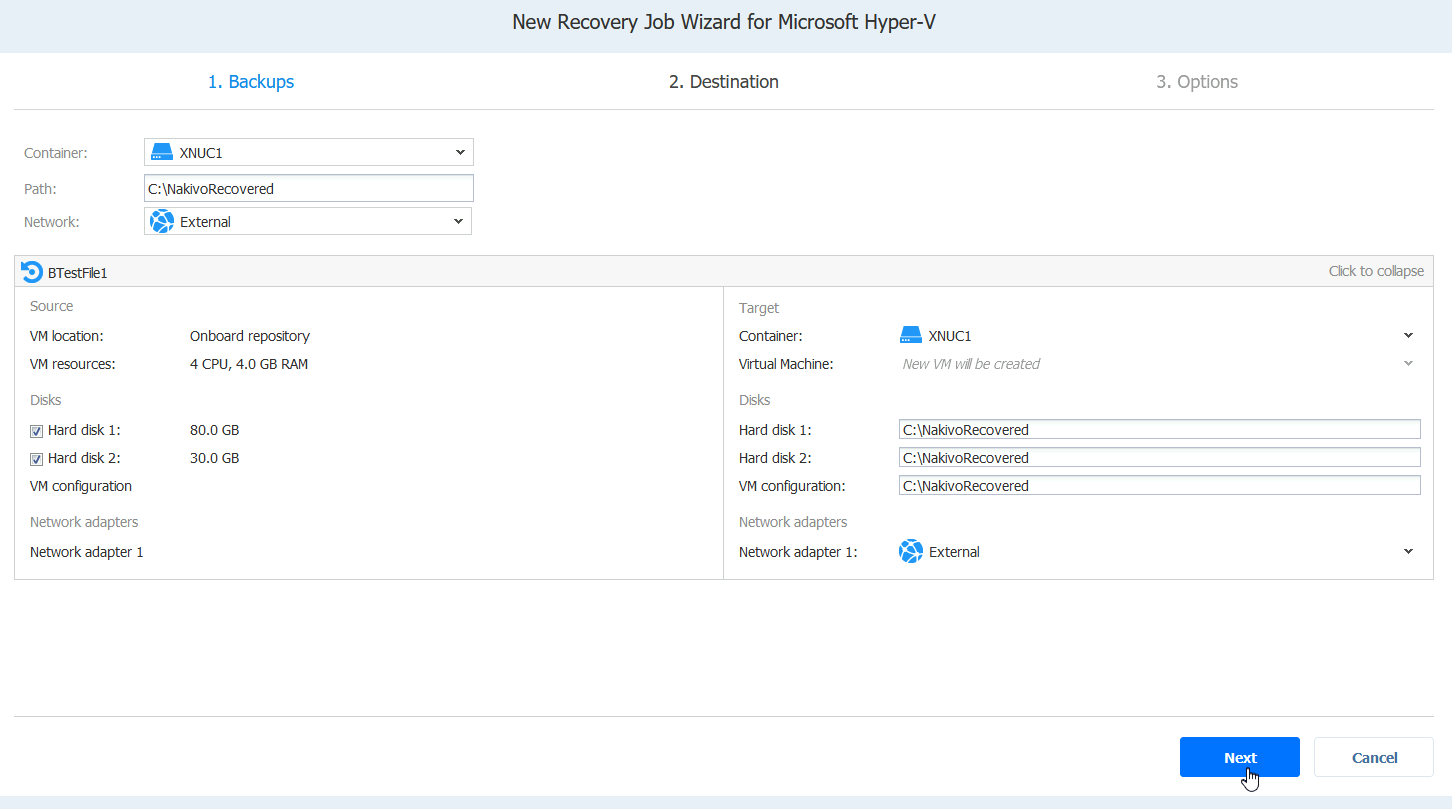
For the purpose of this guide, I will leave default C:\NakivoRecovered path, select External Network (since VM was on that network) and confirm I want to recover both disks and VM resources. Next
Few more settings to set. Select to your liking and needs.
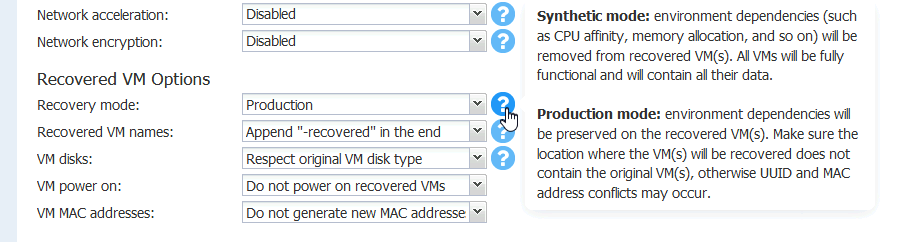
I would like just to highlight Recovery Mode options. There are Synthetic and Production, and this is the difference
Ok, Finish & Run
Run for selected VMs – click to select VM – Run
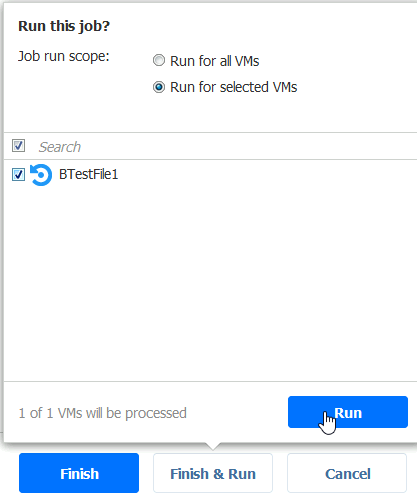
Now we wait, and hope for the best

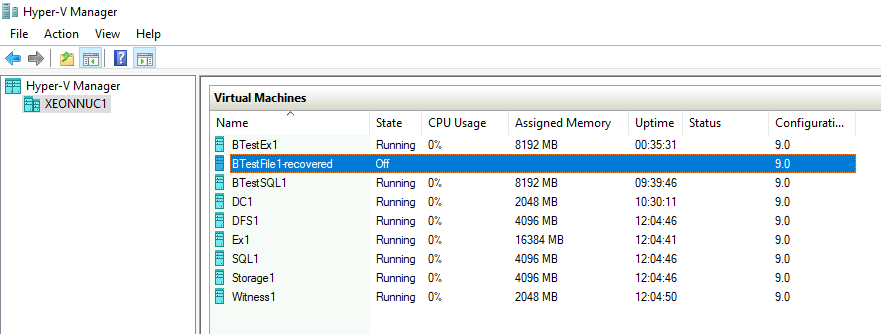
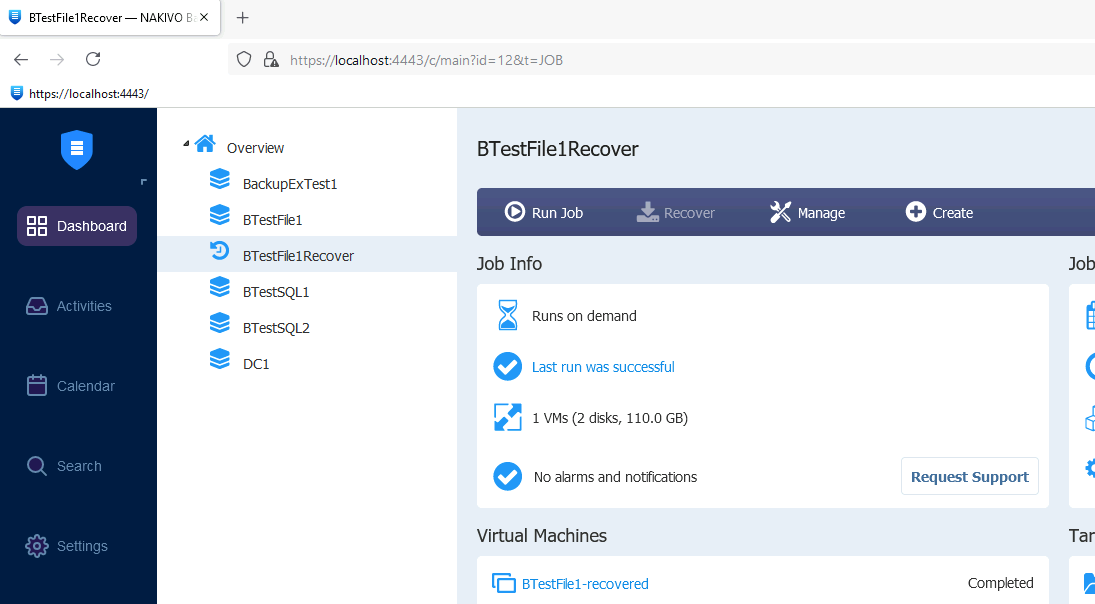
I can already see on my XNuc1 that new VM is created with recovered suffix.
Back to the Nakivo console, after few minutes recovery was done, and without errors!
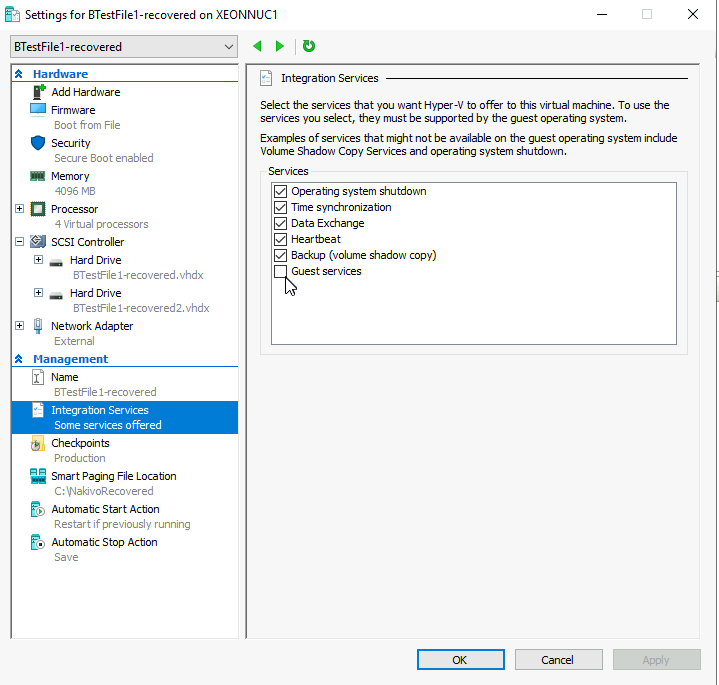
If I open the settings of the recovered VM, I can see that everything is more or less as it was (disks are renamed).
Integration Services are only missing Guest services option (which was enabled before). Checking that, and closing Settings.
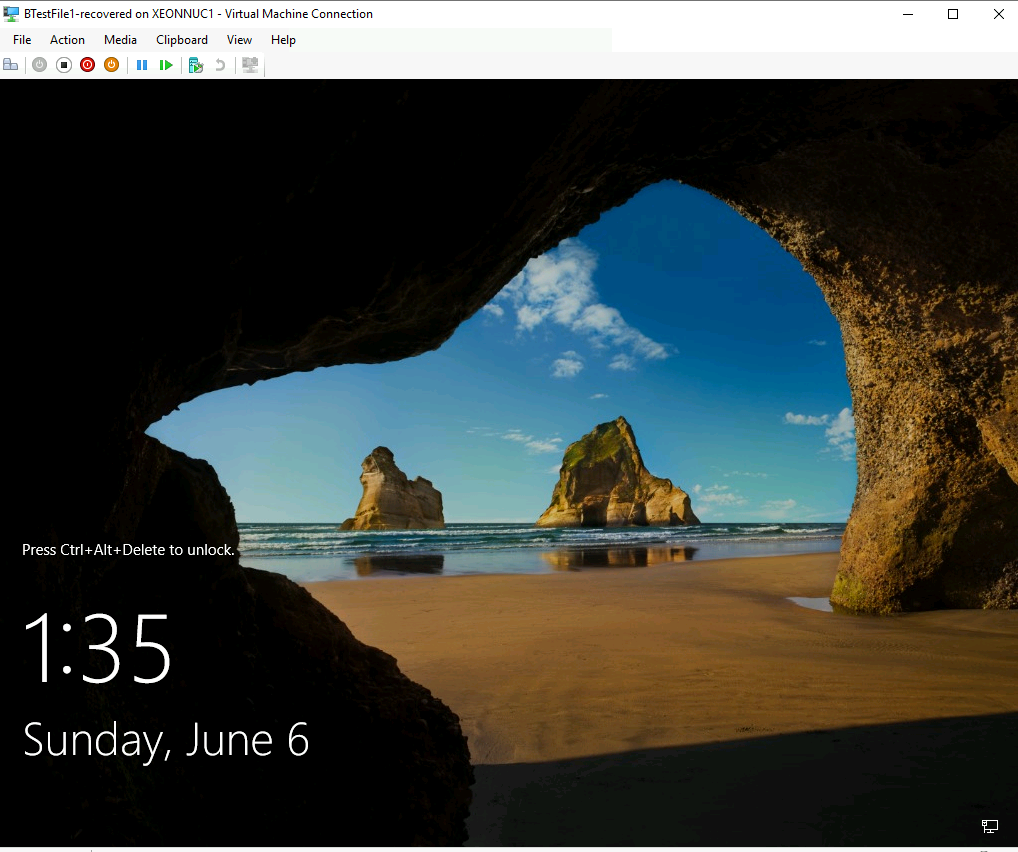
Machine is running!!
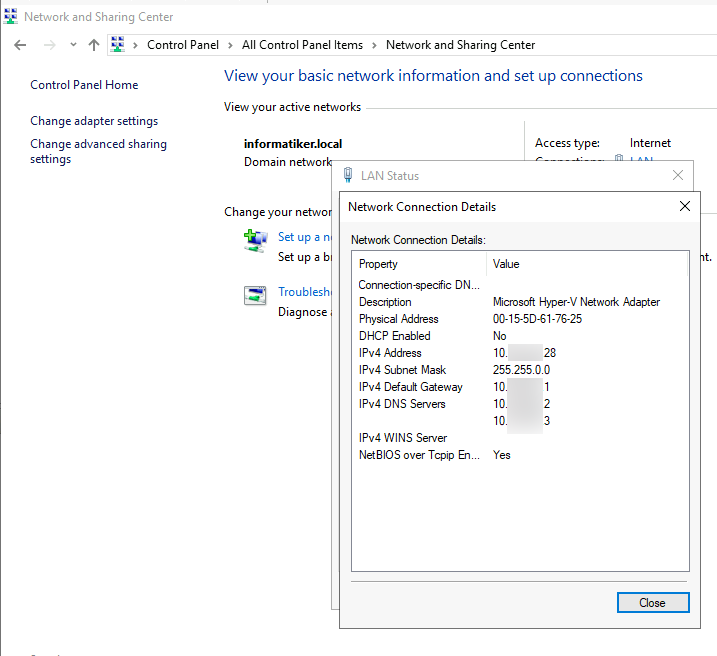
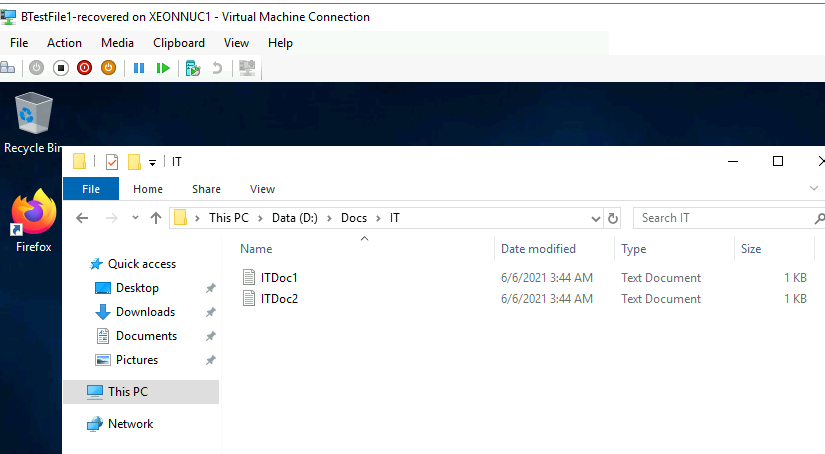
I’m interested in quick look of two things
Network settings (everything is as it was)
and most important part, my D drive with files on it.
Everything is there!!
Ok, so this was quick guide on how to restore full VM from Nakivo backup in Hyper-V, and it works out of the box without a hiccup.