HP StoreVirtual is pretty simple and straight forward SAN for SMB. When you first boot the device, you are greeted with the wizard which will guide you through setup. I decided to skip wizard and document manual configuration.
You will not gain extra options with manual configuration, but it was fun to do, just to catch the logic of the interface.
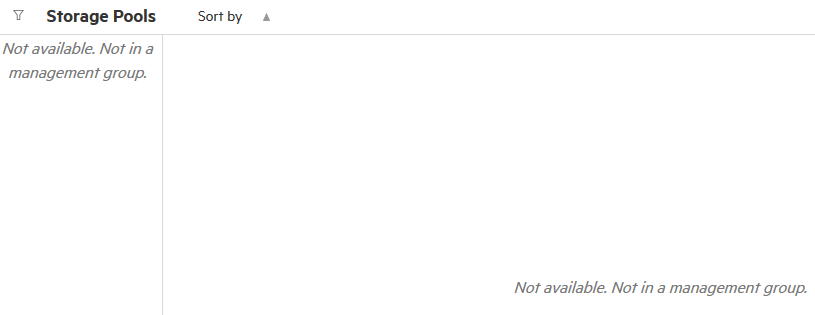
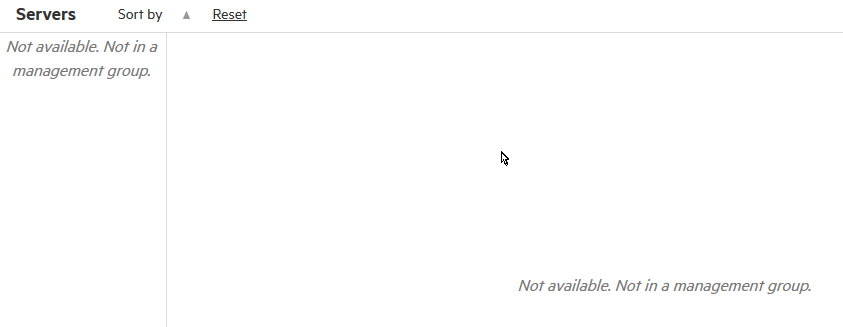
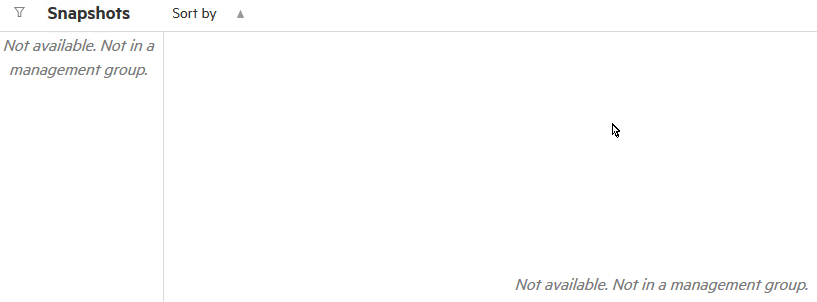
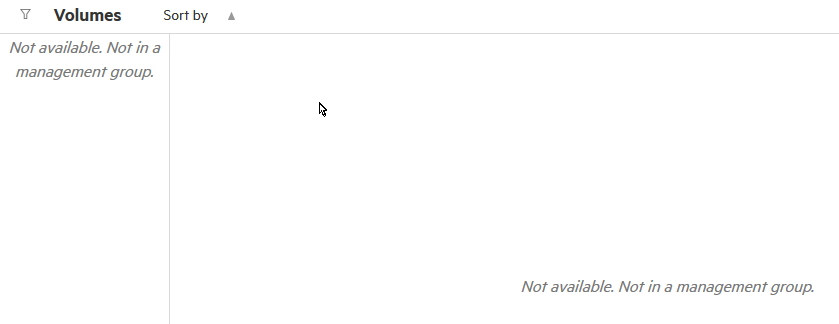
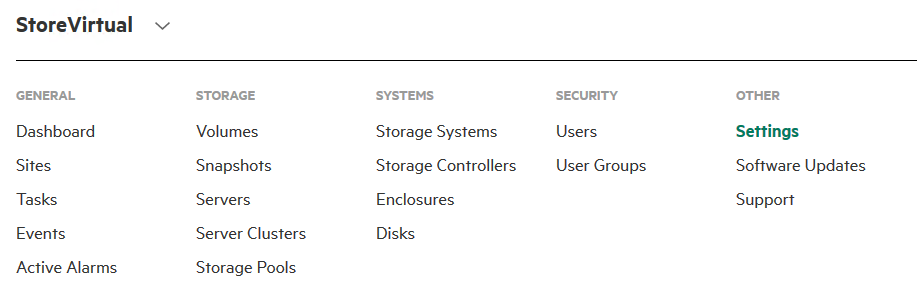
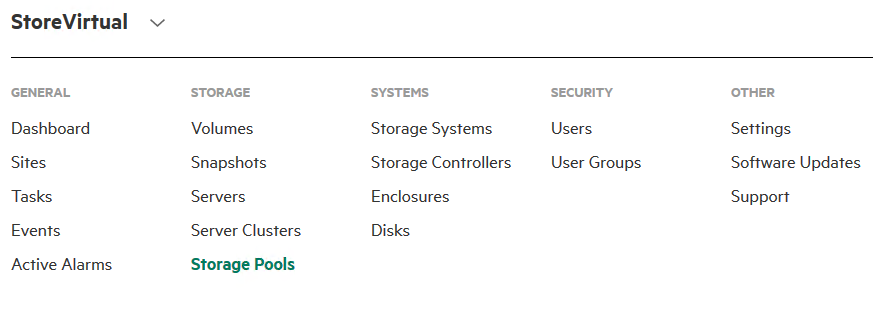
First, everything that I selected under Storage menu had same error – “Not available. Not in a management group.”
Storage Pools
Servers
Snapshots
Volumes
First, we need to create management group
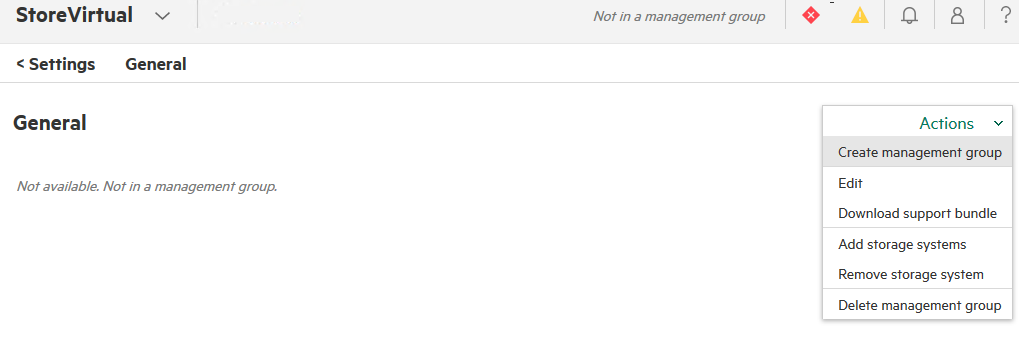
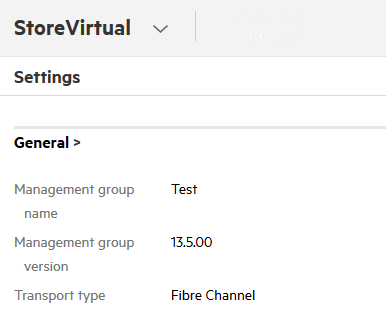
StoreVirtual | Settings
Select General | Actions | Create management group
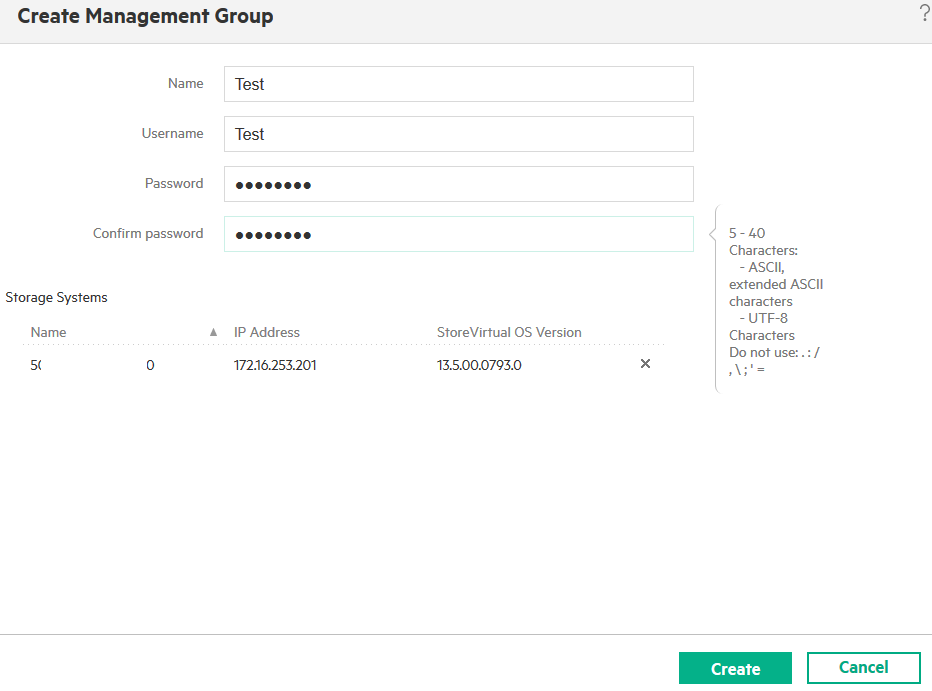
Enter name for the management group, username and password | Create
Greeted with this error
![]()
Let us create RAID then.
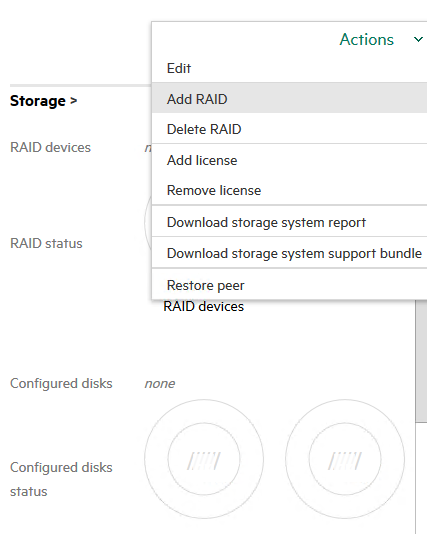
StoreVirtual | Storage Systems
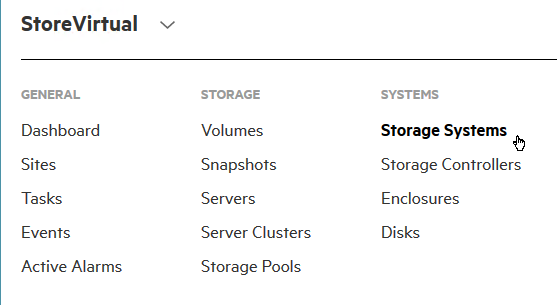
Under Storage Systems select Actions | Add RAID
StoreVitual is suggesting following
I have 4x 400GB SSDs and 14x 1.2TB SAS drives.
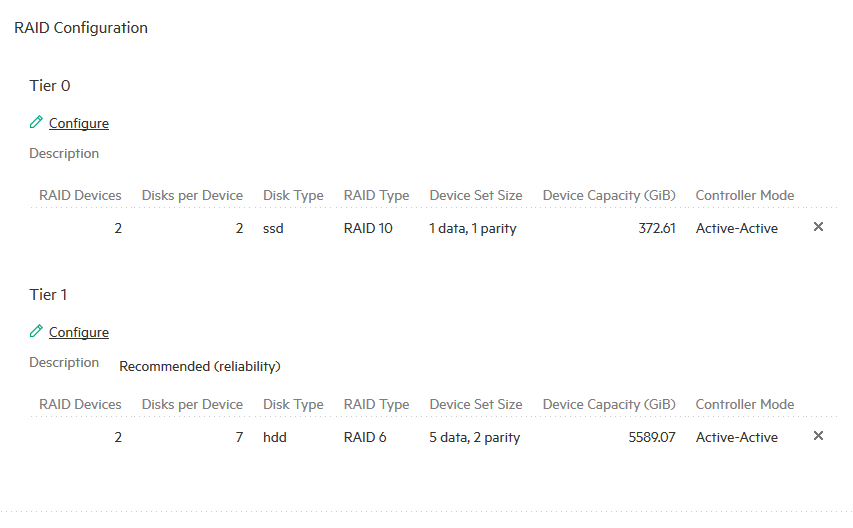
Suggestion is RAID 10 for Tier 0 (SSD) and RAID 6 for Tier 1 (SAS drives)
I will try to configure manually both Tier 0 and Tier 1
Tier 0 | Configure
Looks like I don’t have other options besides RAID 10, even if I select RAID type manually

Tier 1 | Configure
I’m able to select RAID 5 or RAID 6, I will select RAID 5 and confirm with OK.
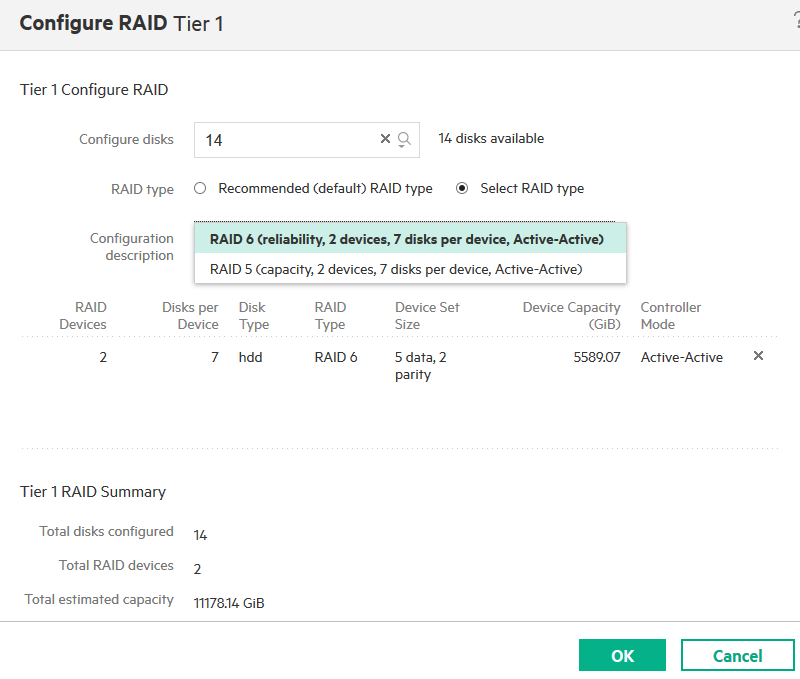
With RAID 5 I will get 2TB more of free space, and one less spare disk.
Add
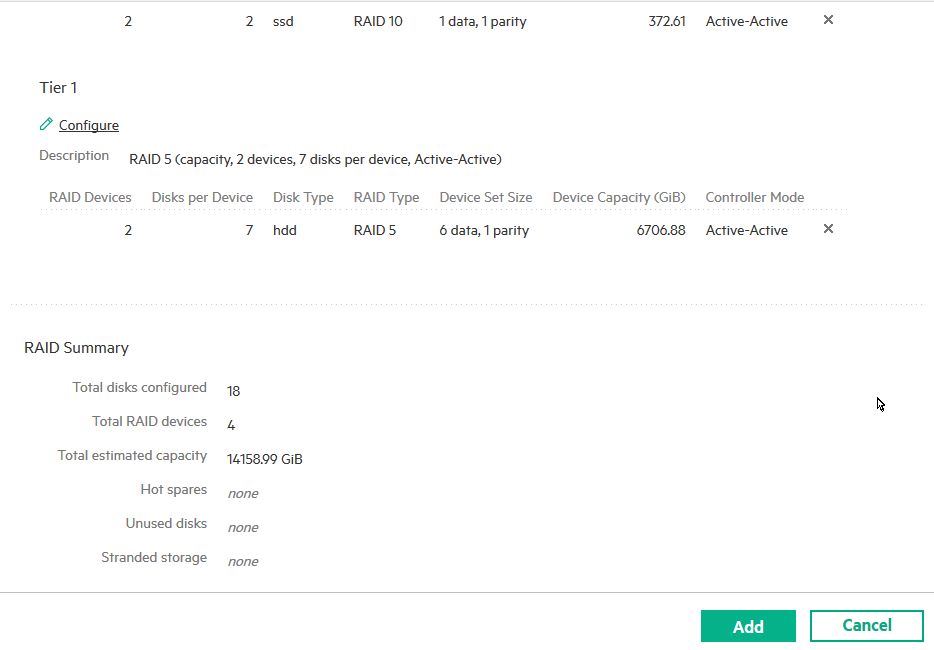
RAID configuration is a success

If you are looking into StoreVirtual 3200 and you are interested in fine tuning your RAID, you now know how flexible storage is for RAID configuration.
After RAID setup is done, let’s try again steps above for creation management group. When the setup is done you will have to login again, this time with the user you created on management group setup.
We now have a management group
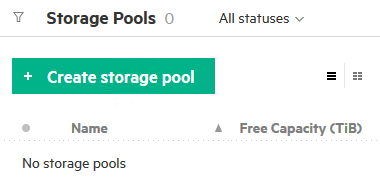
Next step should be creation of the Storage Pools
StoreVirtual | Storage | Storage Pools
Create Storage Pool
Give Storage Pool a name and add storage system to it. Create
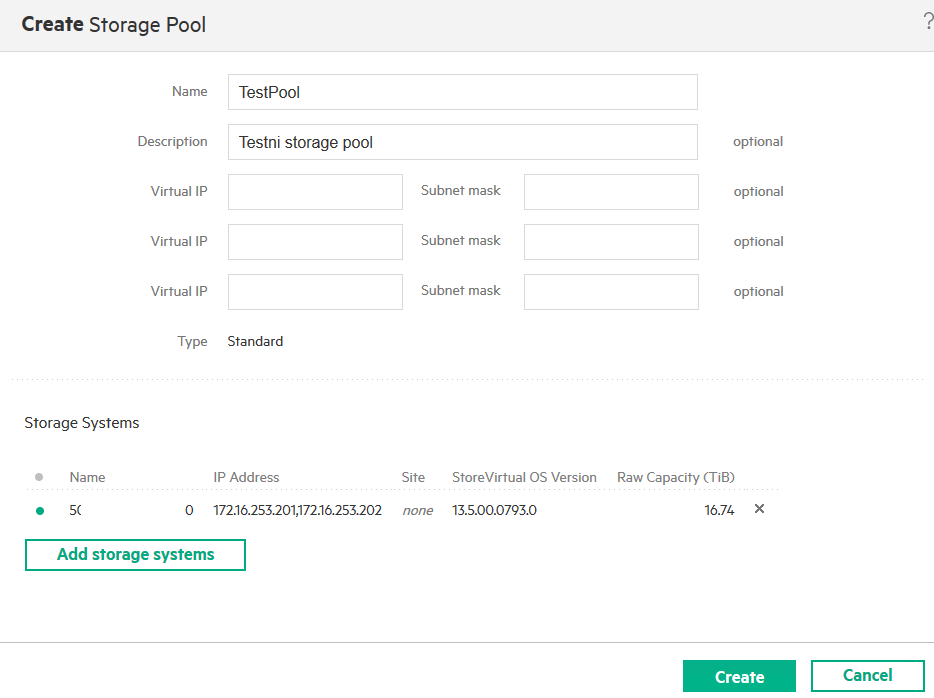
Storage Pool named “TestPool” is created
To wrap up storage configuration part I’m going to create Volumes
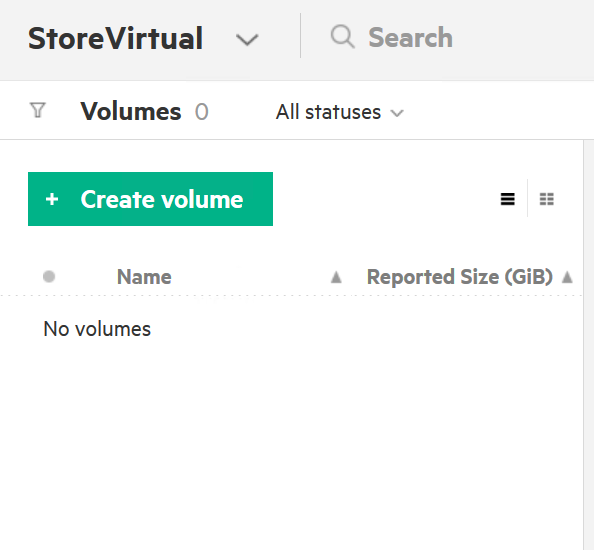
StoreVirtual | Storage | Volumes | Create Volume
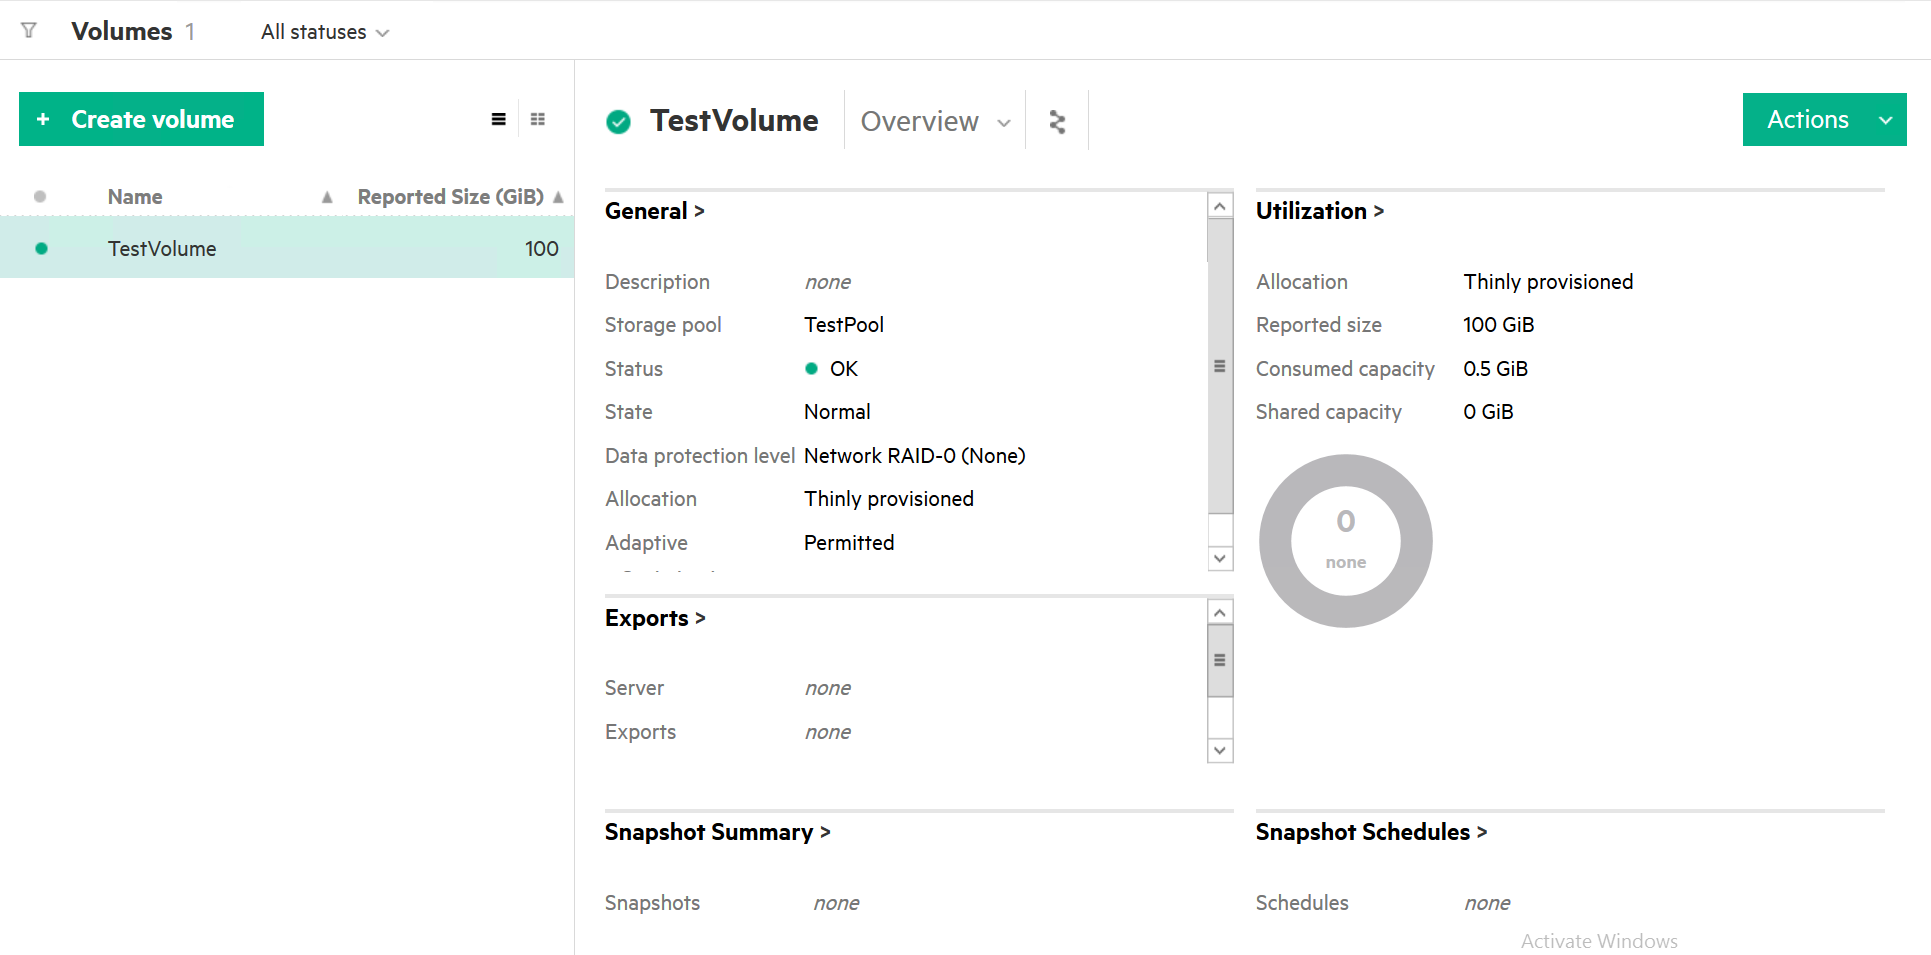
I named Volume testVolume and gave it size of 100GB (you’ll have to trust me on that one, since there is a glitch in size field) Also, I made in Thinly provisioned without any data protection. Create
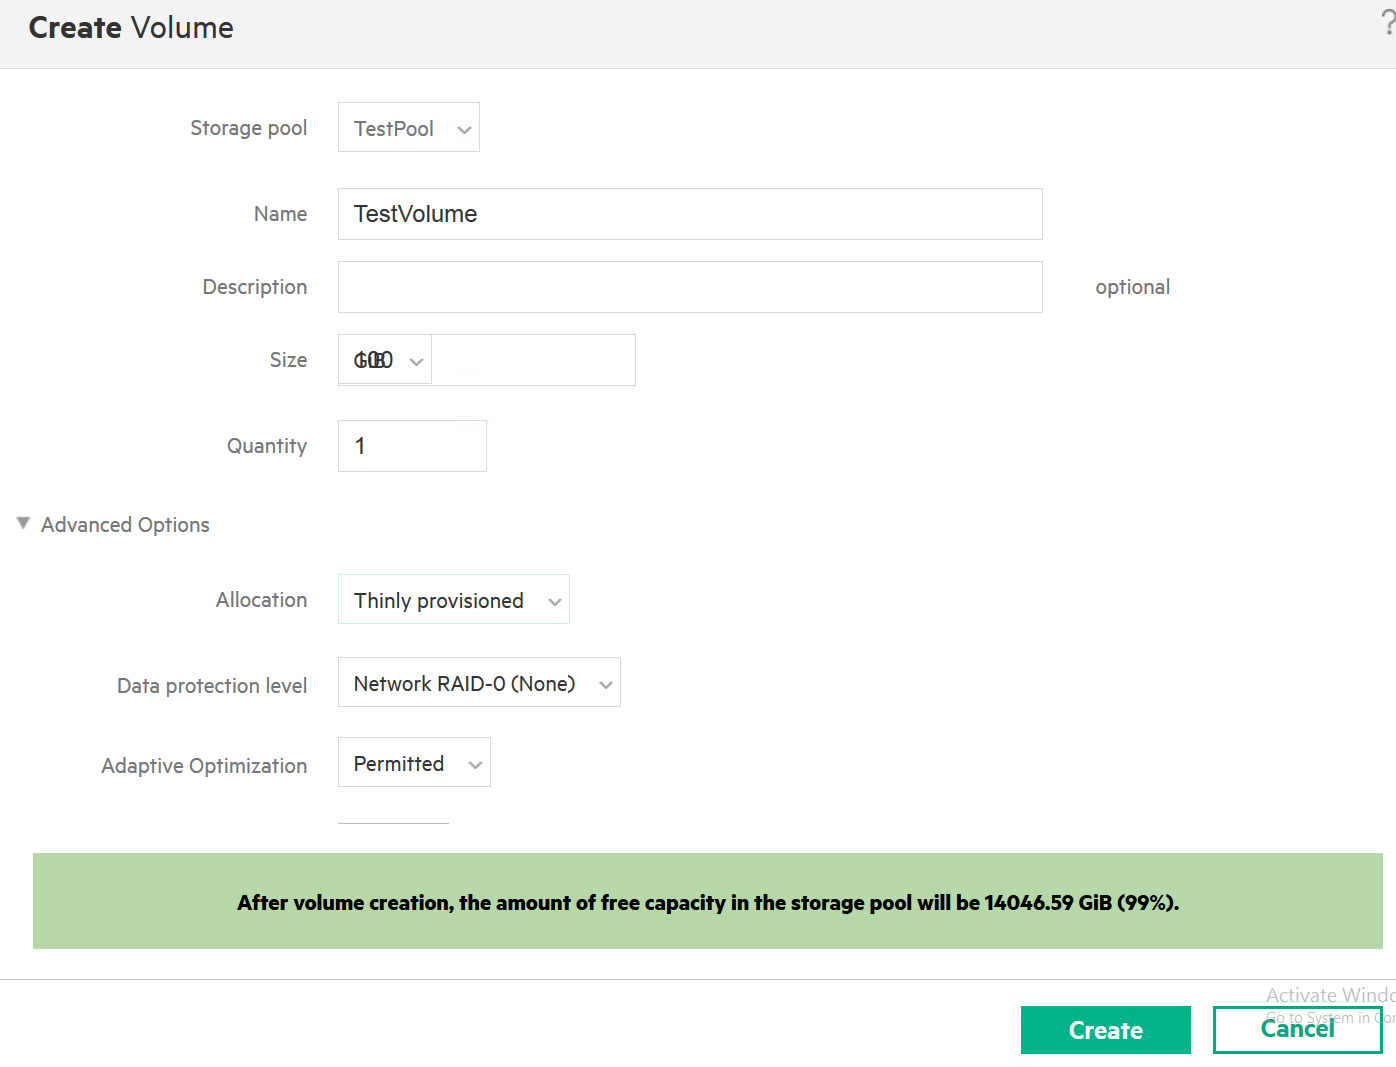
Created
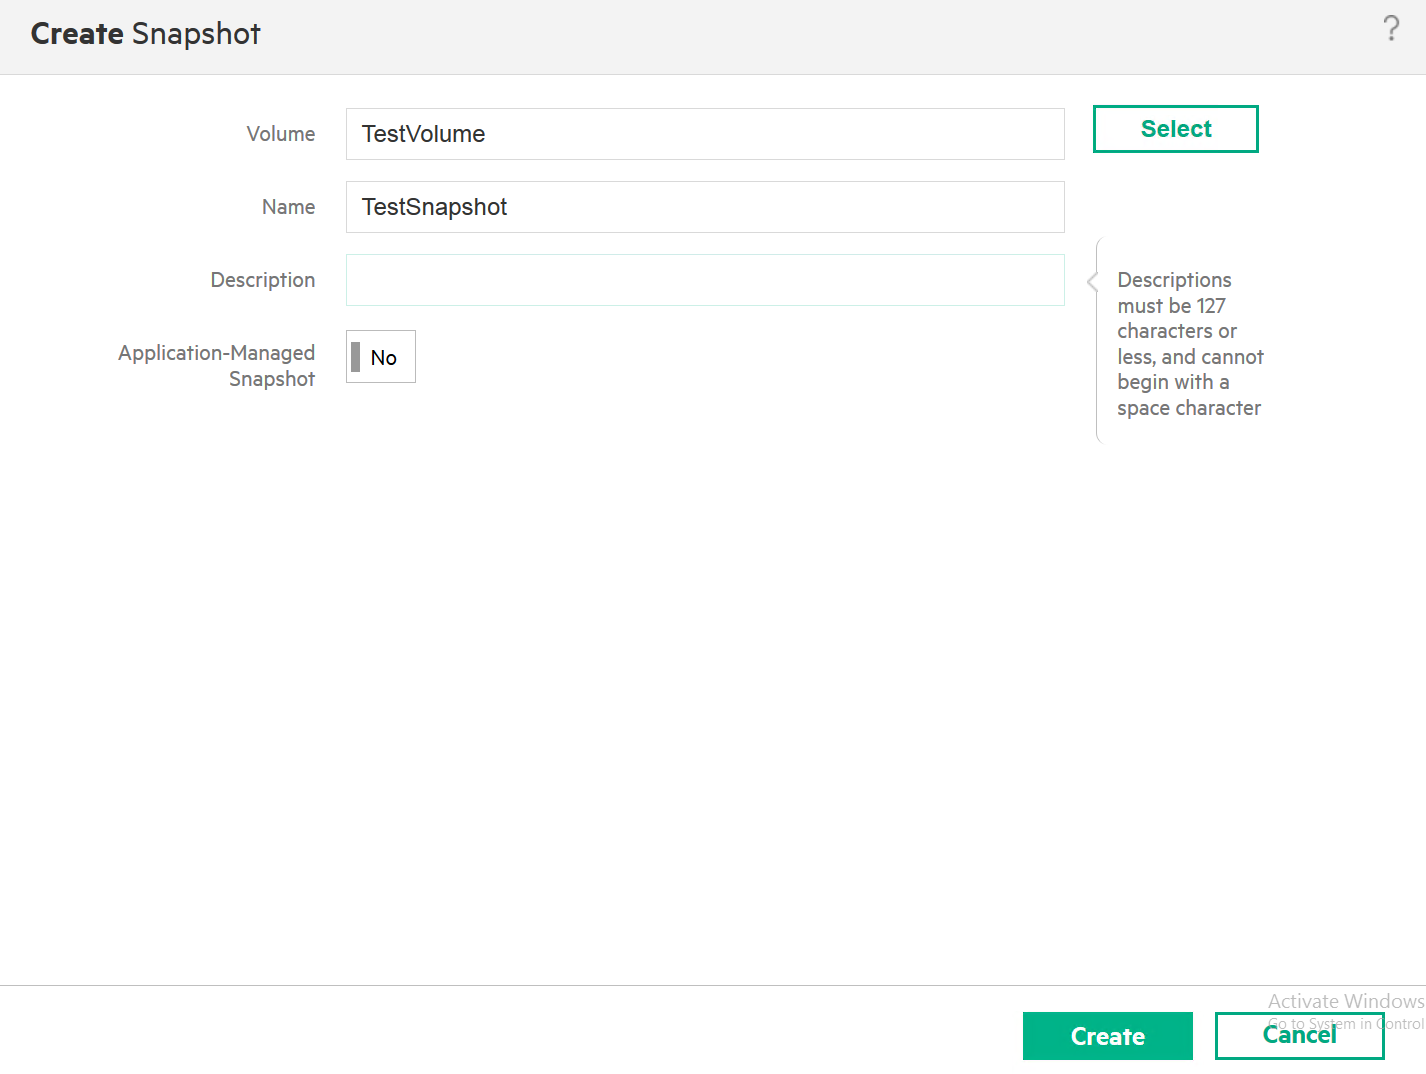
For this test I will also create Snapshots. Snapshots usage depend on the type of the workload you’ll be using on StoreVirtual 3200
StoreVirtual | Snapshots | Create Snapshot
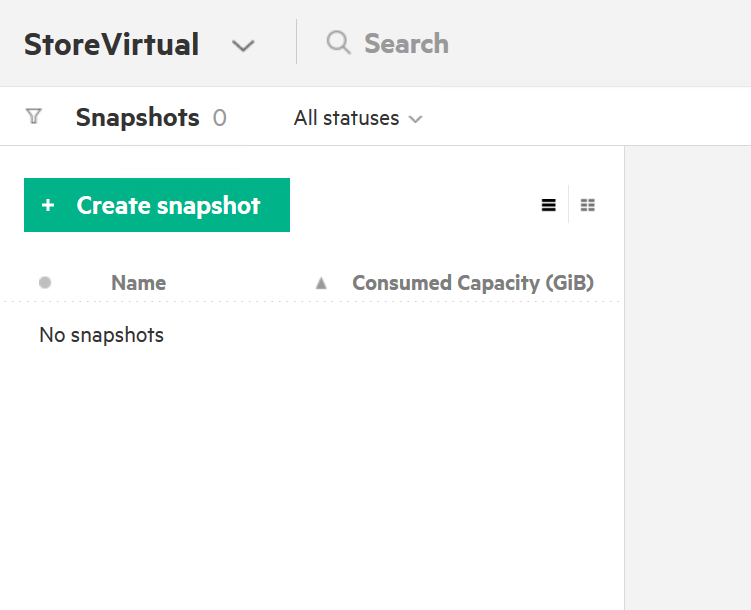
You have to select existing Volume you previously created. In my case that is previously done TestVolume and a name for the Snapshot will be TestSnapshot. Create
As a last step, we need to present created storage to the Server. This is done through the StoreVirtual | Servers | Create Server
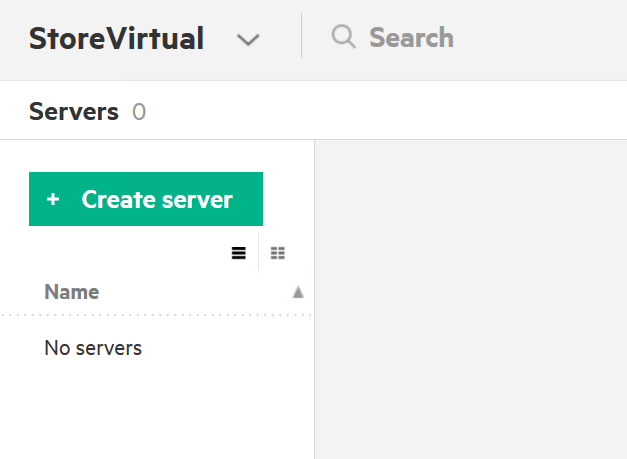
My storage is connected to the Server via FC card and optic cables, so it is pretty simple in my case.
Enter name and description for the Server and Add available initiator. In my case, initiator is FC card.
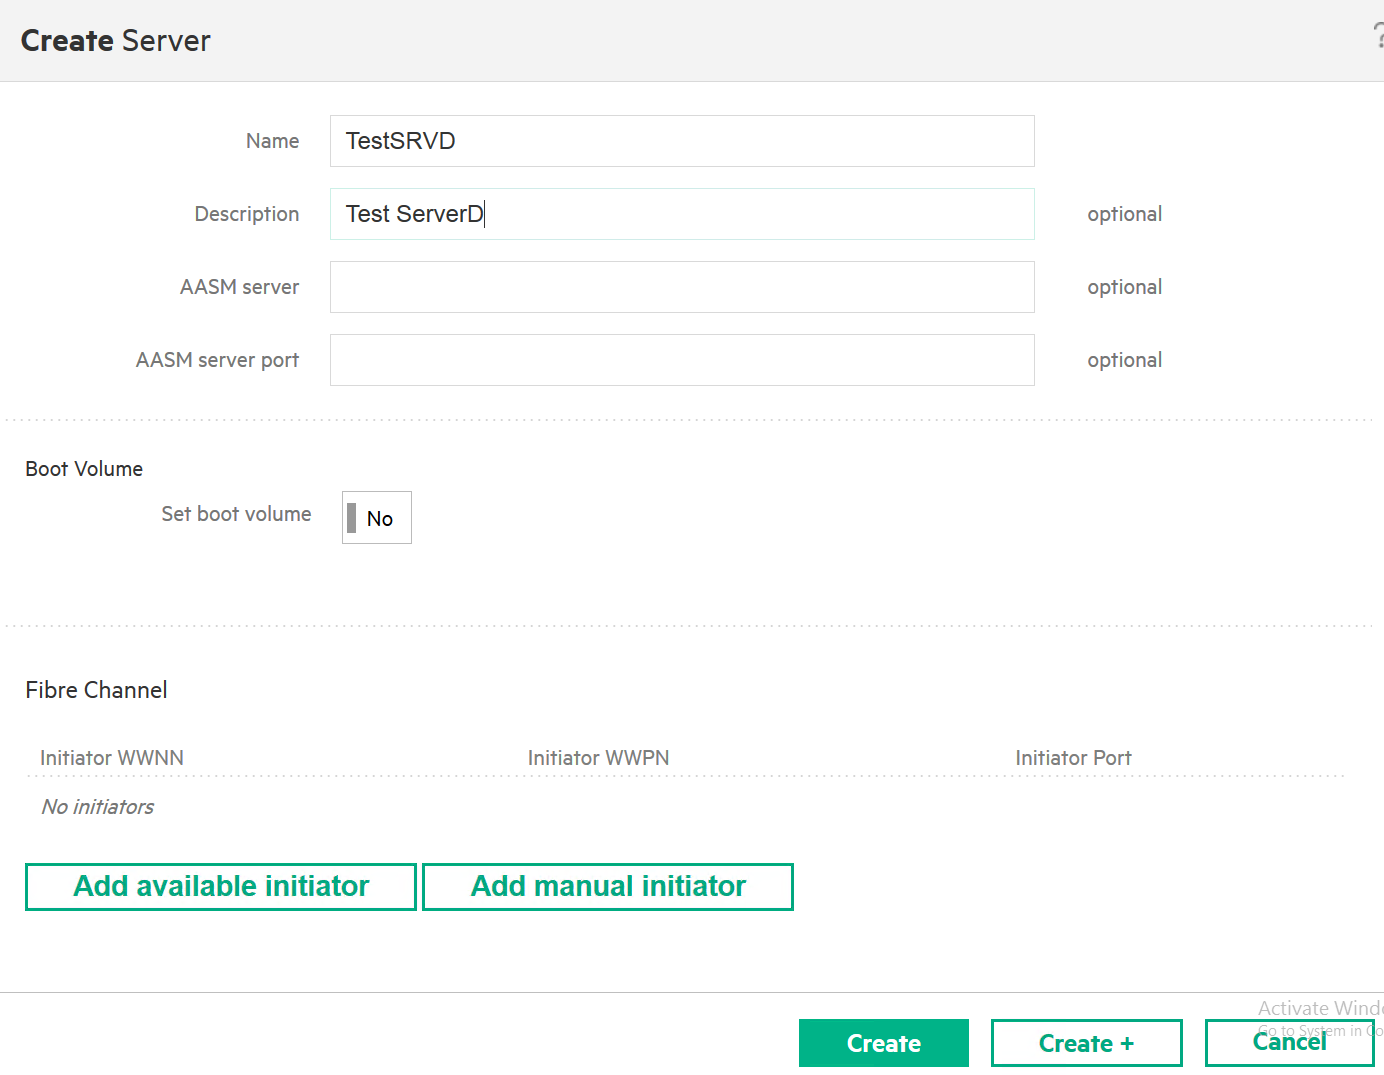
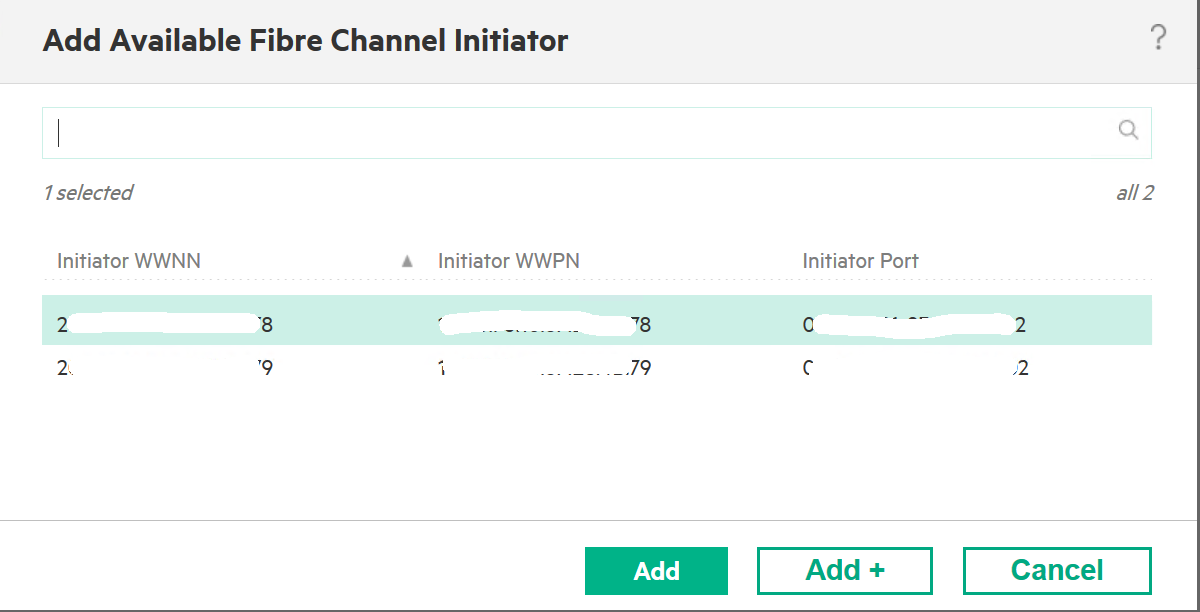
I added both initiators and will confirm my configuration with Create
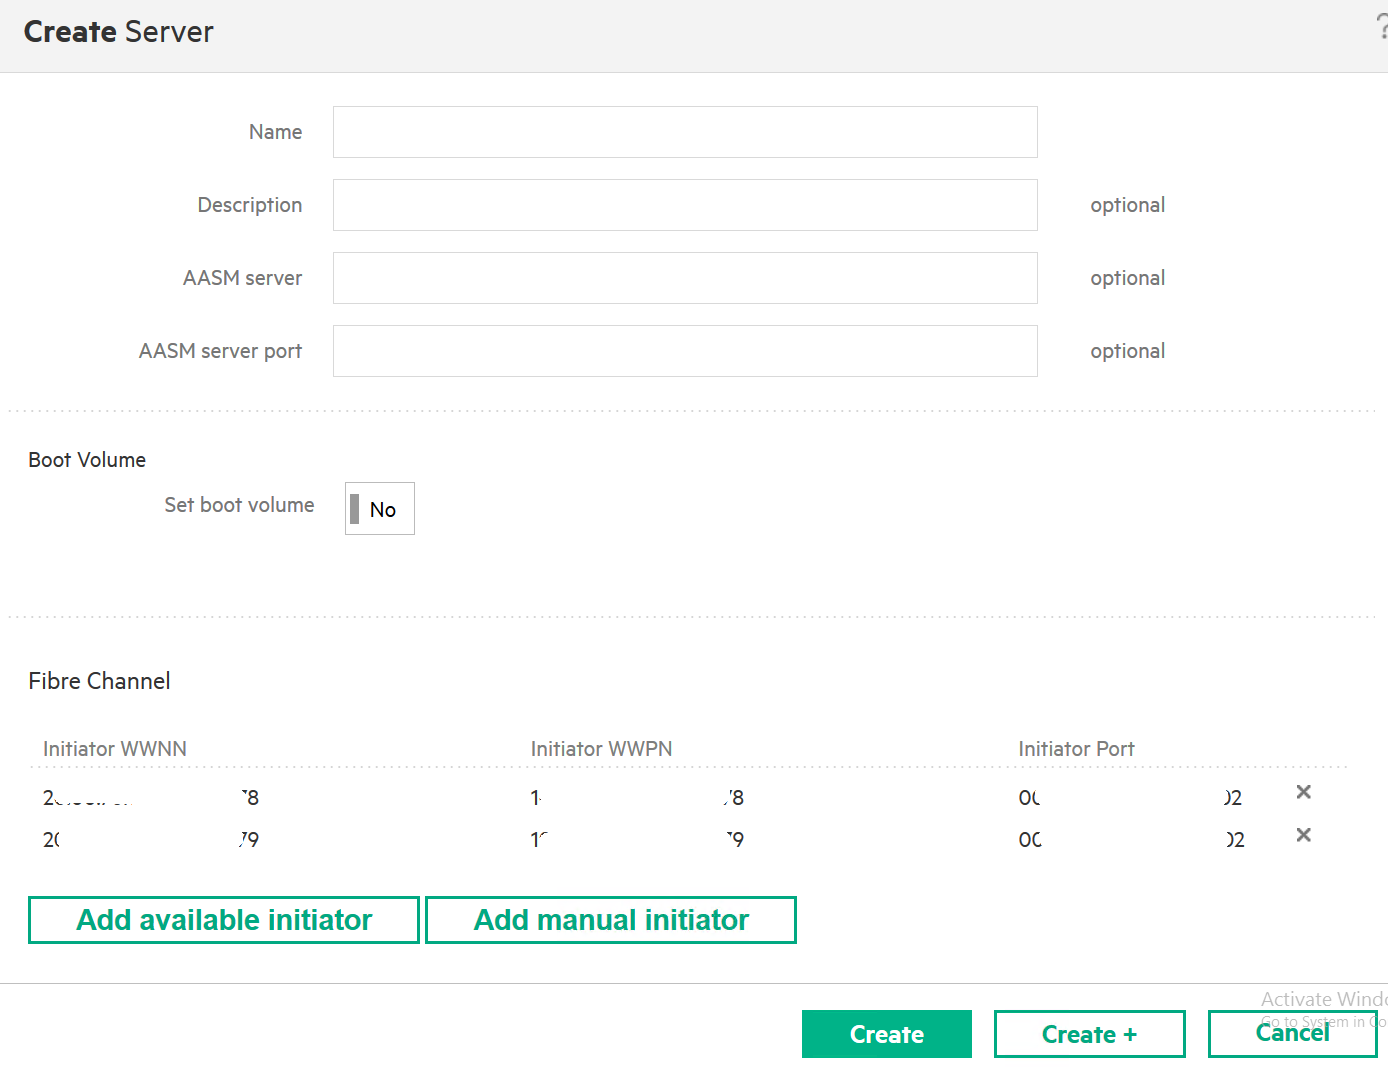
Done
Now, we attached Server, but we need to assign Volumes (or Snapshots) to it.
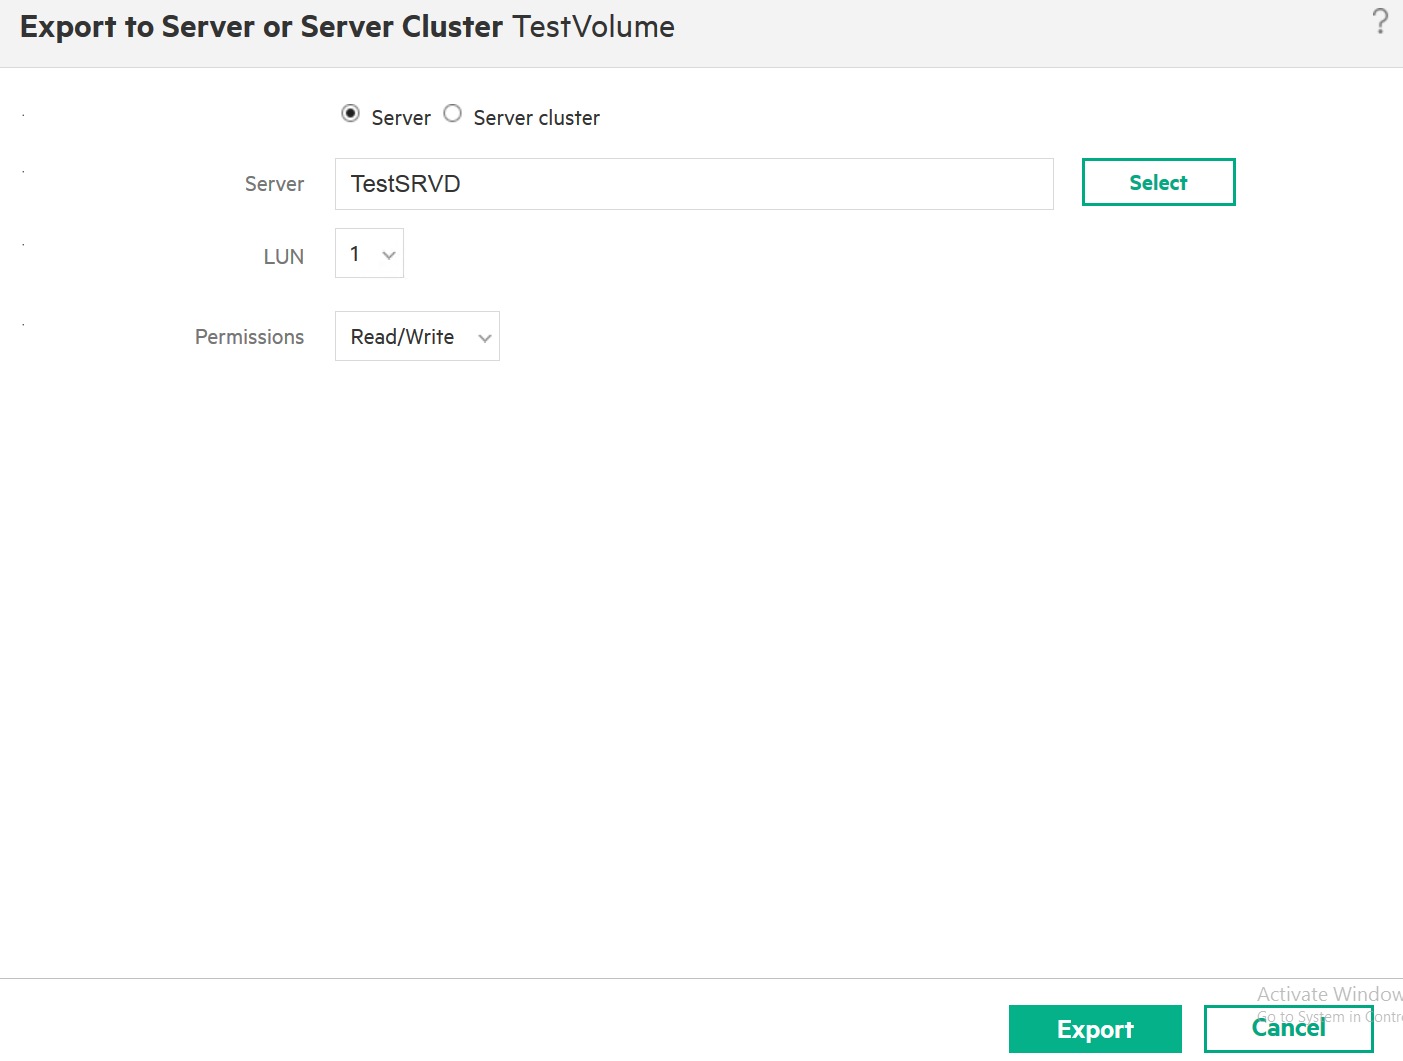
Back to the StoreVirtual | Volumes | select Volume that you would like to attach (in my case TestVolume) click on Actions | Export to server or server cluster
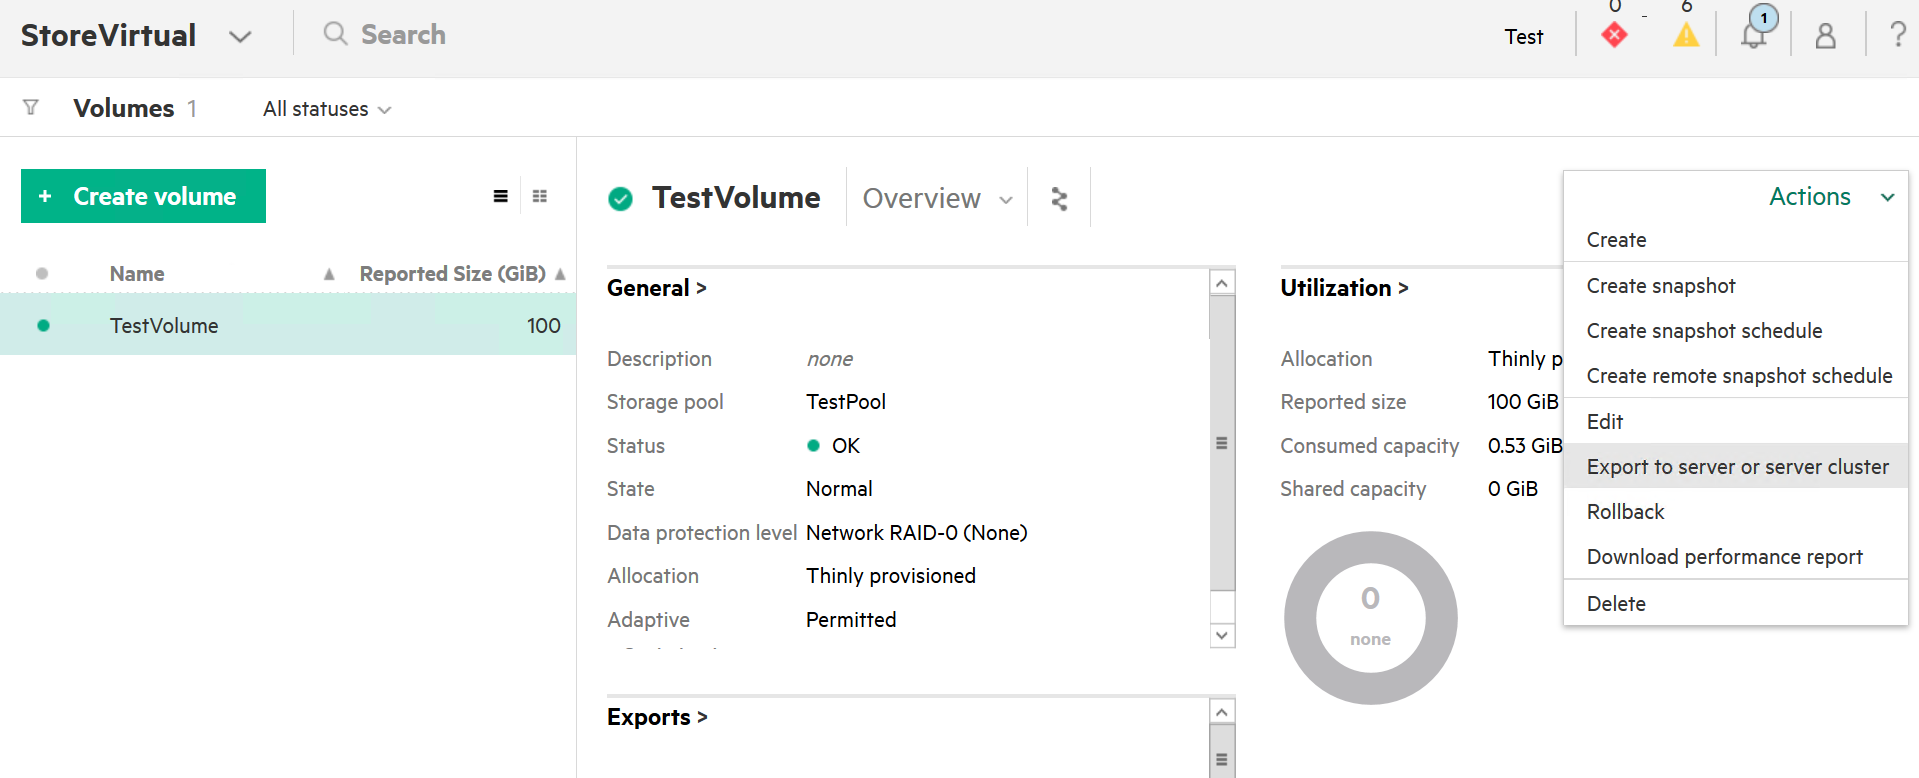
Select server you attached | Export
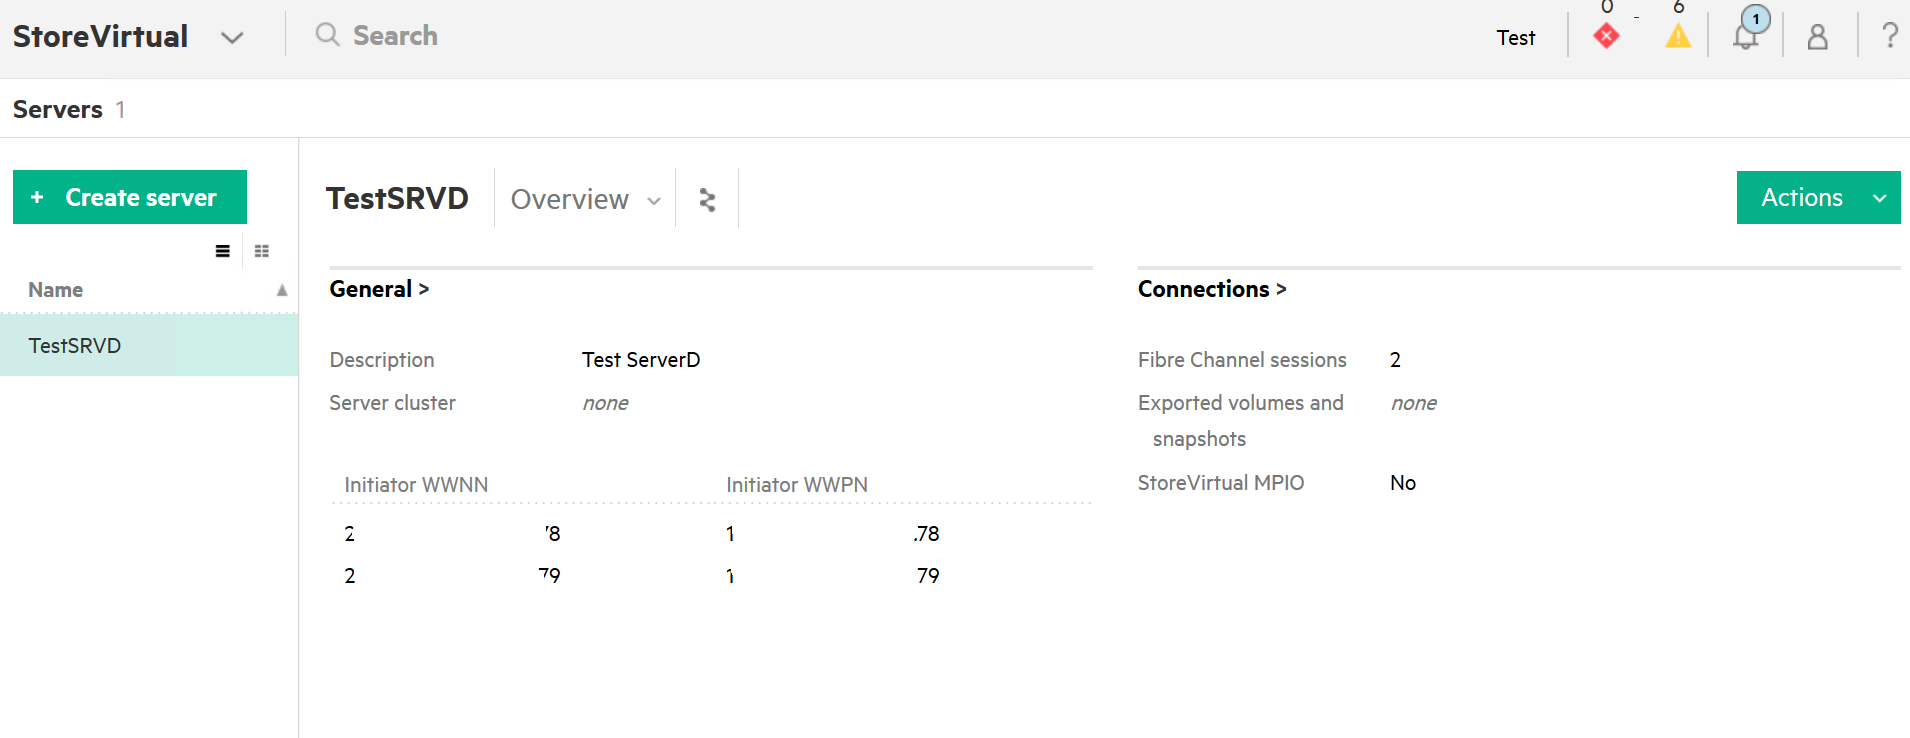
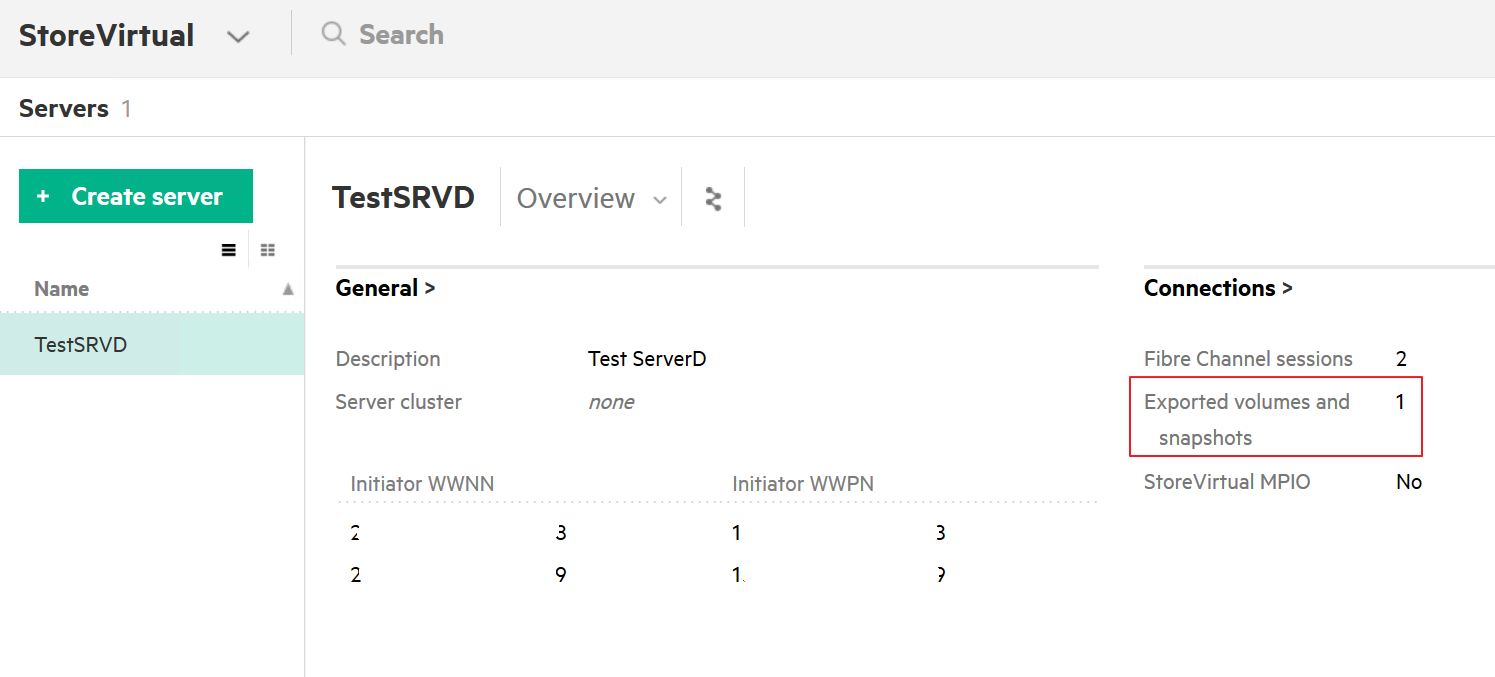
Now if we check back on Servers screen, we can see that under Exported volumes and snapshots we now see one that we attached.
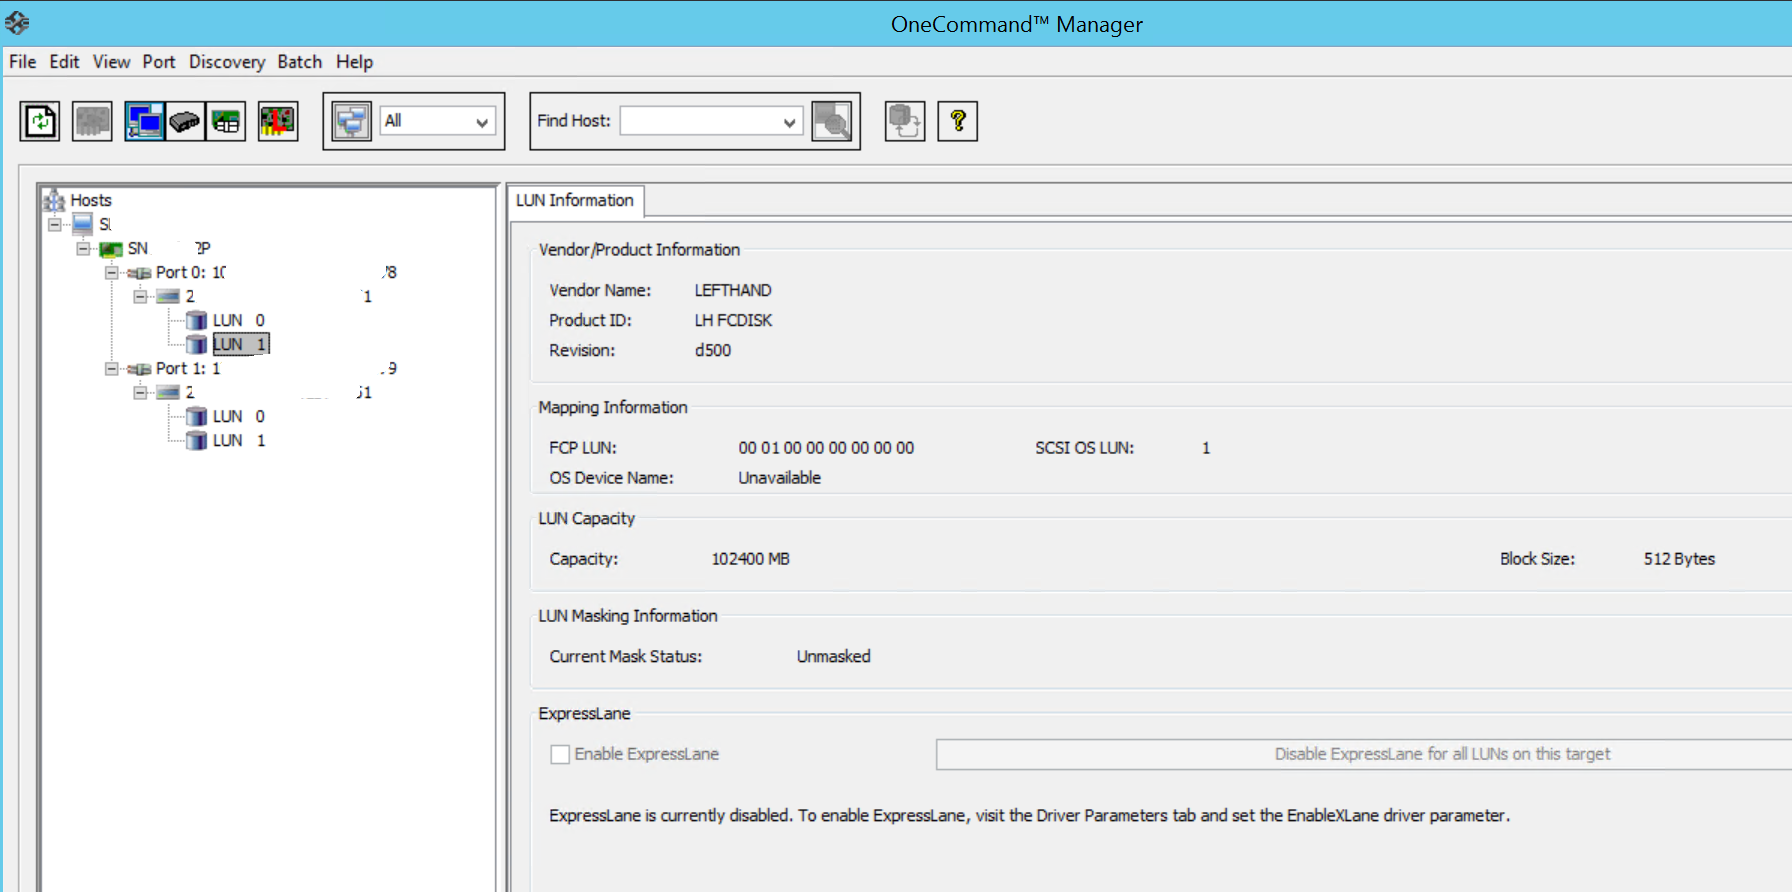
If we go to the Server itself, on the OneCommand Manager under LUN 1 there is 100GB space available.
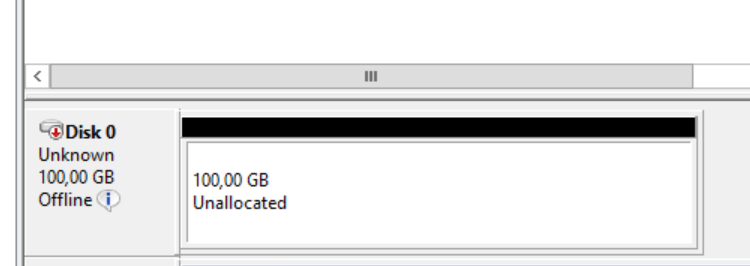
Also in disk management we can see attached Volume waiting to be formatted.
That is it, we are done with the storage configuration on the StoreVirtual 3200. Simple and quick.