This is not typical CentOS/RHEL install guide, and for other scenarios please follow standard CentOS/RHEL install tutorials – here is mine – https://www.informaticar.net/how-to-install-centos-redhat/ .
This tutorial will cover CentOS 8 (RHEL 8 also) on Hyper-V installation and typical error you get while finishing installation of CentOS 8 on Hyper-V – SMBus base address uninitialized – upgrade BIOS or use force_adr…
For all those who don’t want to follow further – you get error “SMBus base address uninitialized – upgrade BIOS or use force_adr=0xaddr” if you select Server with GUI during installation steps.
Hyper-V – New VM setup phase
First, let’s cover preparation steps in Hyper-V.
I will not be covering complete setup on new VM in Hyper-V, just crucial steps that are needed for CentOS 8 installation.
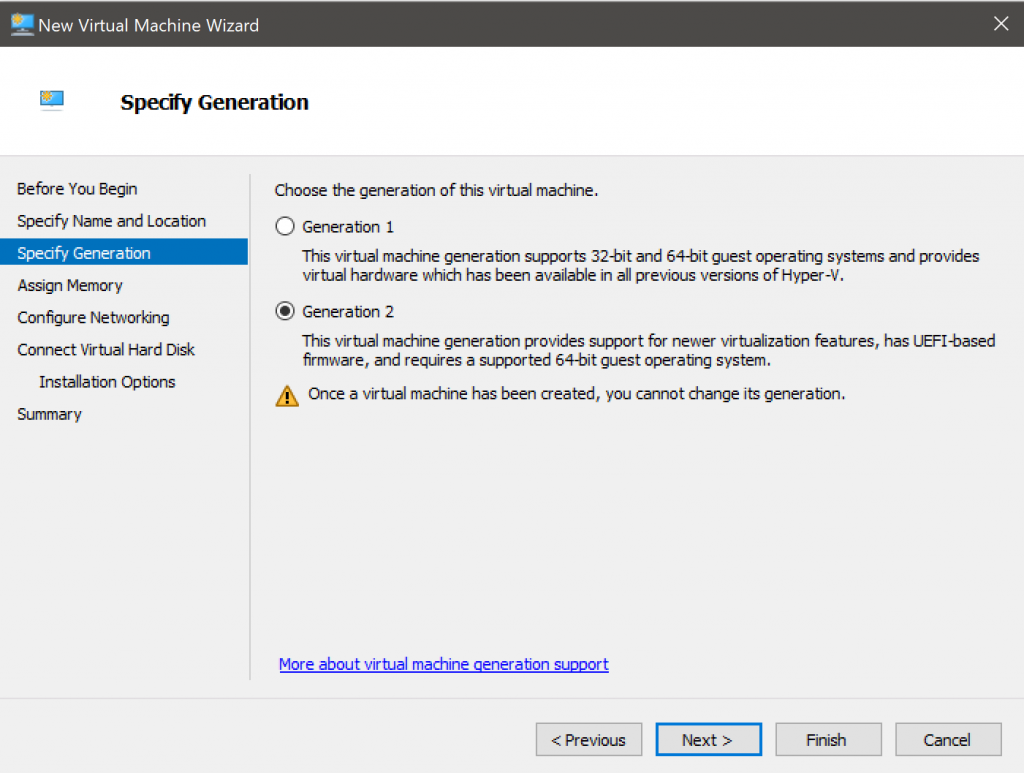
First, during the New VM wizard we need to select Generation 2
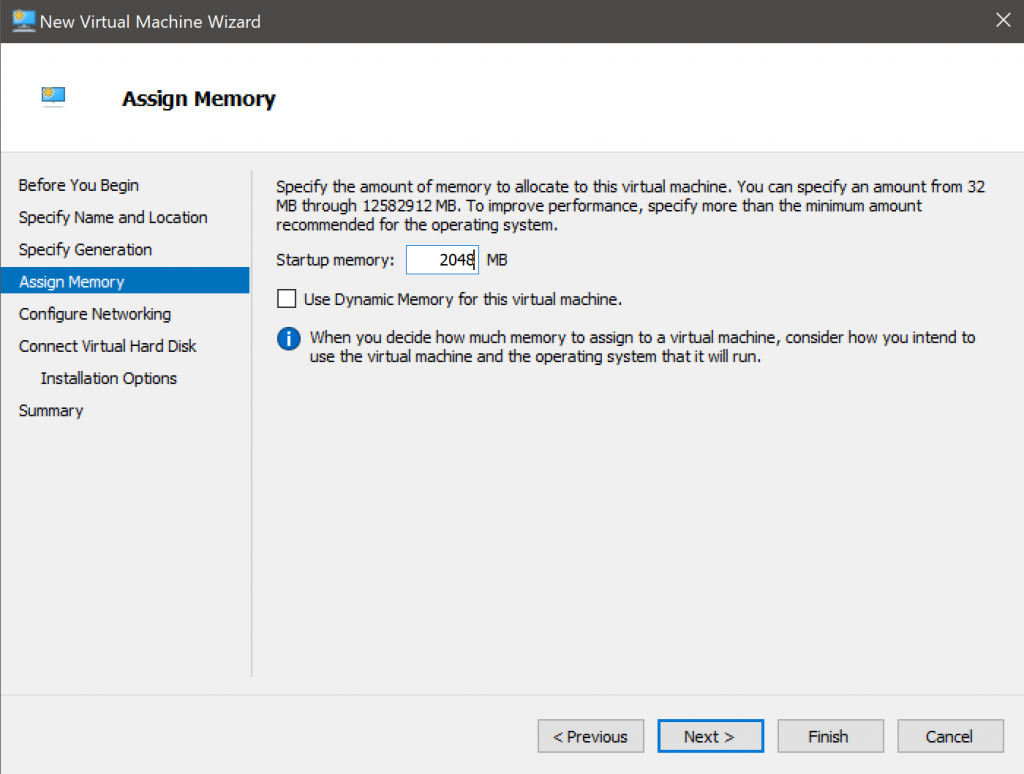
Next, disable “Use Dynamic Memory for this virtual machine.” While setting memory. (This is not mandatory, but if you are doing templates for Azure – then it is.)
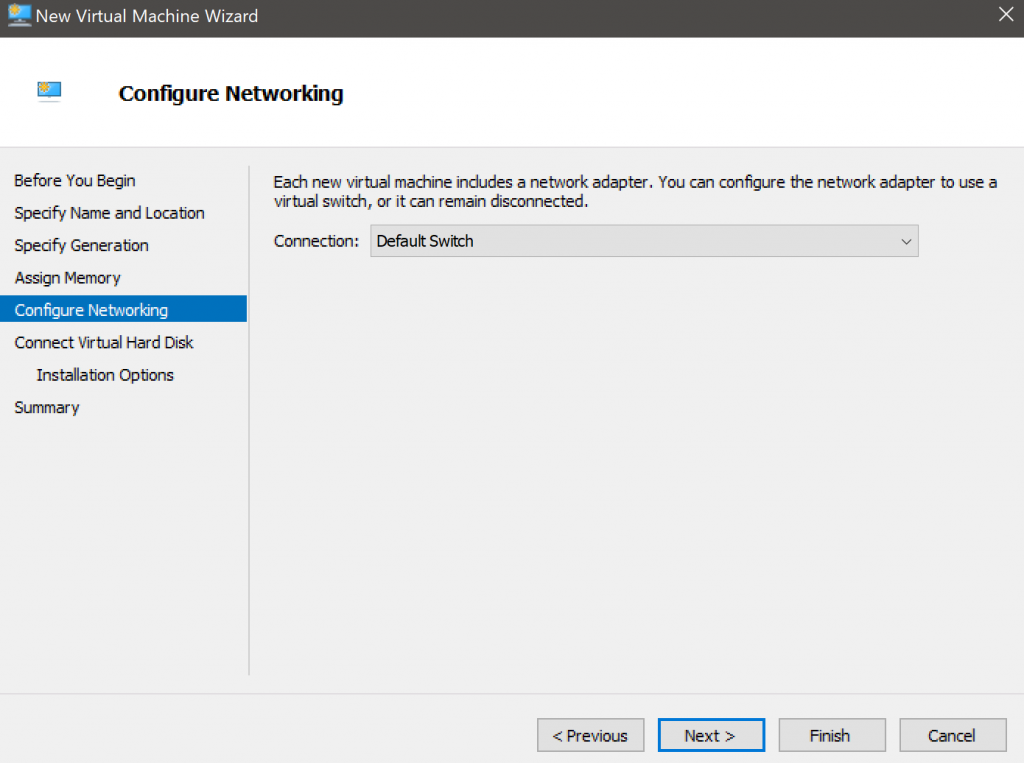
It would also be smart to select and assign network adapter that has internet access, we will need it.
That would be all for the create New VM phase.
Hyper-V – VM Settings
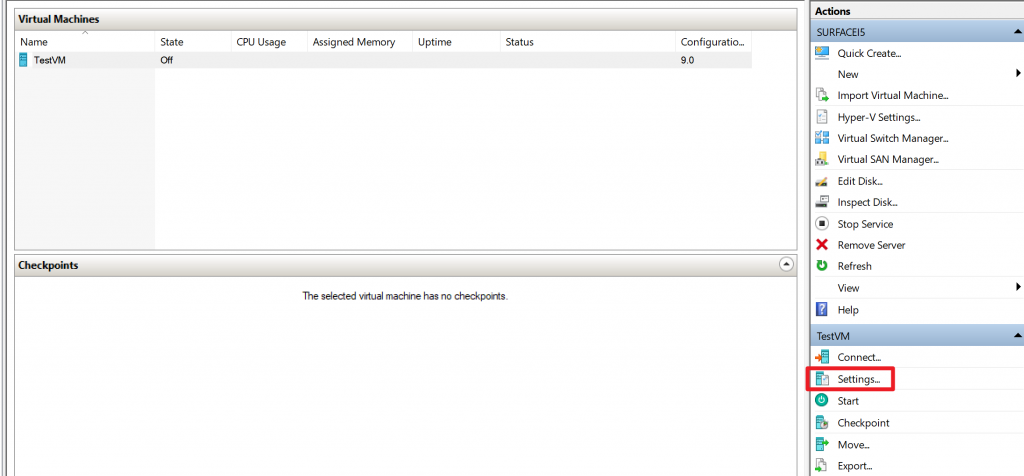
Next, after we created new VM, go to the Settings of the created VM on which you will install CentOS 8.
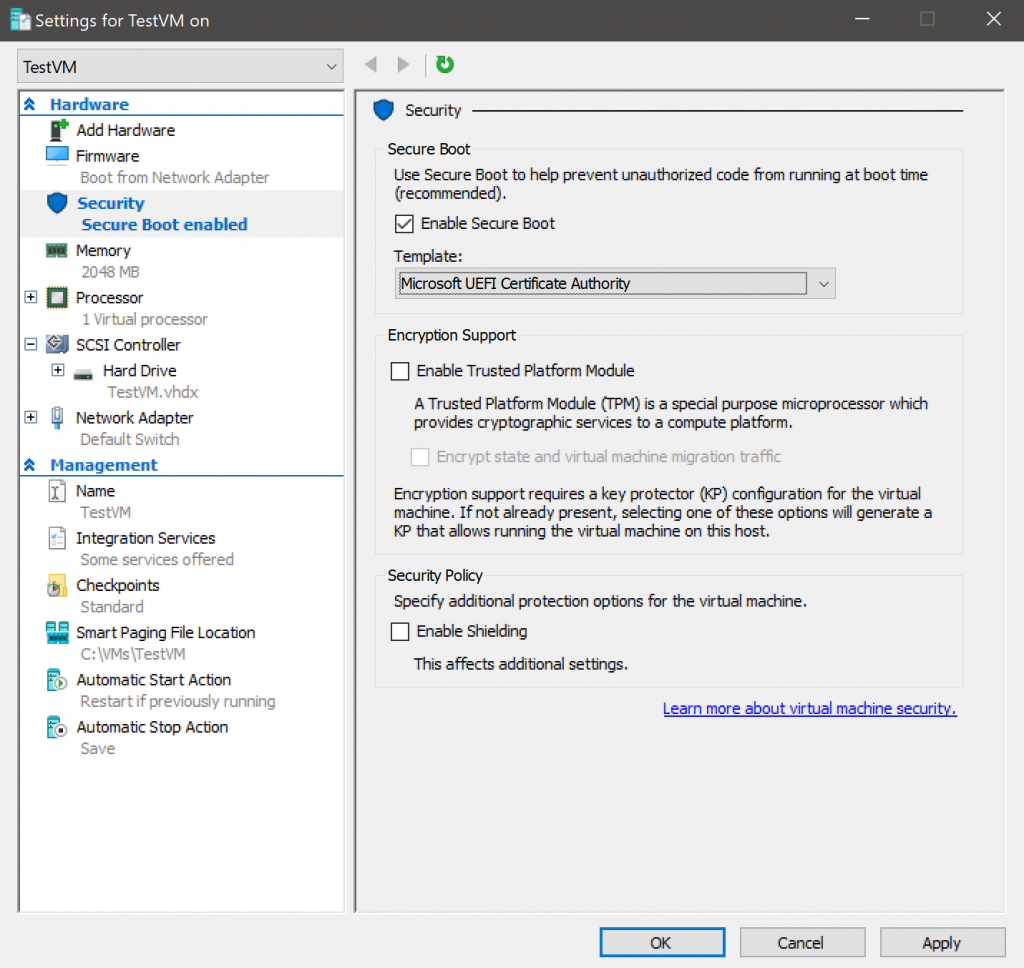
Under Security, leave checked Enable Secure Boot and from Template select Microsoft UEFI Certificate Authority.
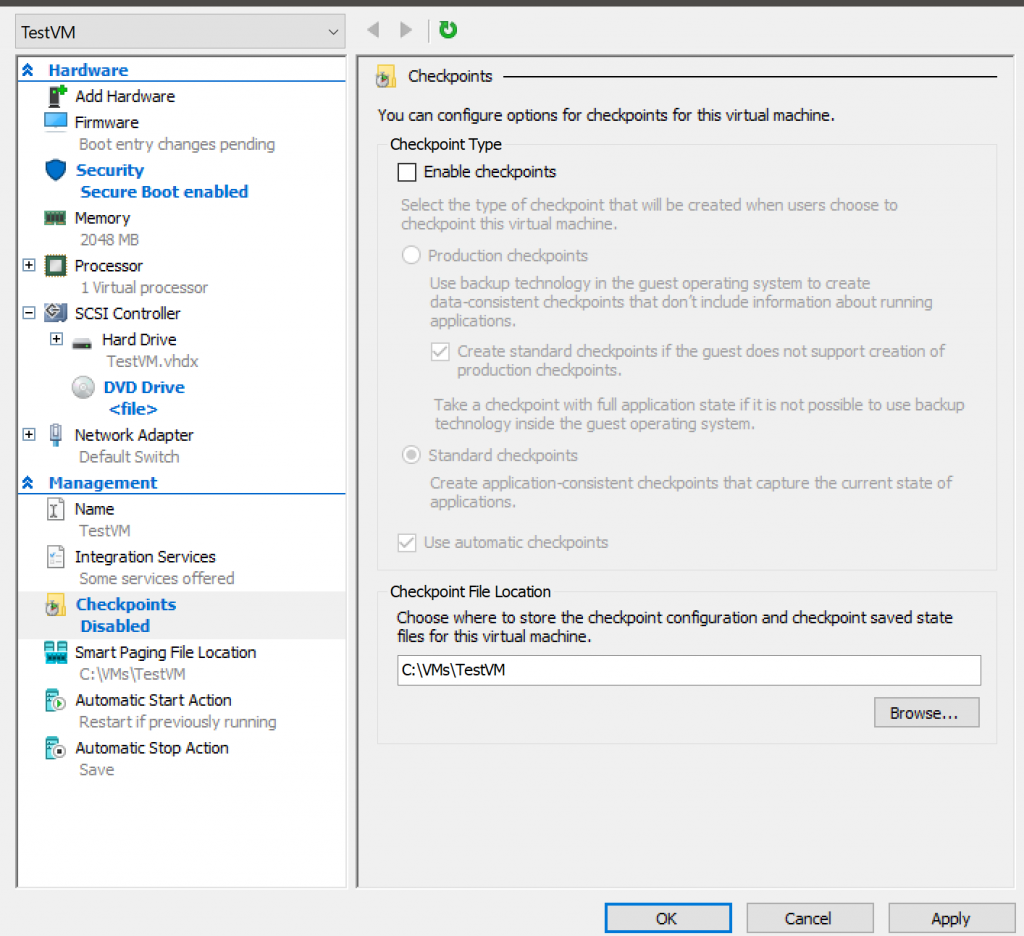
One more, (but completely optional step) I like to do, is to turn off Checkpoints. But, again, turning off checkpoints is optional step.
If you are installing Redhat 8, you should install from Red Hat Enterprise Linux 8.x Binary DVD

If you are installing CentOS 8, you will be downloading image about 7GB in size.
CentOS 8 installation
Onto the CentOS installation. Again, I will not be covering every step, only important bits that will help you skip “SMBus base address uninitialized…” error.
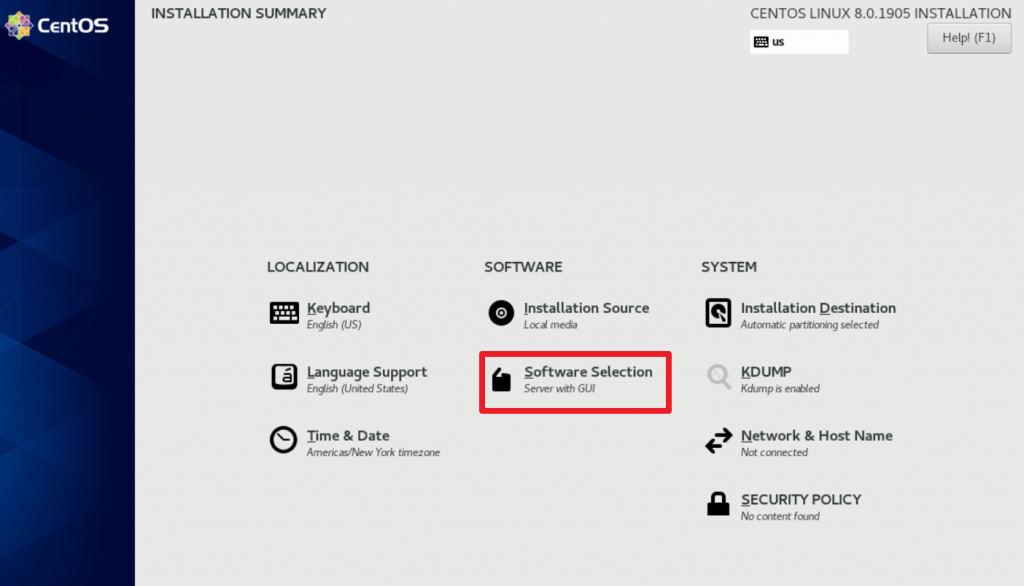
Select | Software Selection – this is where we need to change installation type
There are two ways this can be done. First, you can select Workstation and you will have GUI installation, no further fuss, or if you like to complicate your life a bit more, you will select Server.
Under Workstation you will have to select Graphical Admin Tools. Colleagues around the web are also selecting Development Tools and Container Management under Workstation environment.
Again, with Workstation selection, you get instant GUI after installation, with Server selection, you will get just terminal, and then we will need to enter few more commands to get GUI.
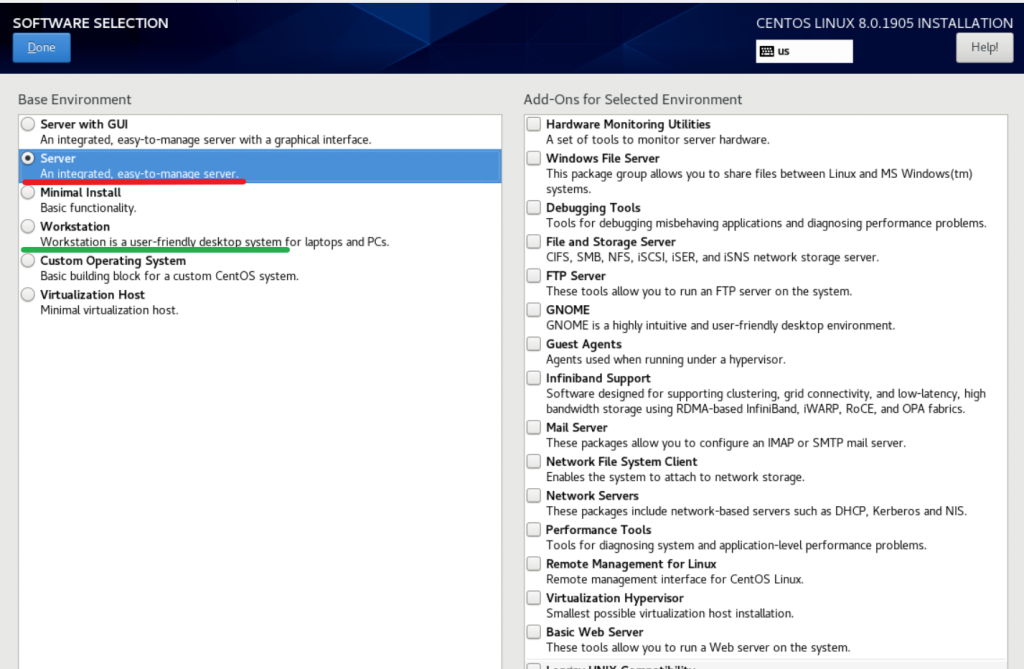
I will select Server
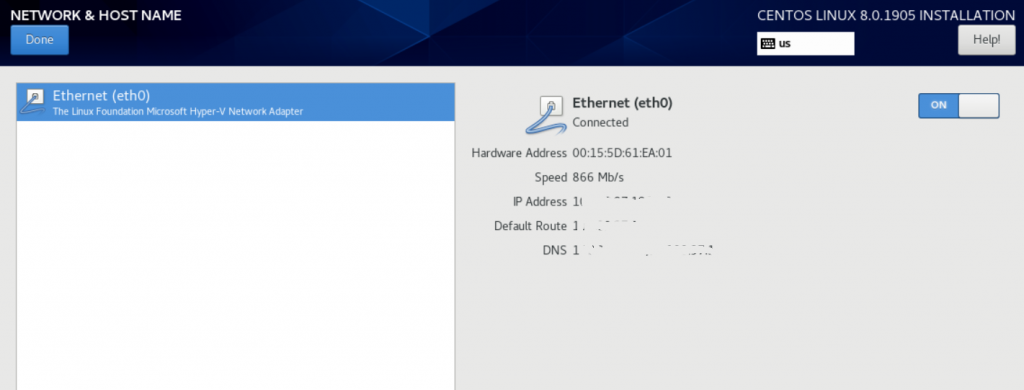
Next step, if you selected Server installation, would be to set Network & Host Name
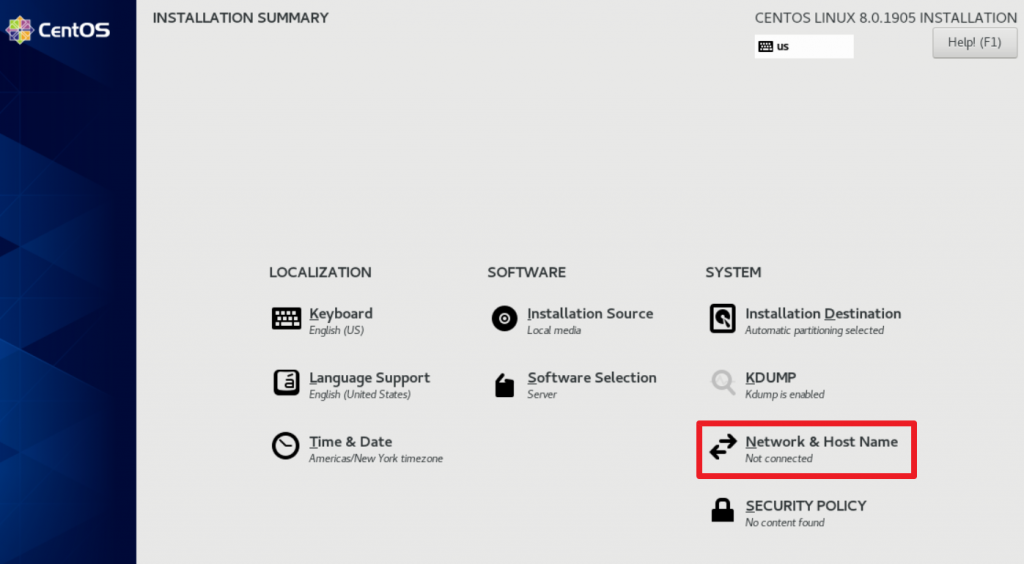
Turn on network adapter, and if you have DHCP enabled, you should be good.
Again, I will not be covering complete installation, just points of install which will help get around error from the beginning. Setup the rest of the installer as you like and go on.
After installation is done and you selected Server under Software selection, you should see login like this (if you went with Workstation option, you are already in GUI and done.)
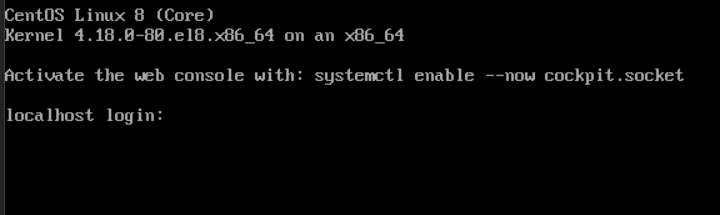
Now, our next goal after logging into terminal is going to be – Server with GUI installation
First let’s update our installation:
Yum updateThen, we will check available package groups by entering following command
yum group list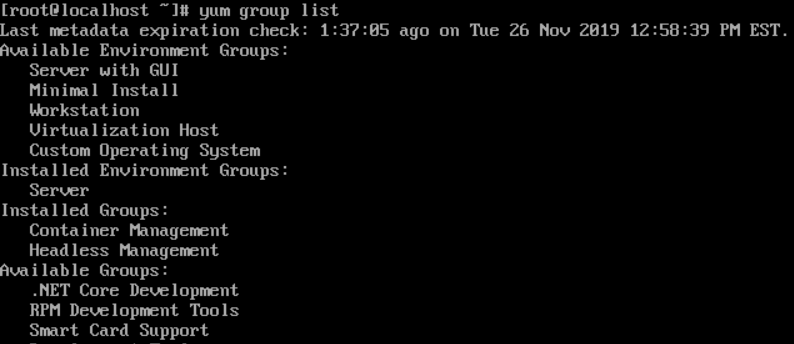
We want Server with GUI so we will enter following:
yum groupinstall “Server with GUI”After Server with GUI finishes successfully, last command we will run will be:
Yum groupinstall base-xAfter that command executes successfully, we need to enable boot into GUI by executing following command:
systemctl set-default graphical
After that, we will reboot
Success!
SO, you have two options, just select Workstation and you’ll have GUI instantly without errors and broken installations. If you like to complicate a bit then you will select my favorite part – installation without GUI, and after that – adding GUI.